I get a lot of questions asking what creative liberties I take with my photos. How often do I make drastic editing decisions? To be honest, I don’t always have a set in stone answer. Each photo is unique and presents a world of possibilities. I often ask myself questions before I edit a new image. Does the RAW photo accurately depict my experience at that particular moment? Will further editing/correction improve the photo and help get my intended feeling across to the audience? Is it “fair” to make changes or is this “cheating”?
I wanted to share with you some examples of how I use Photoshop. Some techniques are a bit more intrusive than others, but I think the most important thing photographers can do is be open, honest and have a reason for every creative decision.
Exposure/Color Correction
Every photo I take undergoes a process of white-balance correction, color correction, exposure adjustment and sharpening. 70% of this process takes place within the Camera RAW Editor and small changes are made in Photoshop afterwards. Although seemingly straightforward, it has taken me years to master this process and establish a step-by-step guide for consistent results.
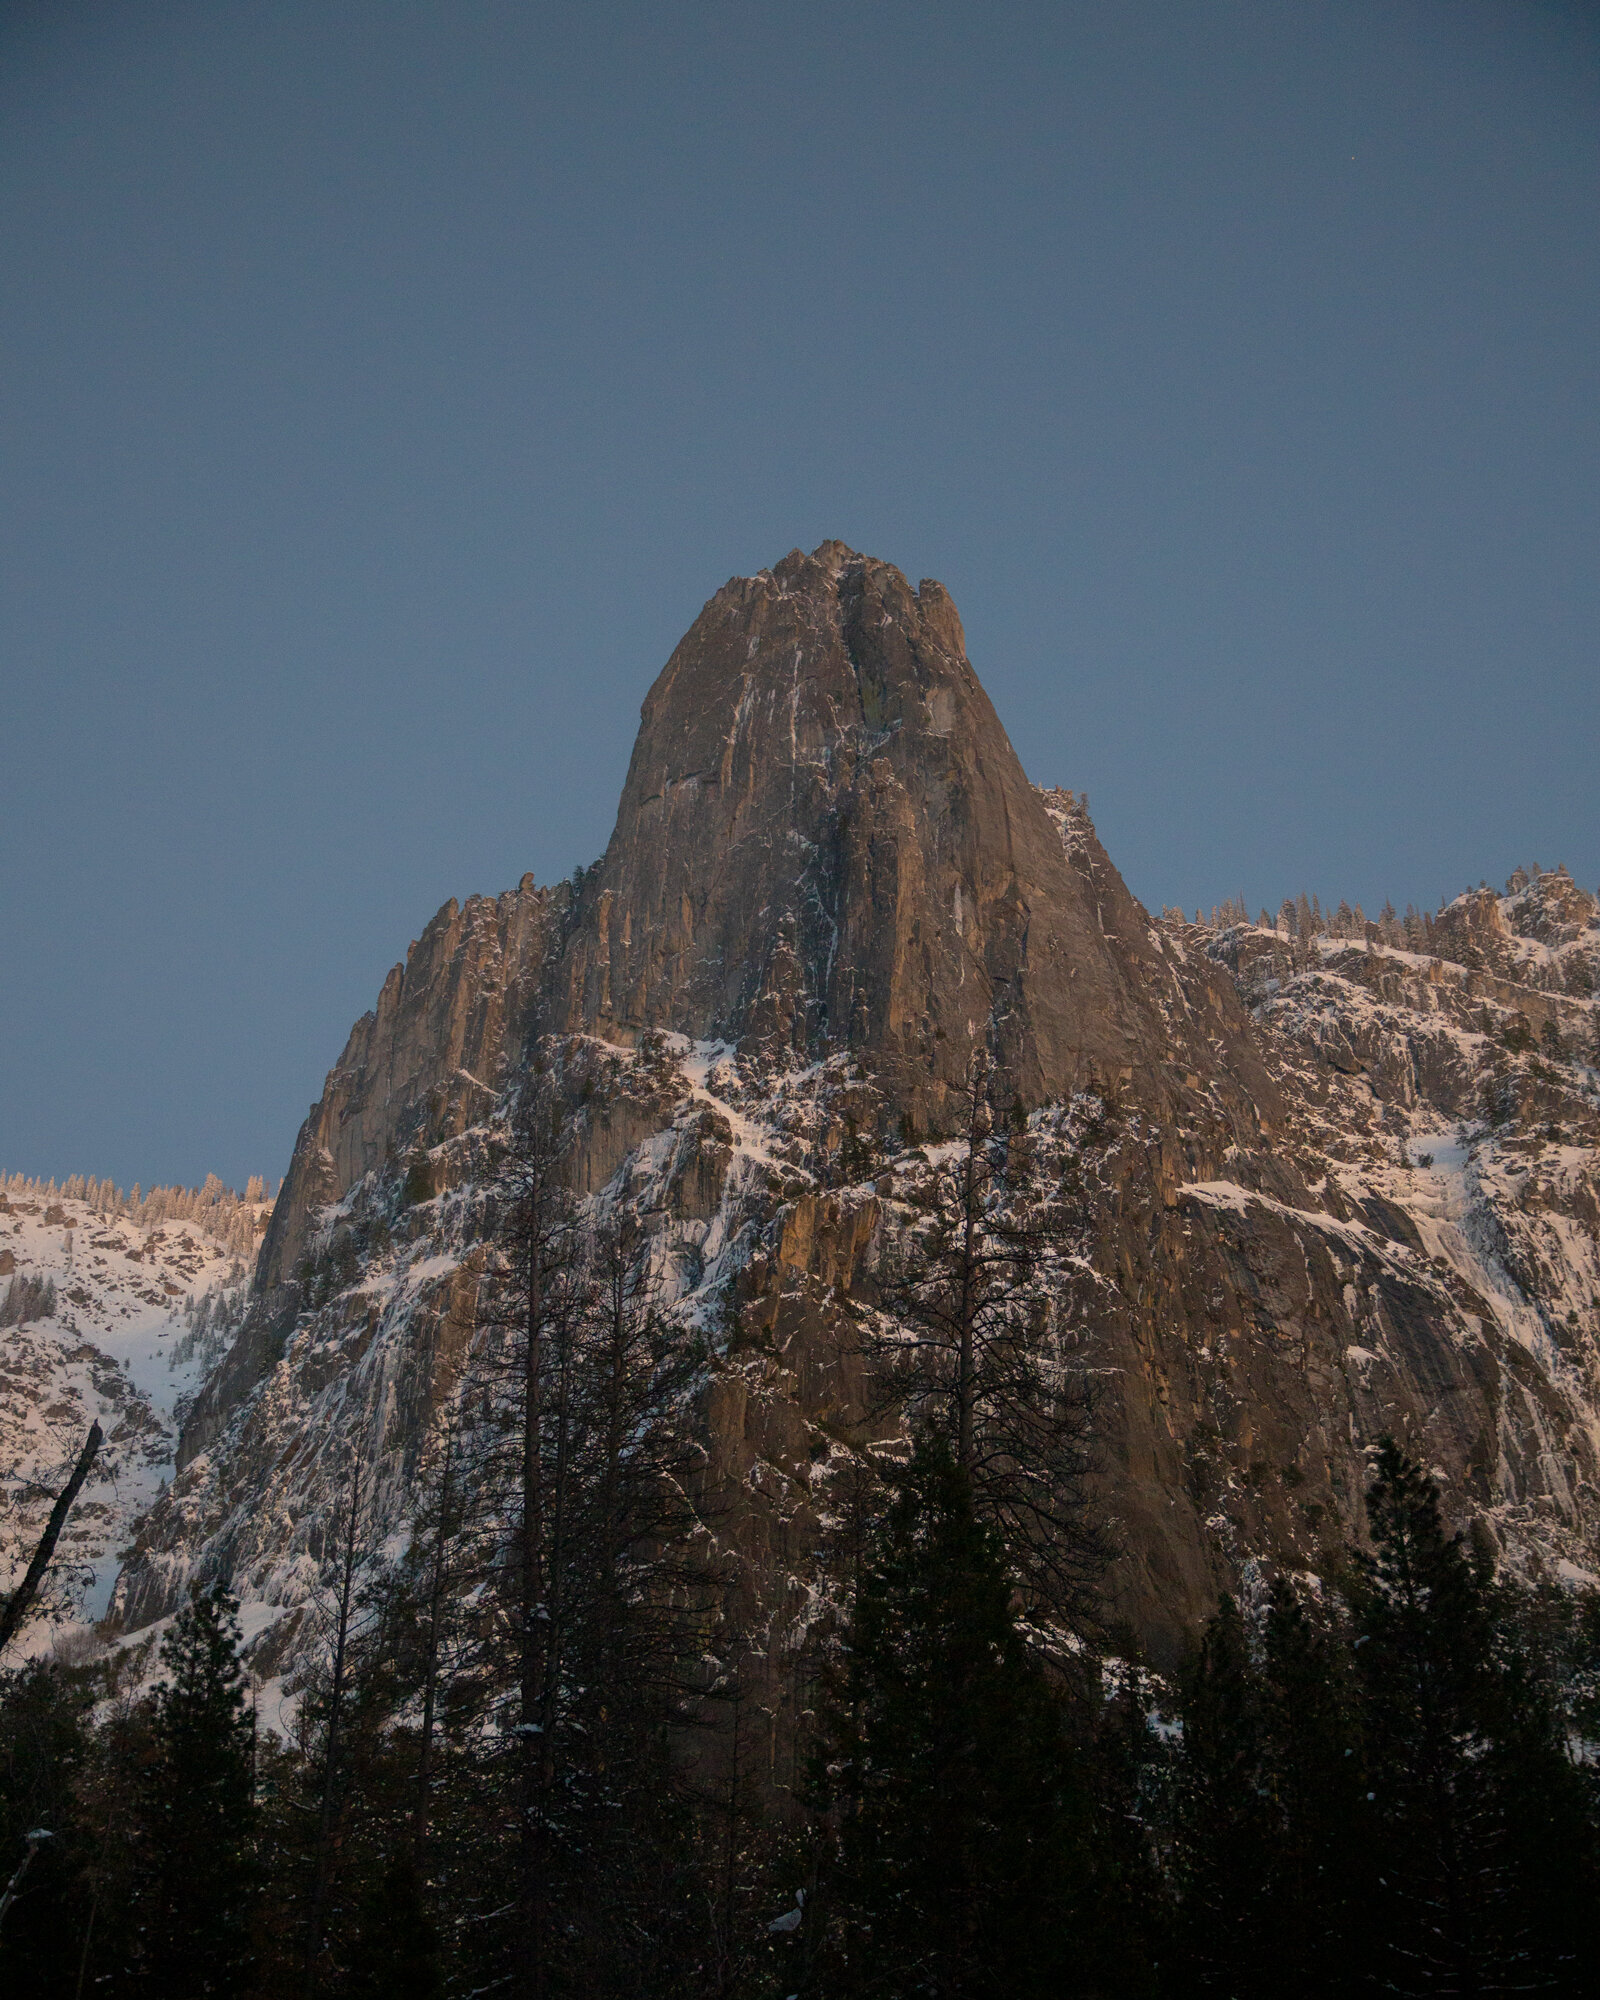
Cloning & Object Removal
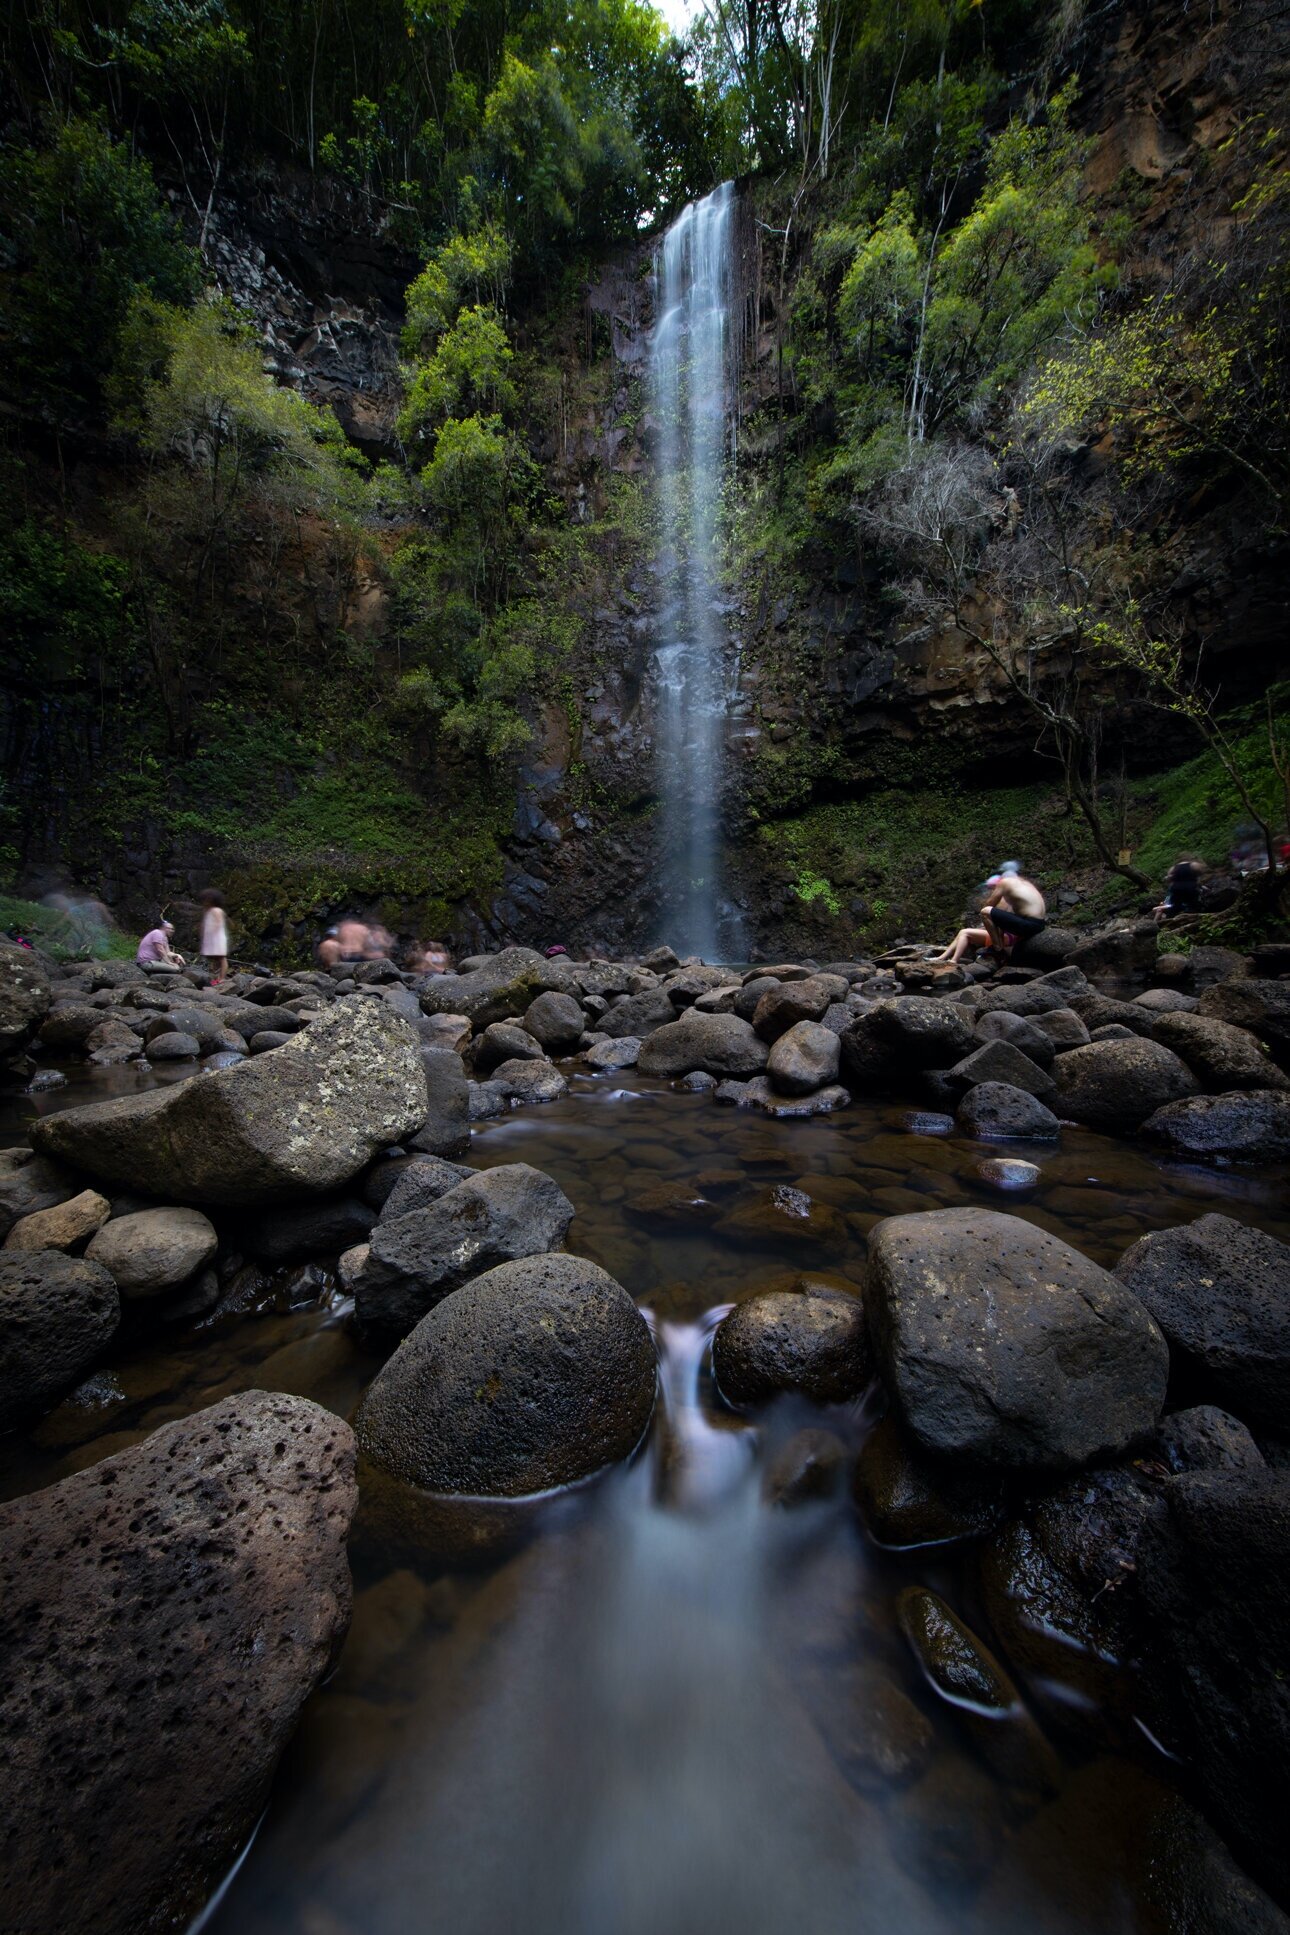
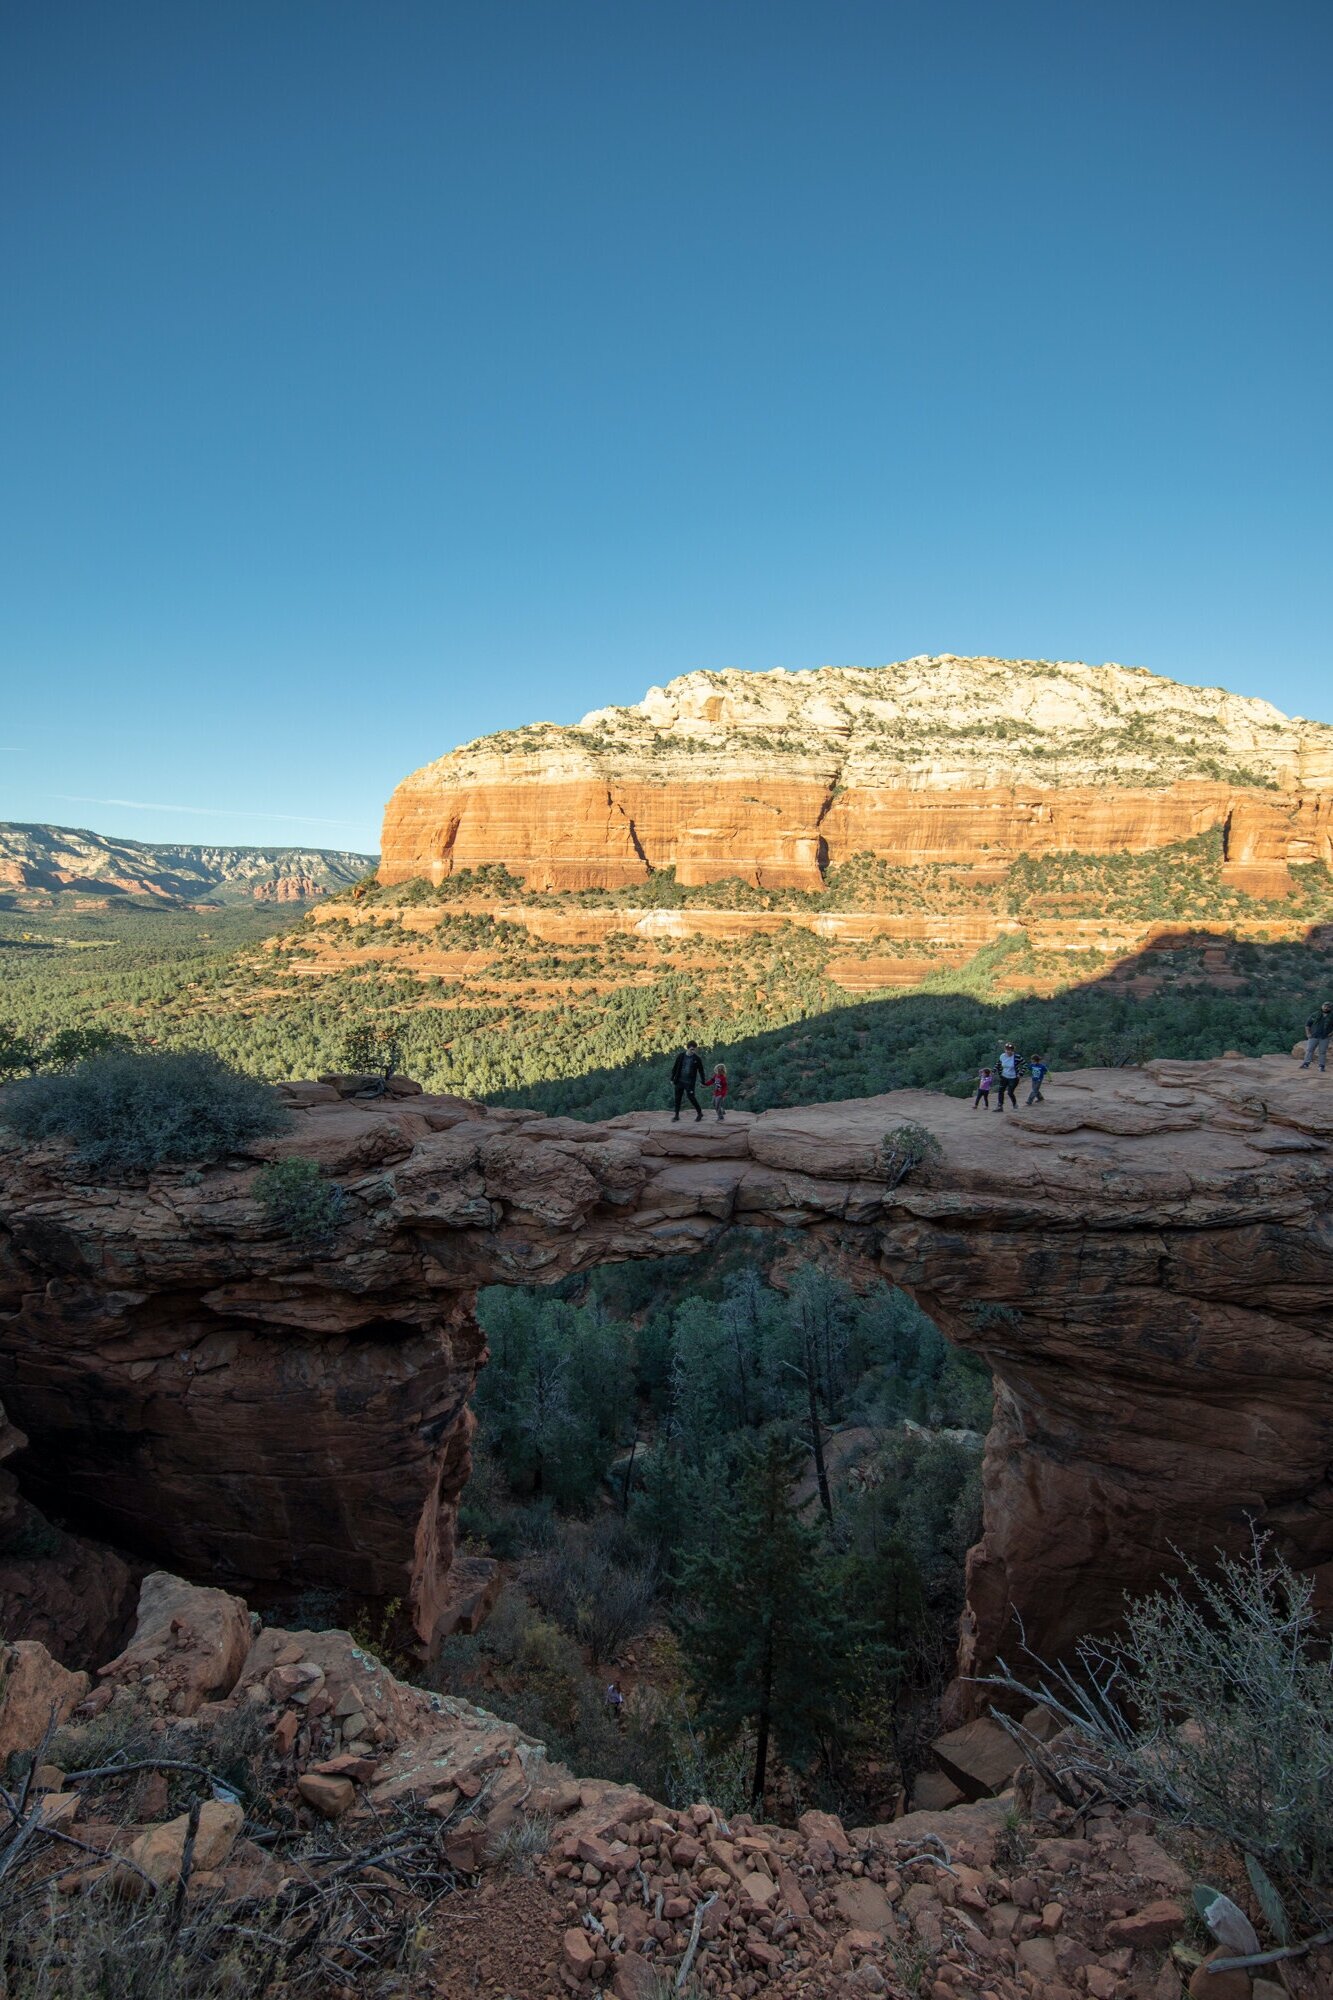
Have you ever taken a photo that was almost perfect? You saw the vision of the photo in your mind, but then a tourist stepped into the frame, or an airplane photobombed your perfect sky. With my images, I try to avoid humans or man-made objects as much as possible. I like to remember these places for the natural beauty and the way they once were, untouched by man and free. The first step for attempting this illusion is repositioning. When possible, I try to find angles that hide humans, fences, unwanted buildings, cars, etc. The next step is attempting a long exposure. Leaving the shutter open for a long period of time does a great job of blurring out unwanted moving objects. When that fails, cloning and using photoshop tricks is the next best thing.
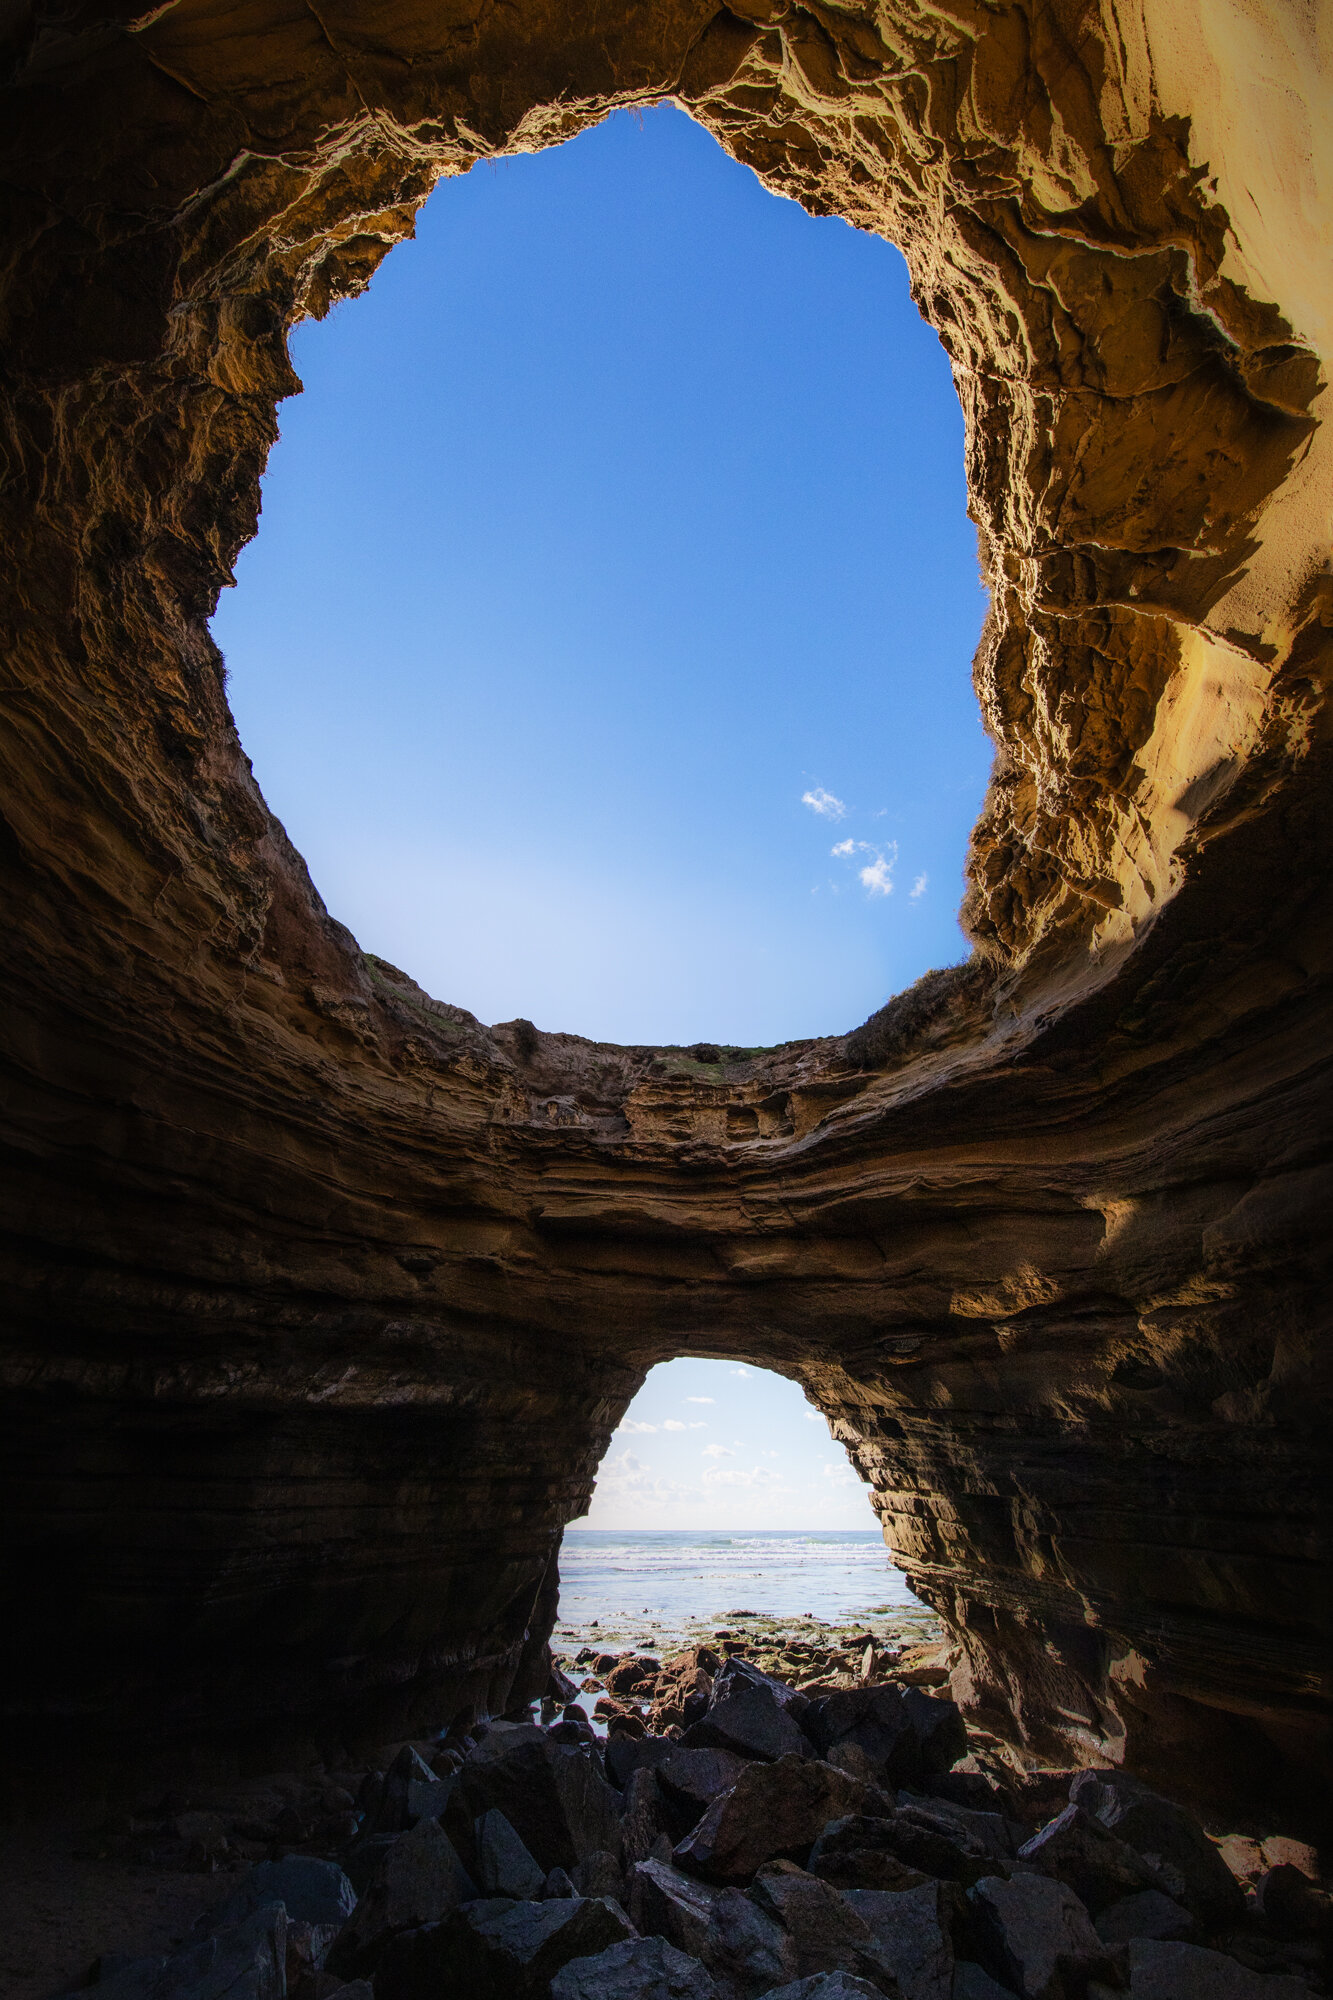
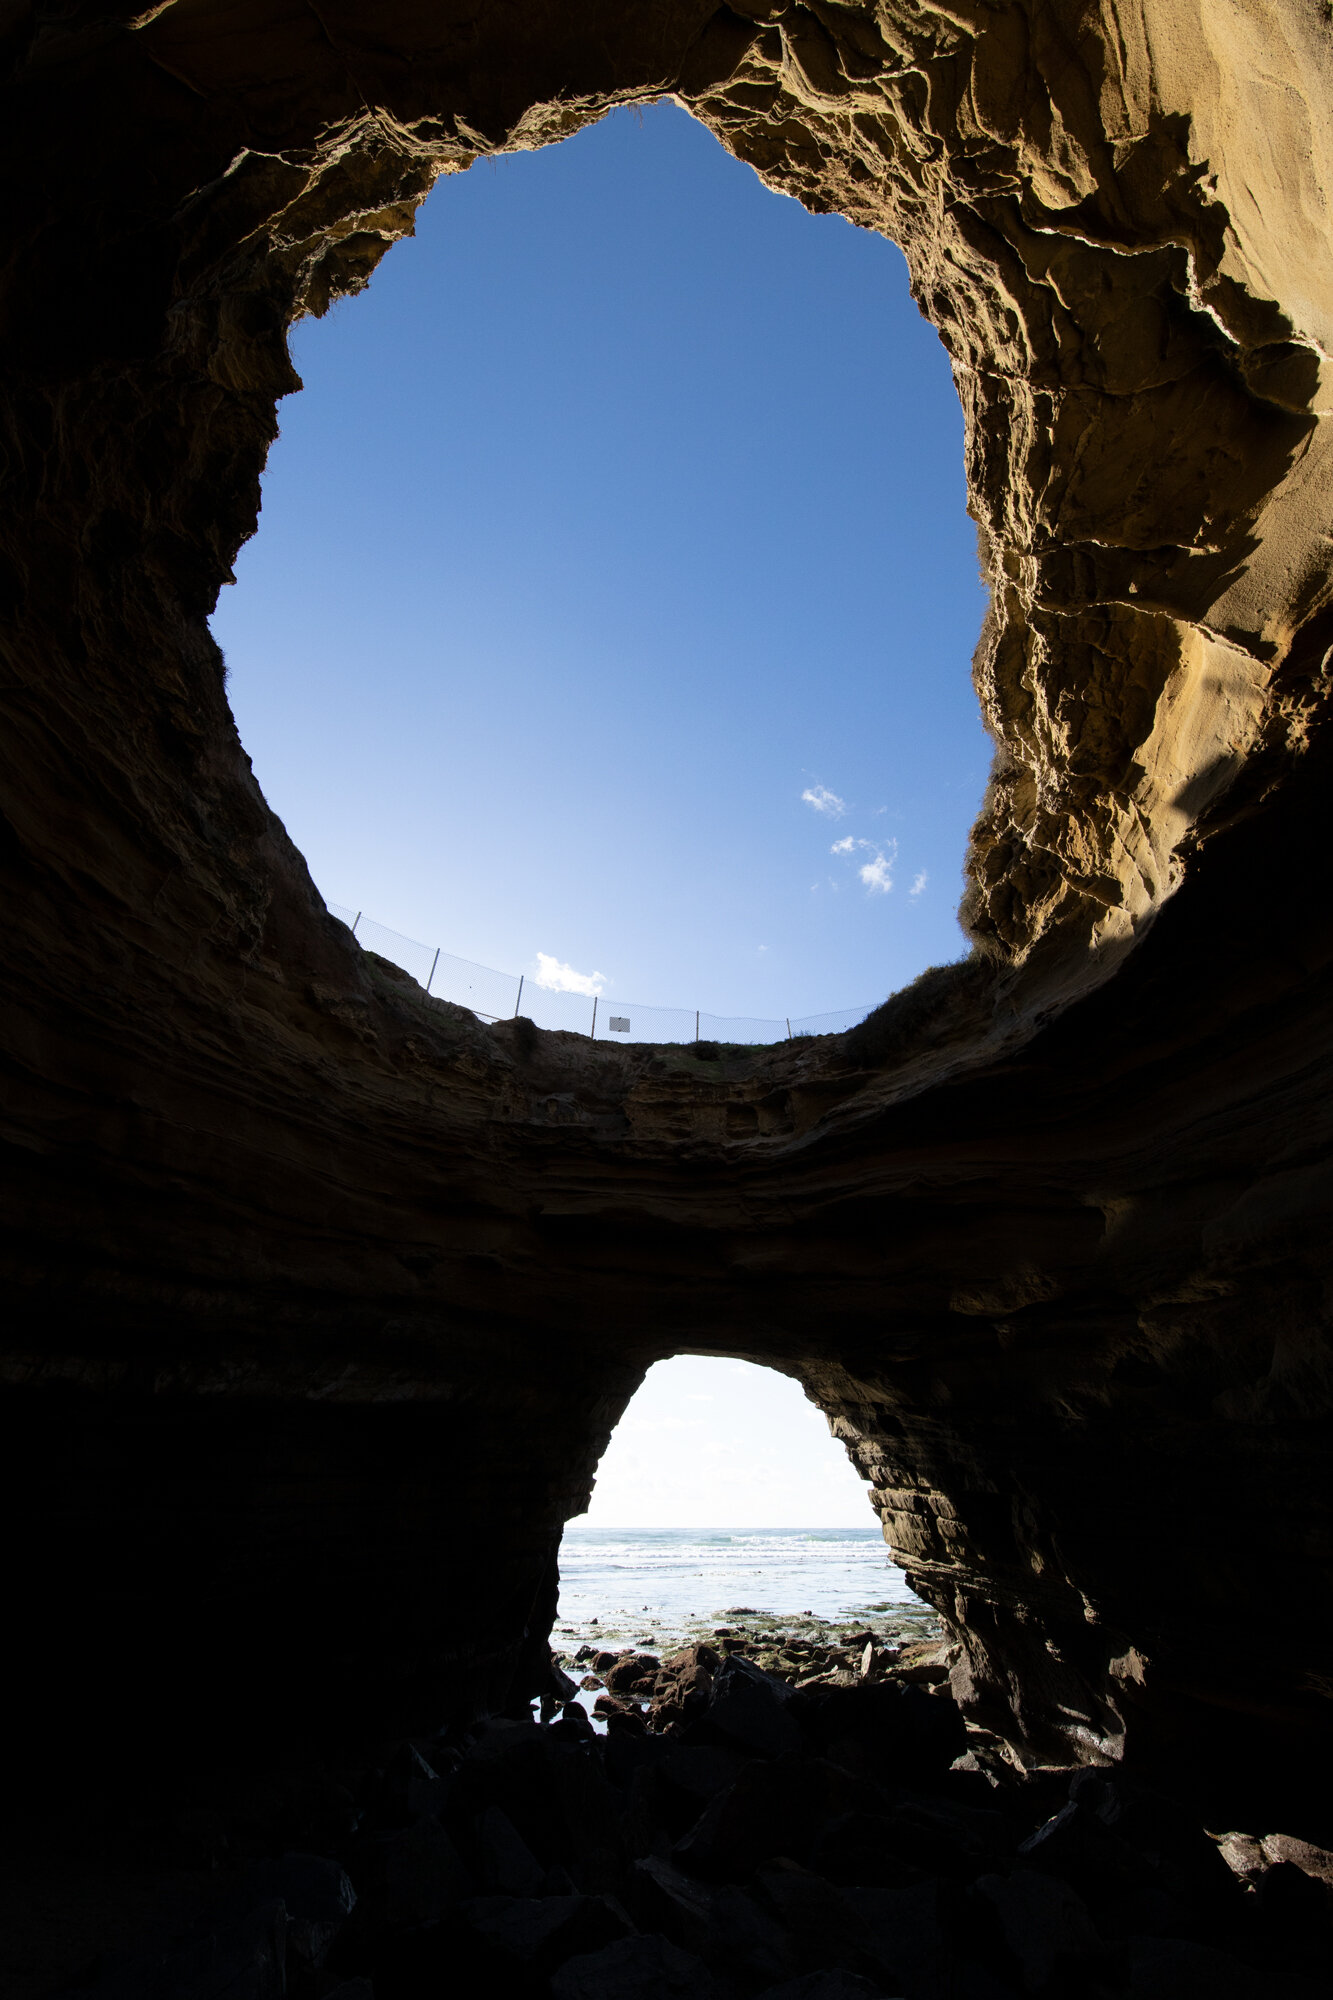

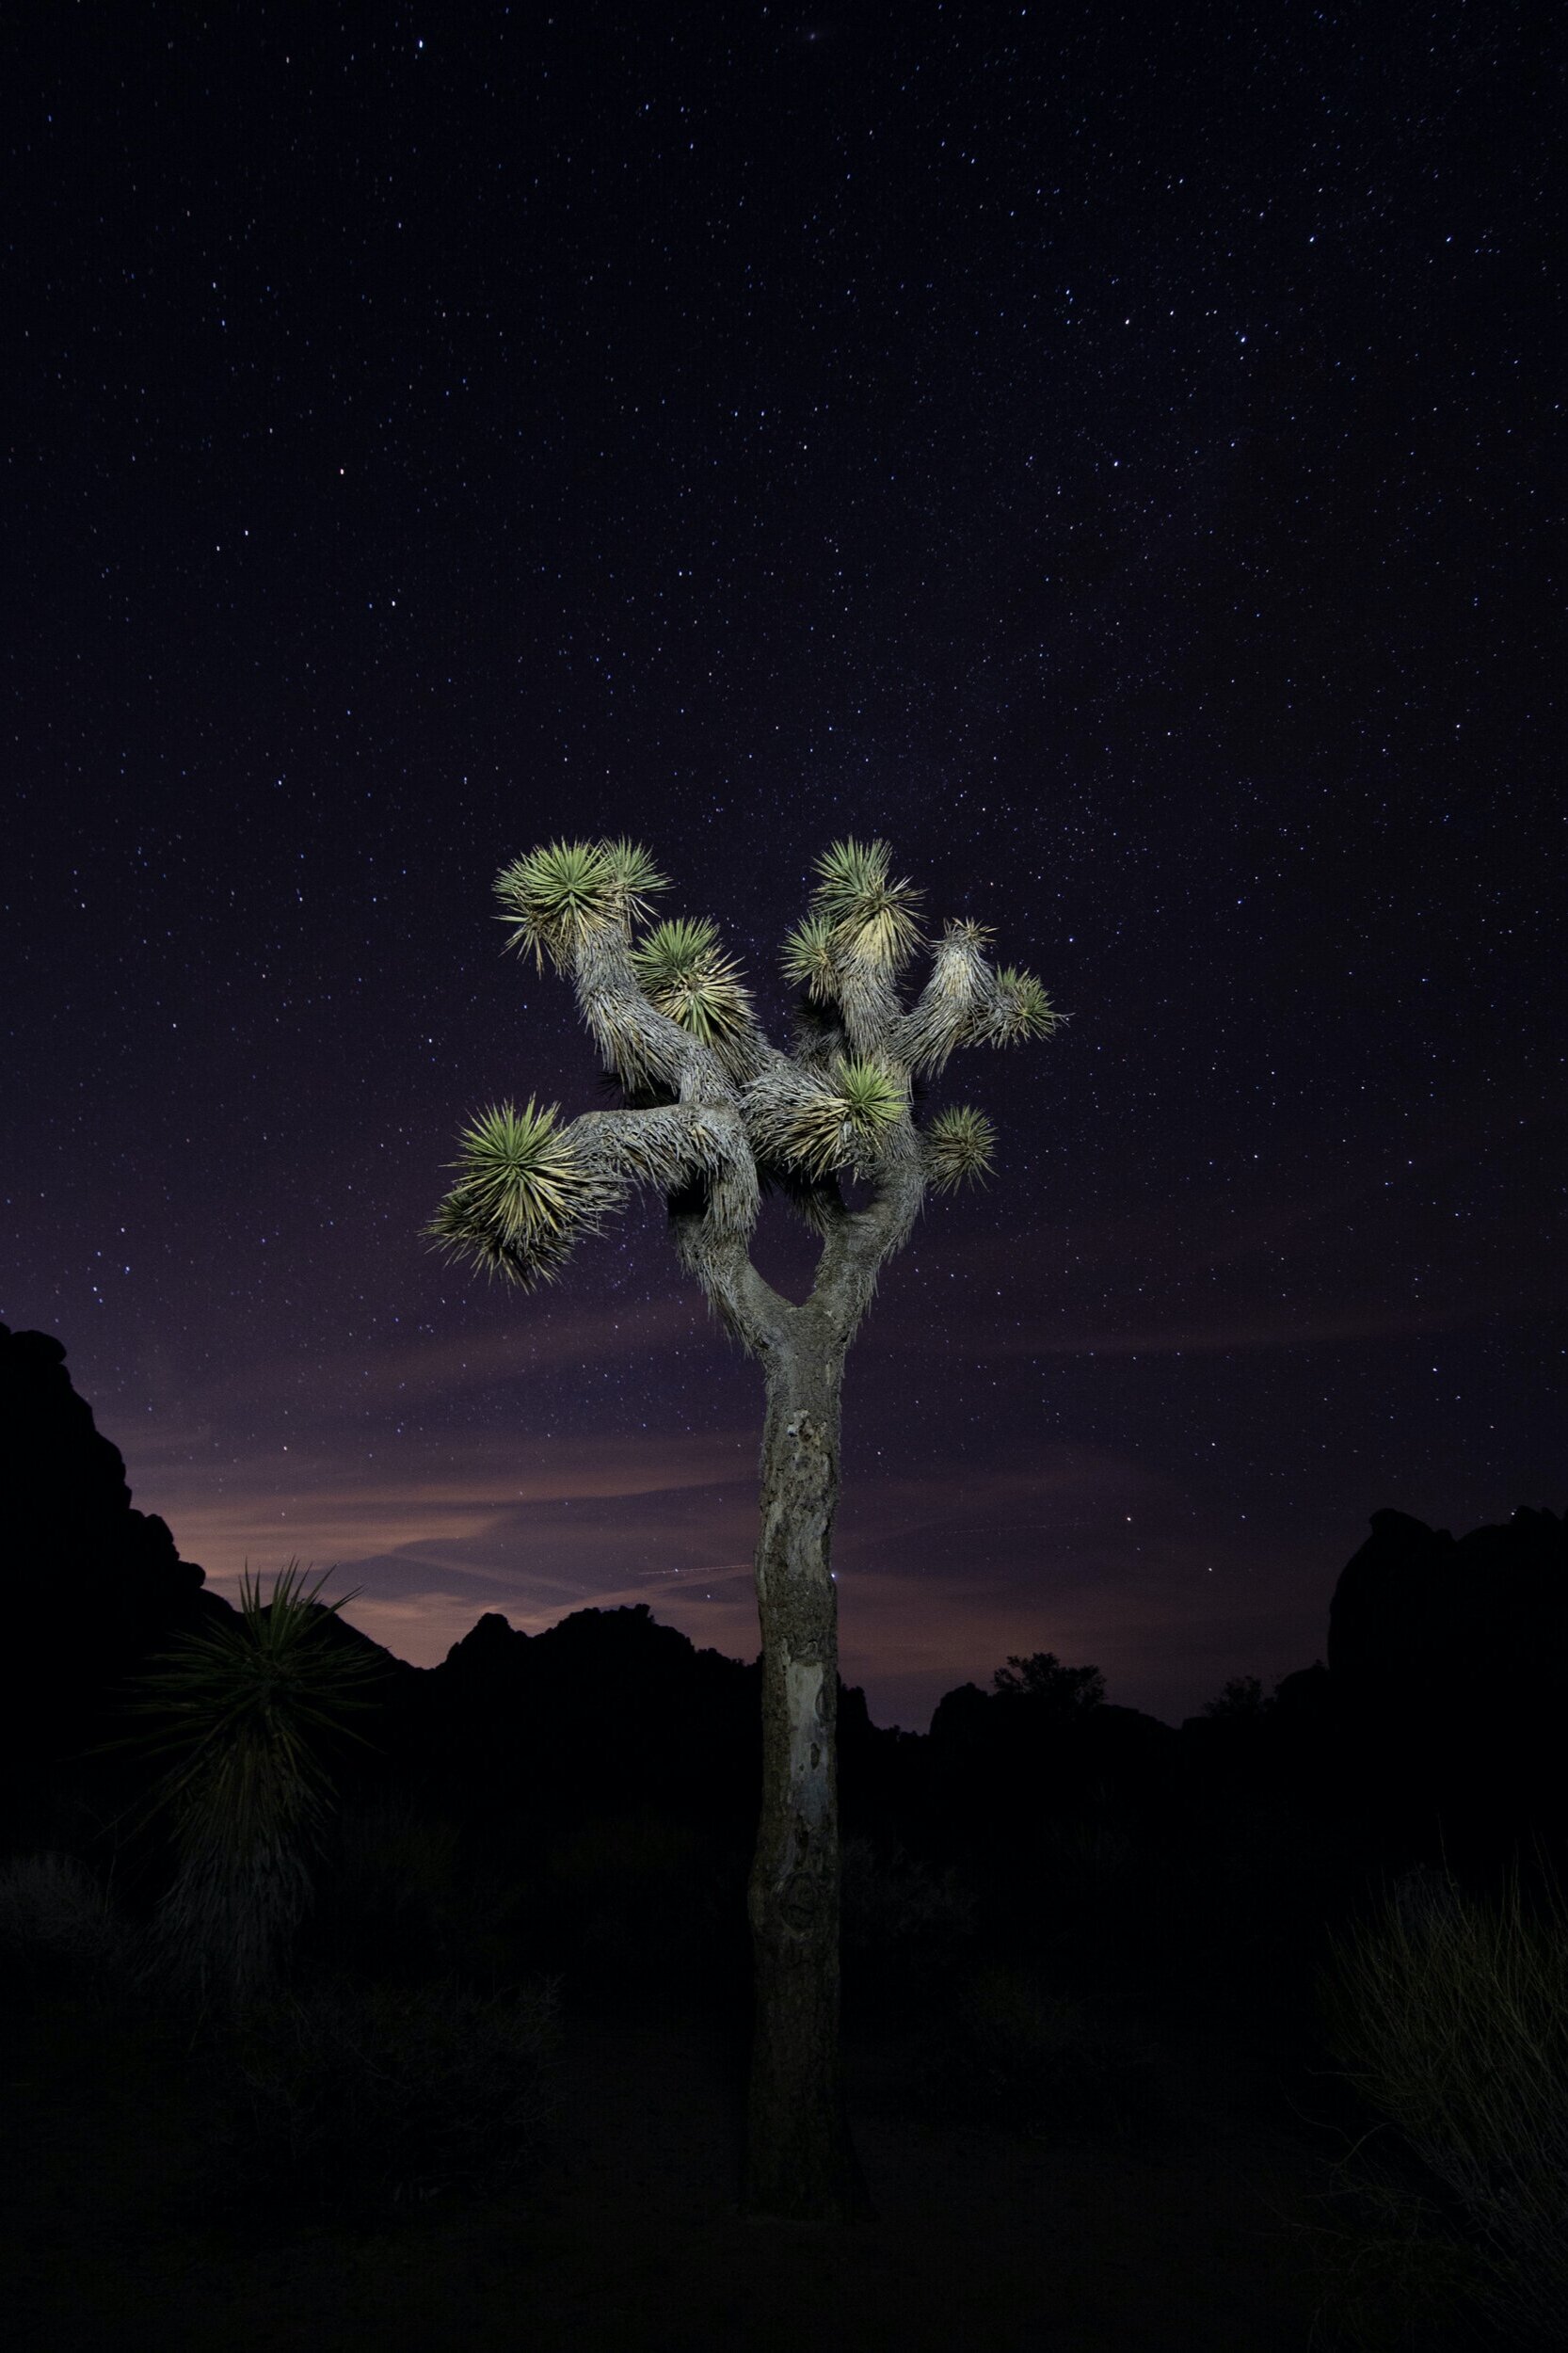
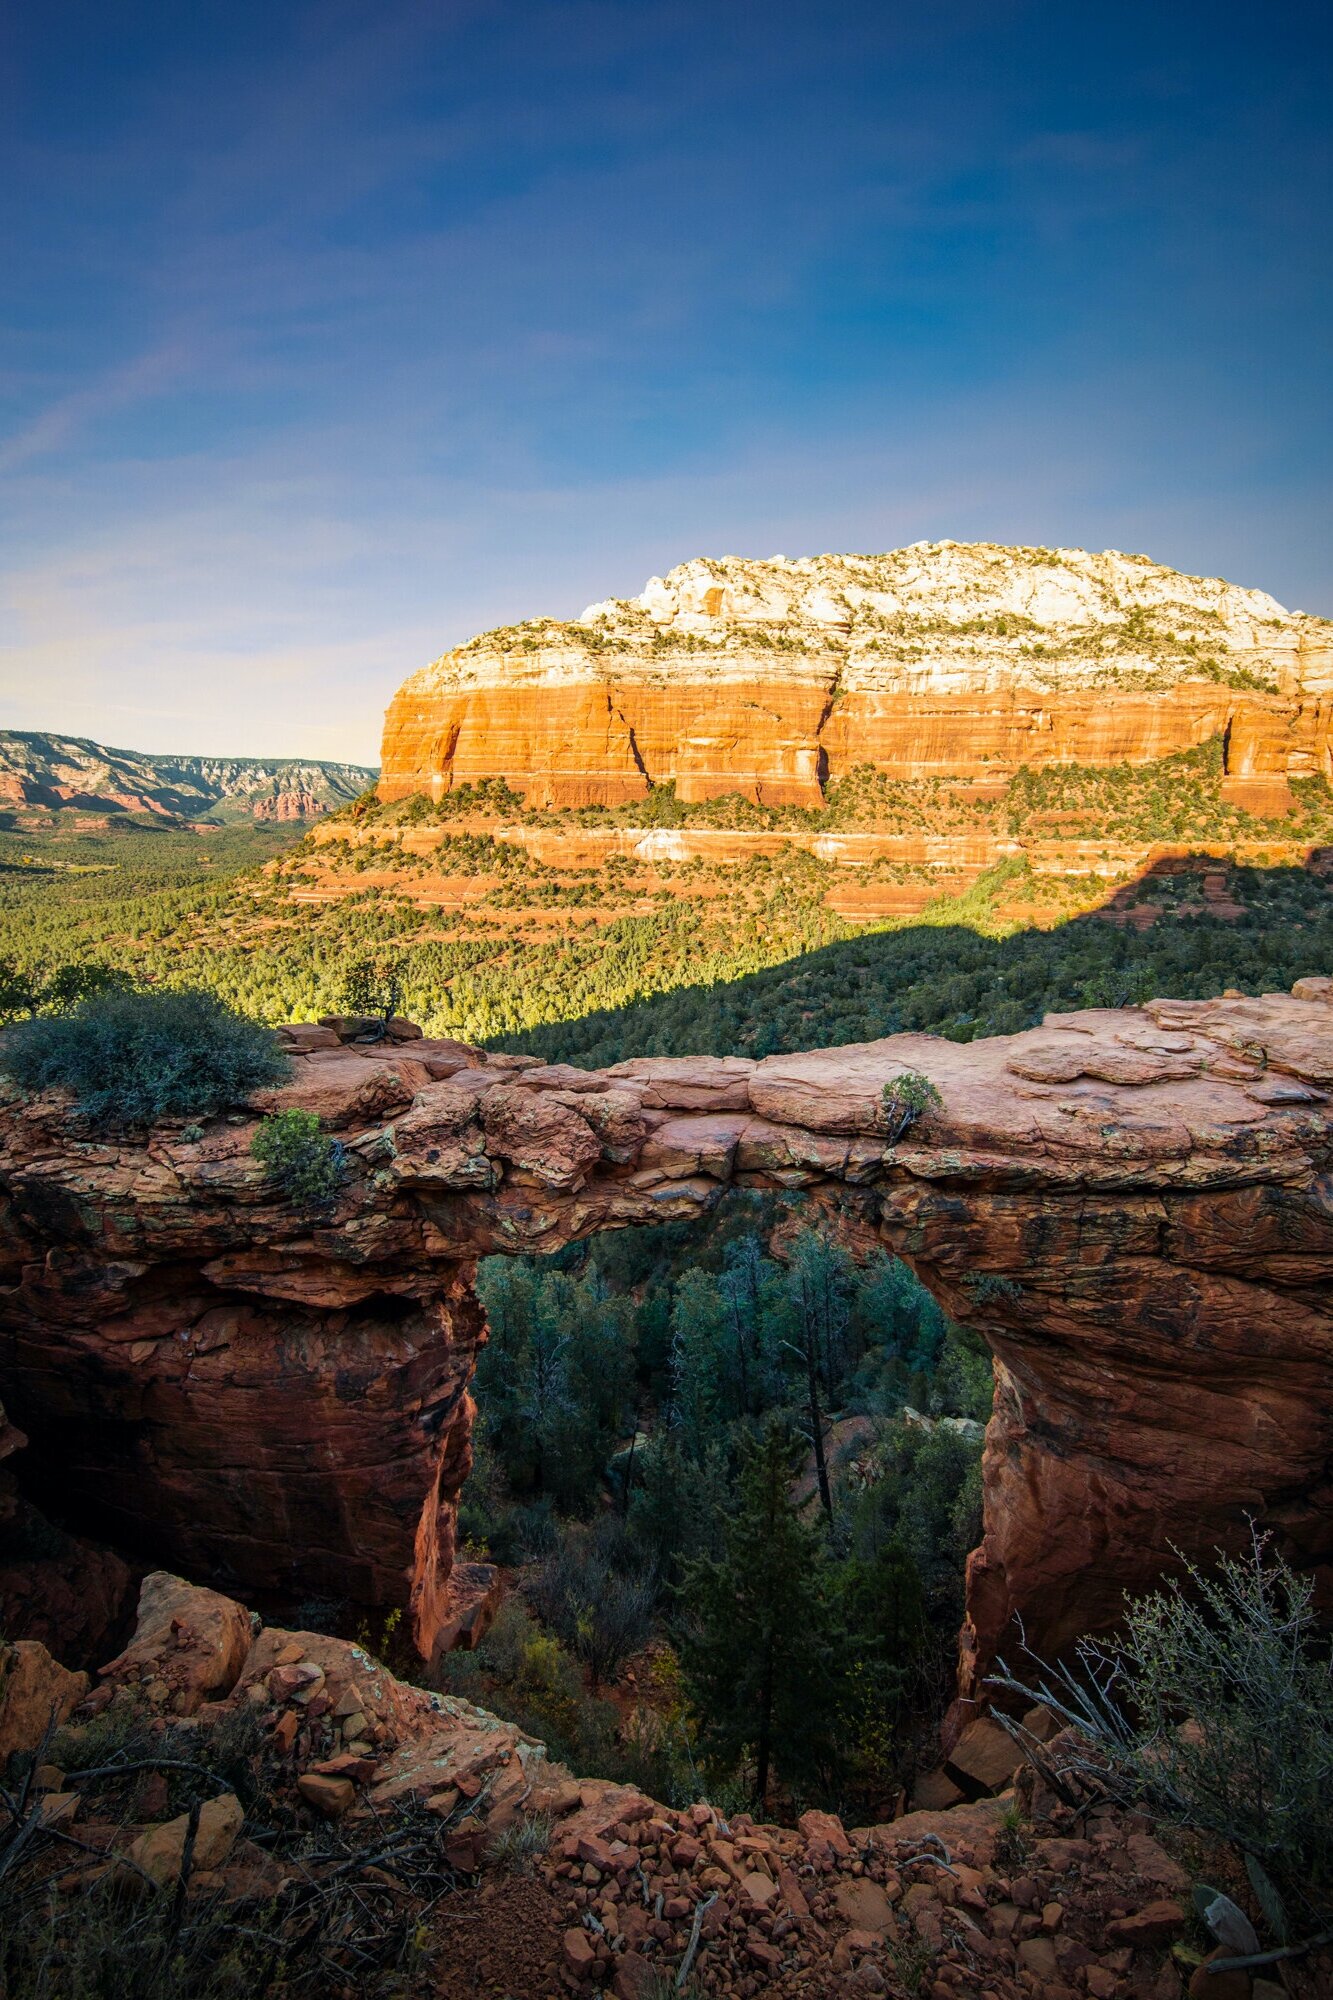
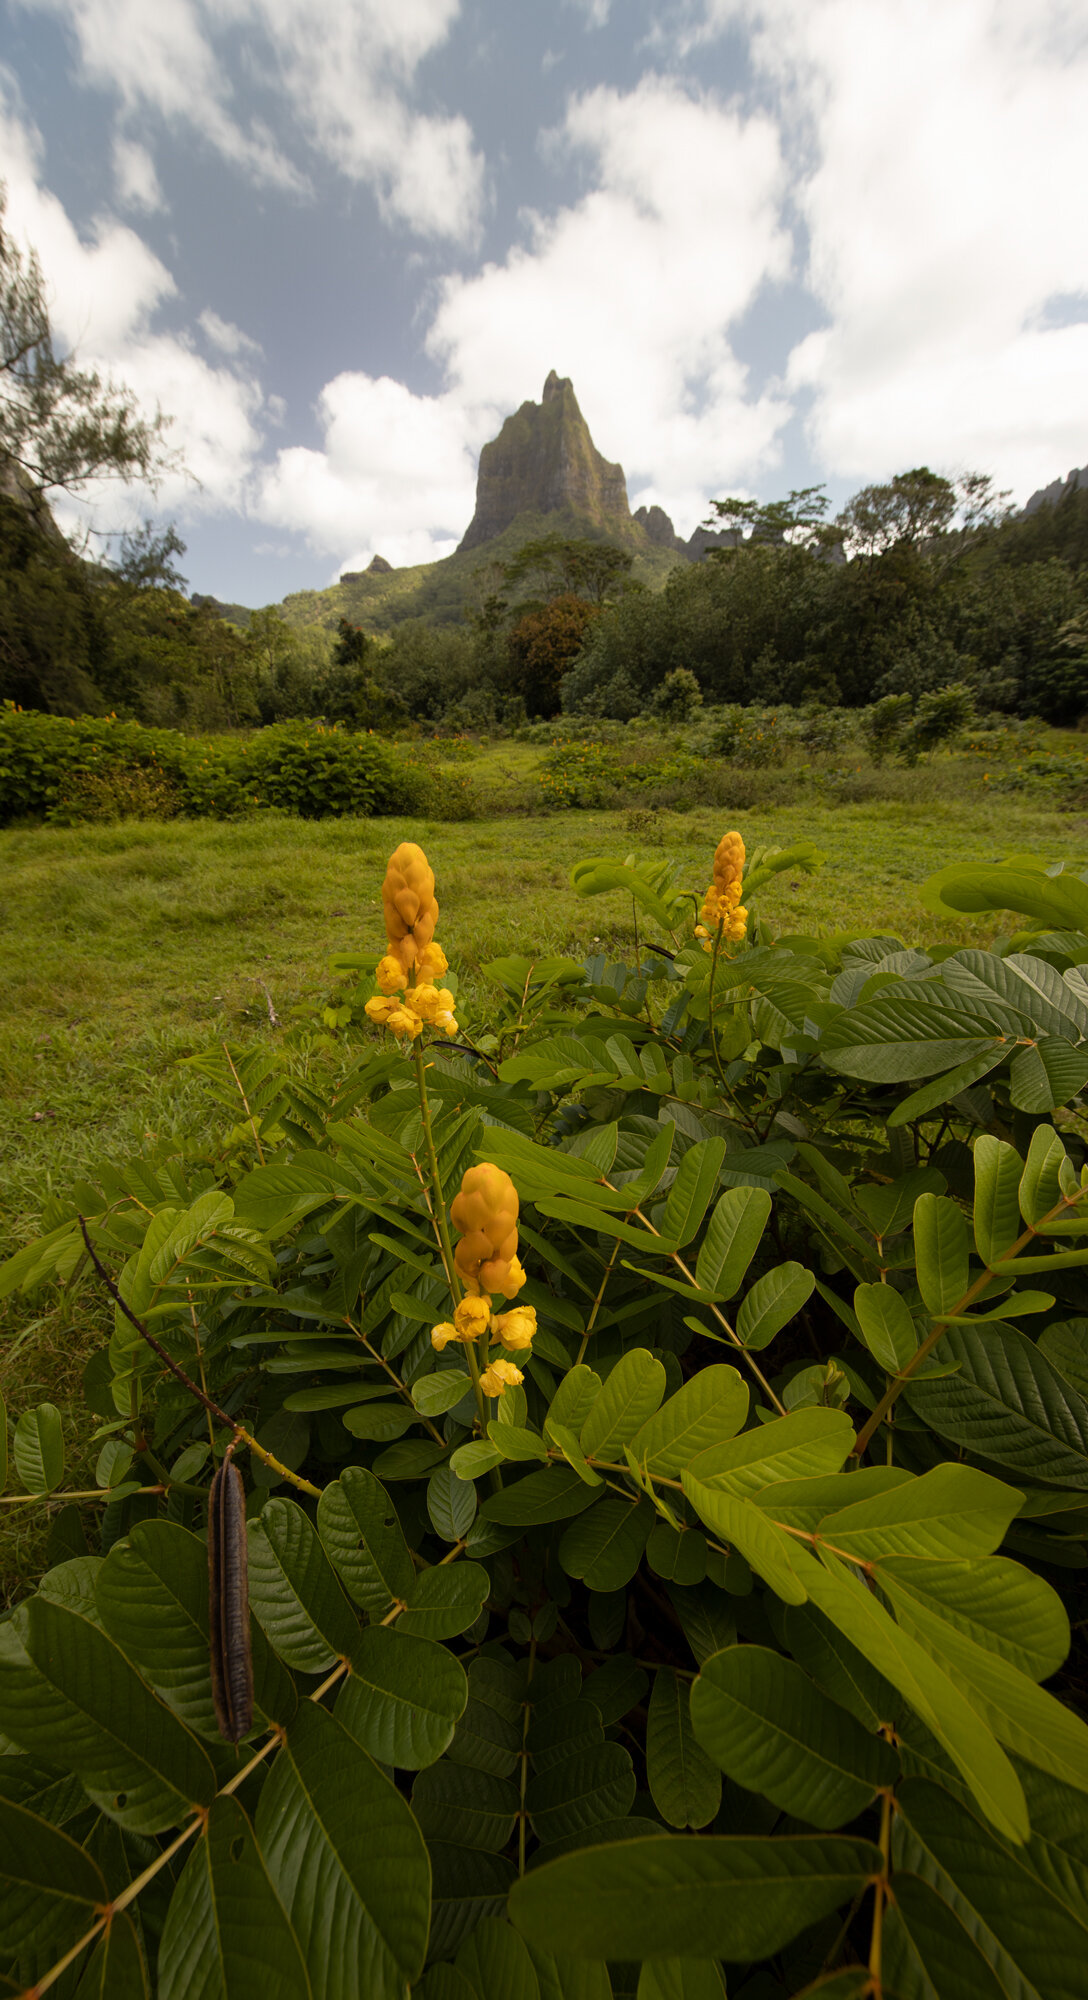
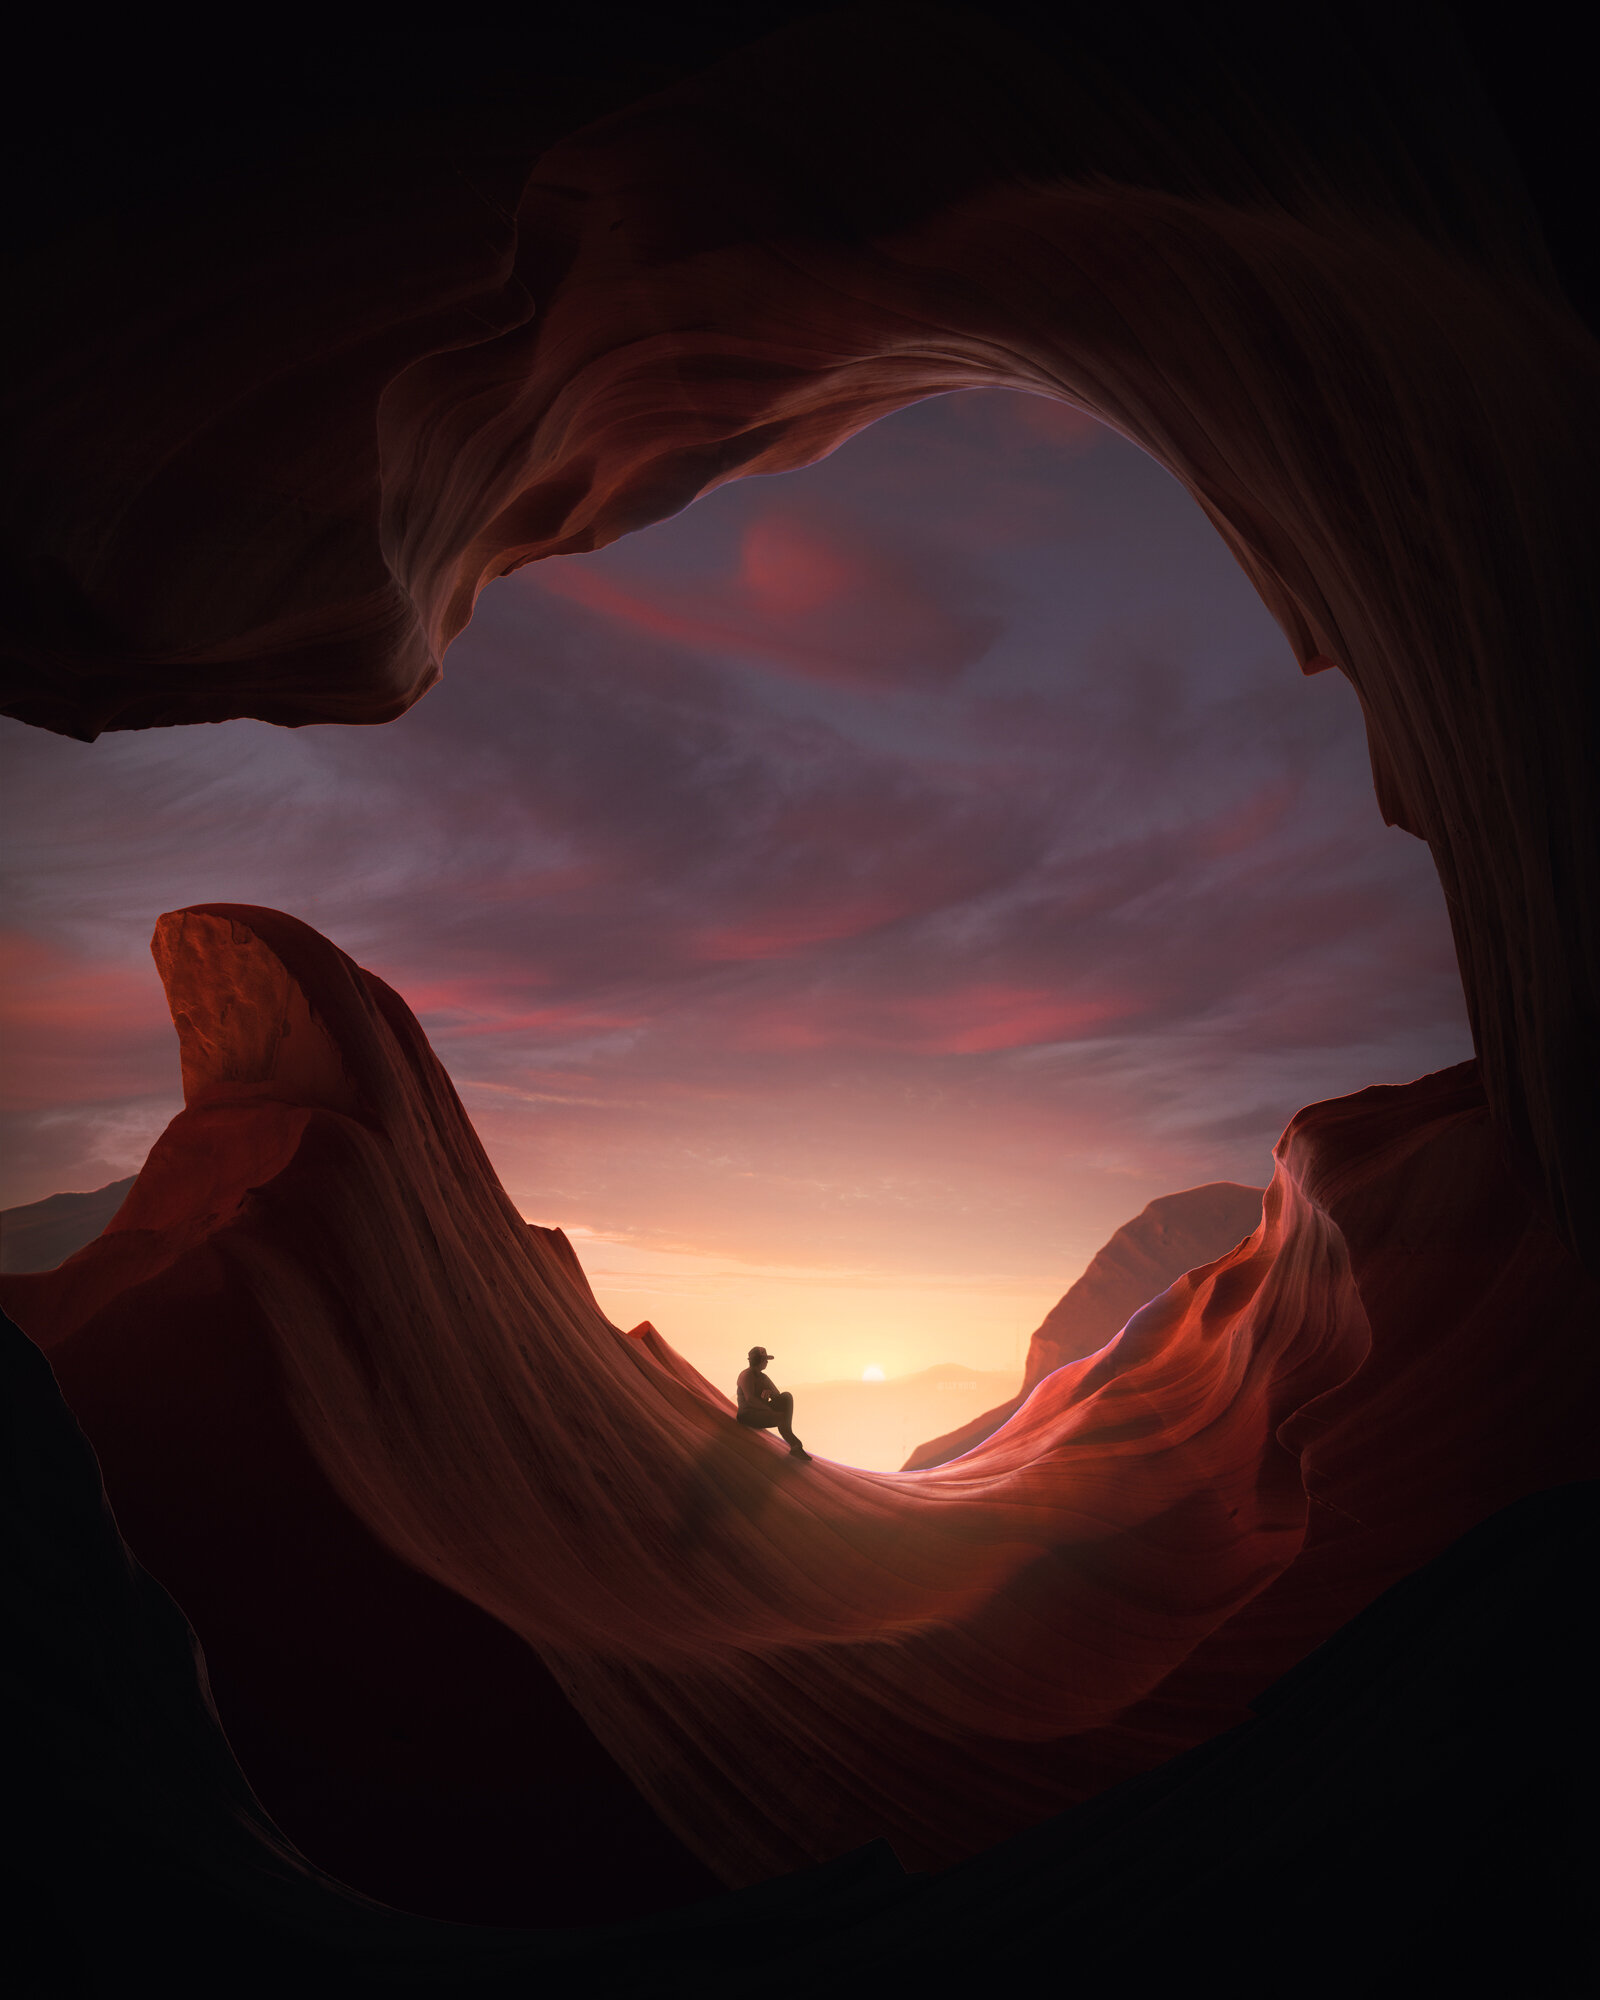
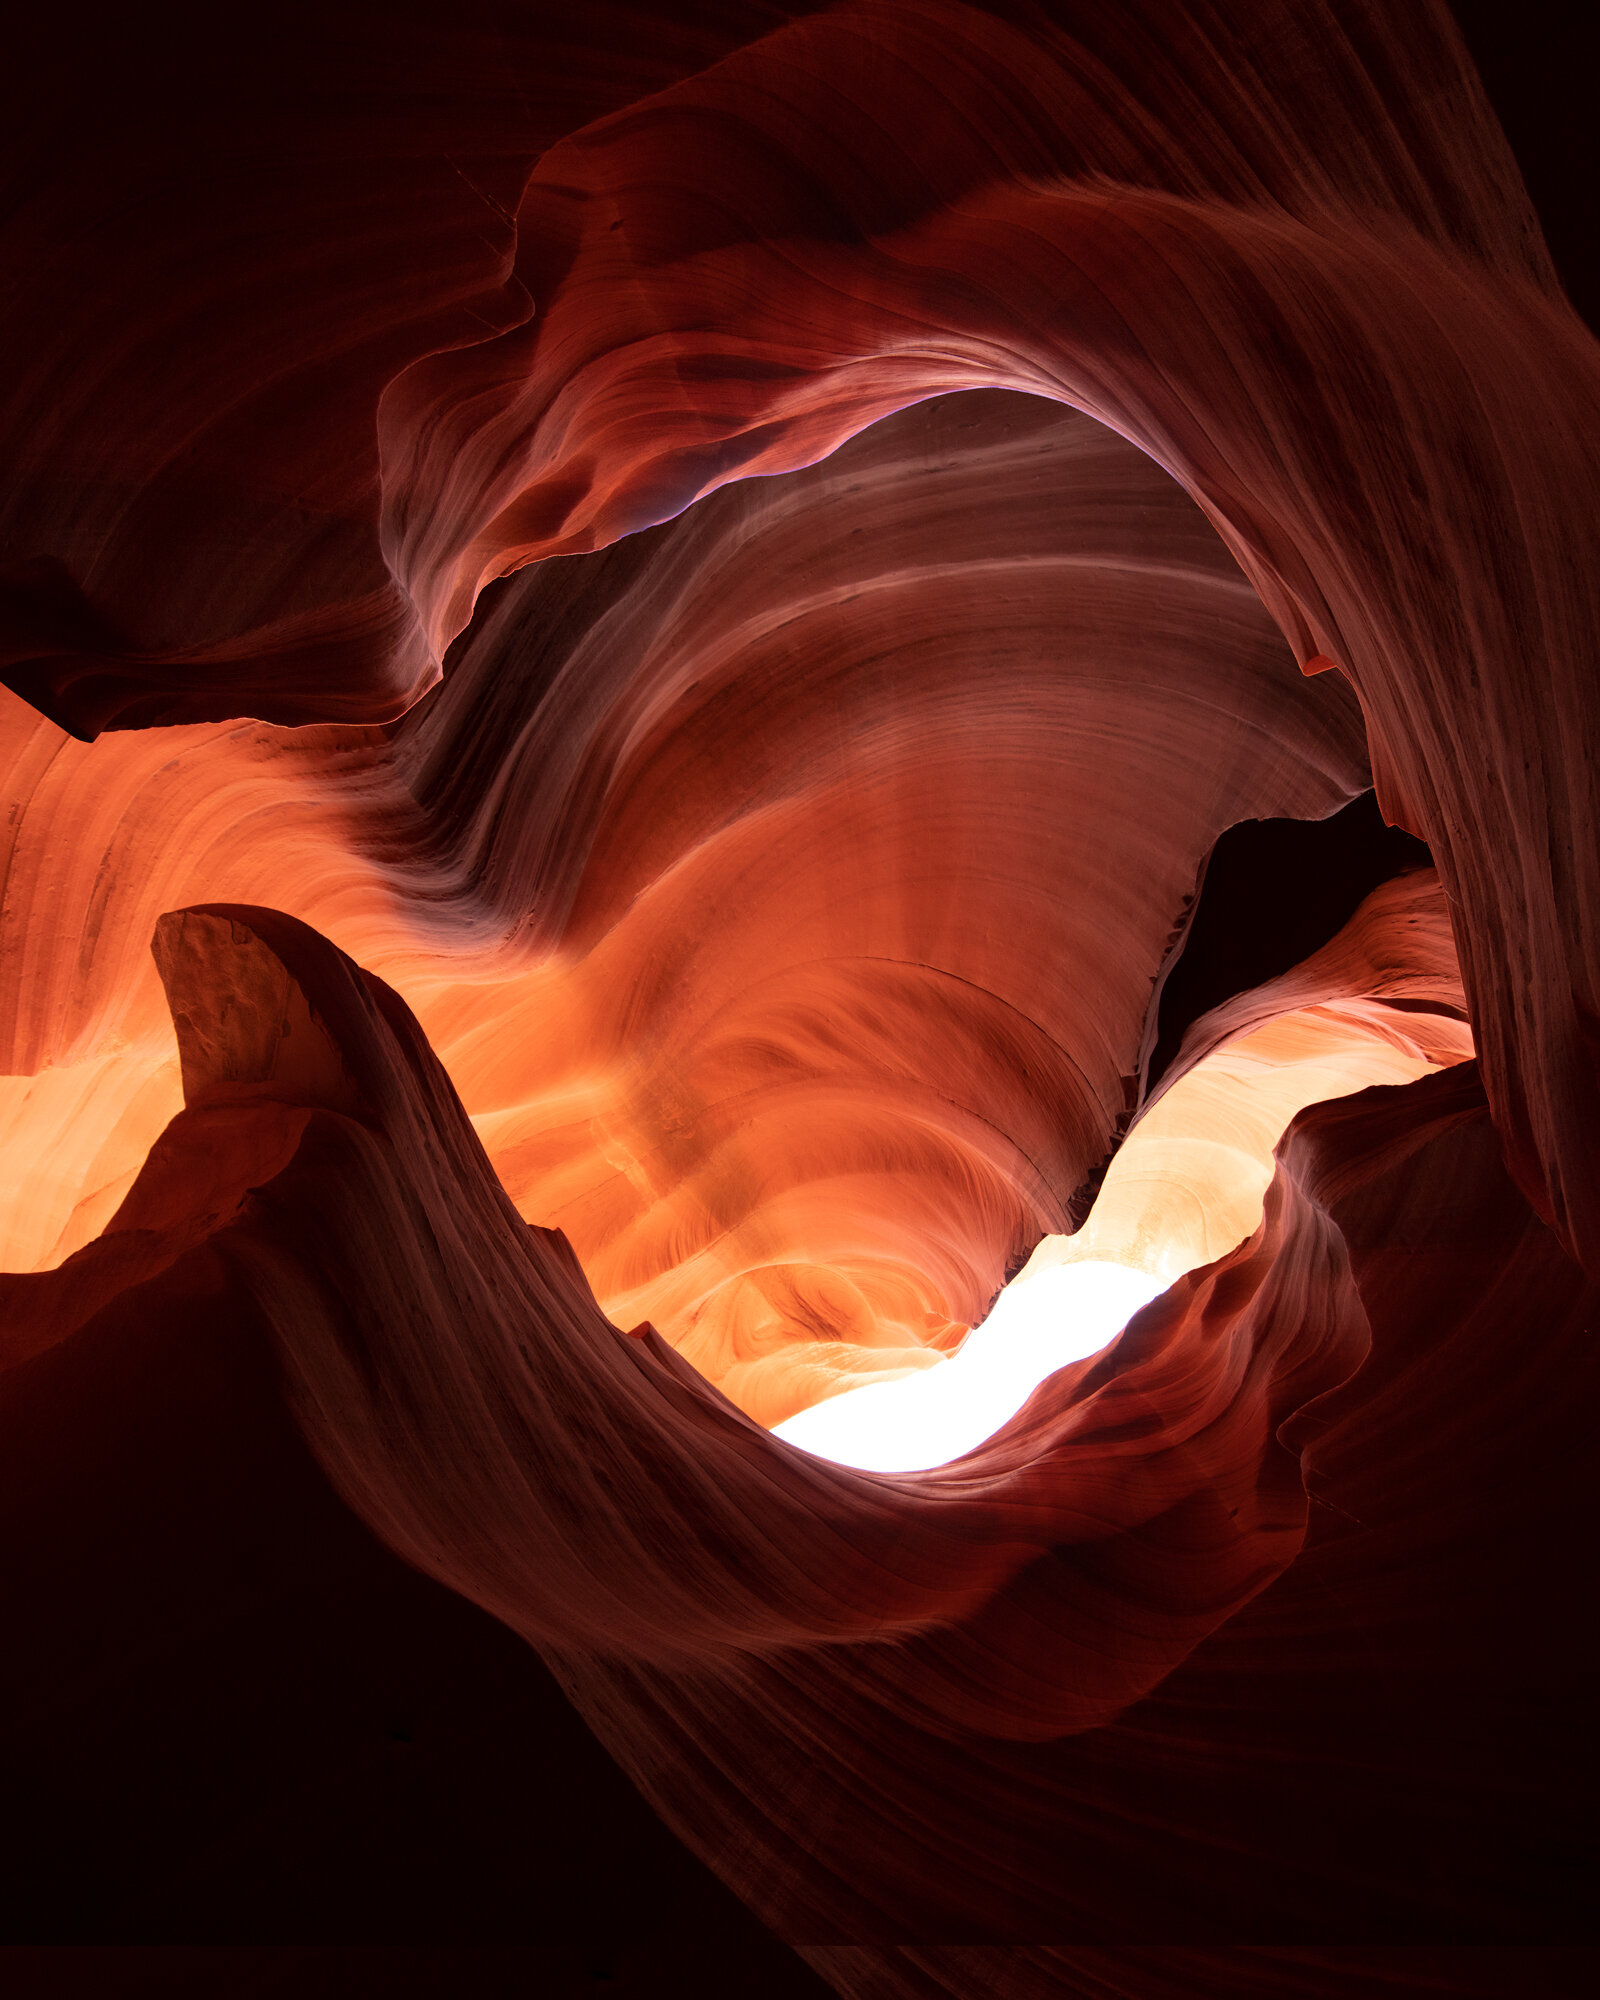
Distortion/Perspective Correction
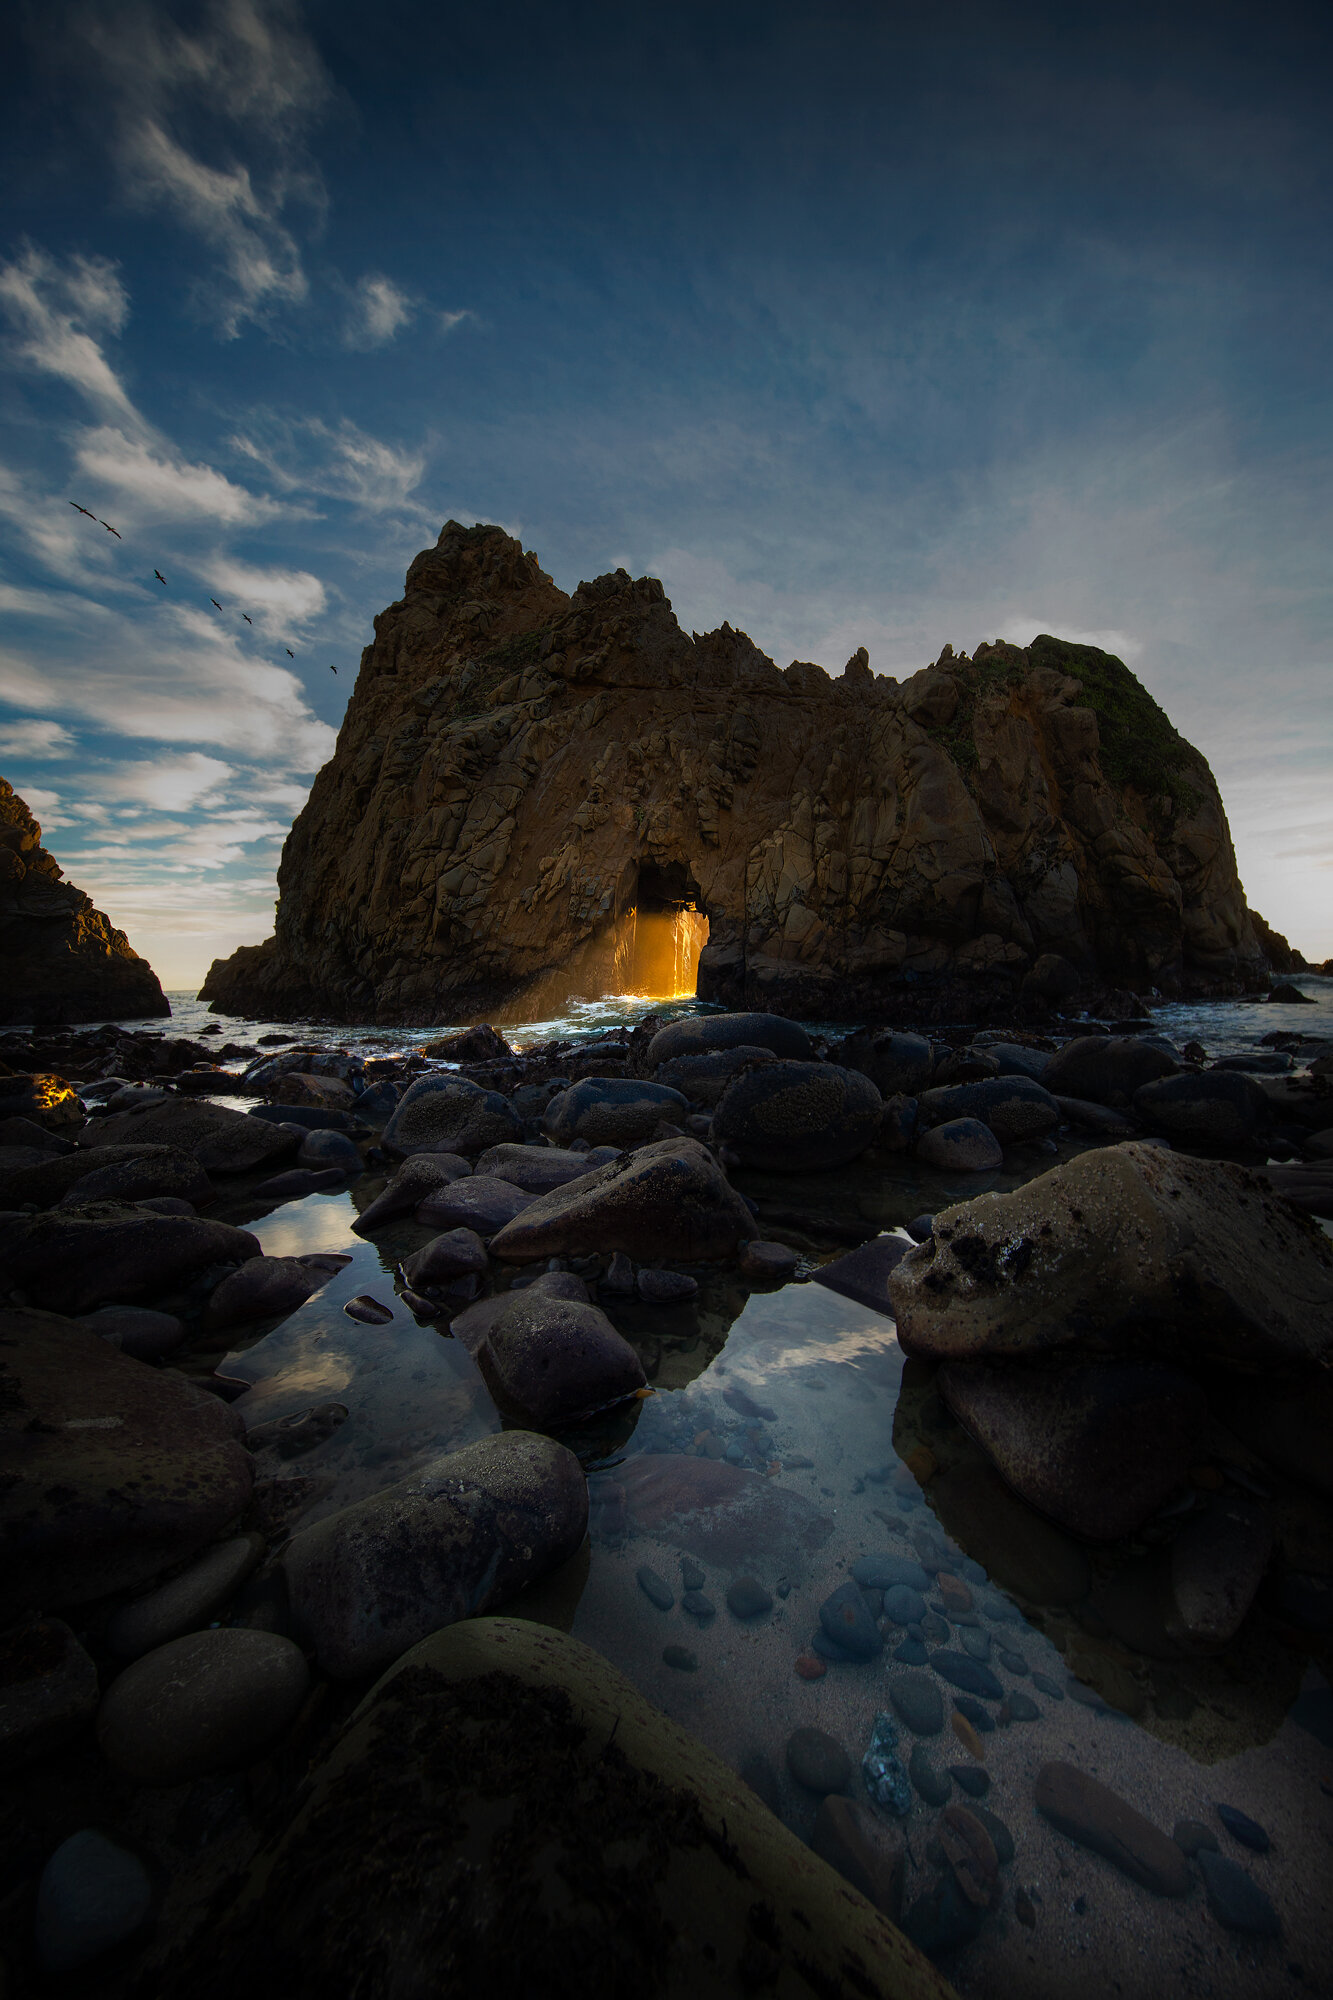
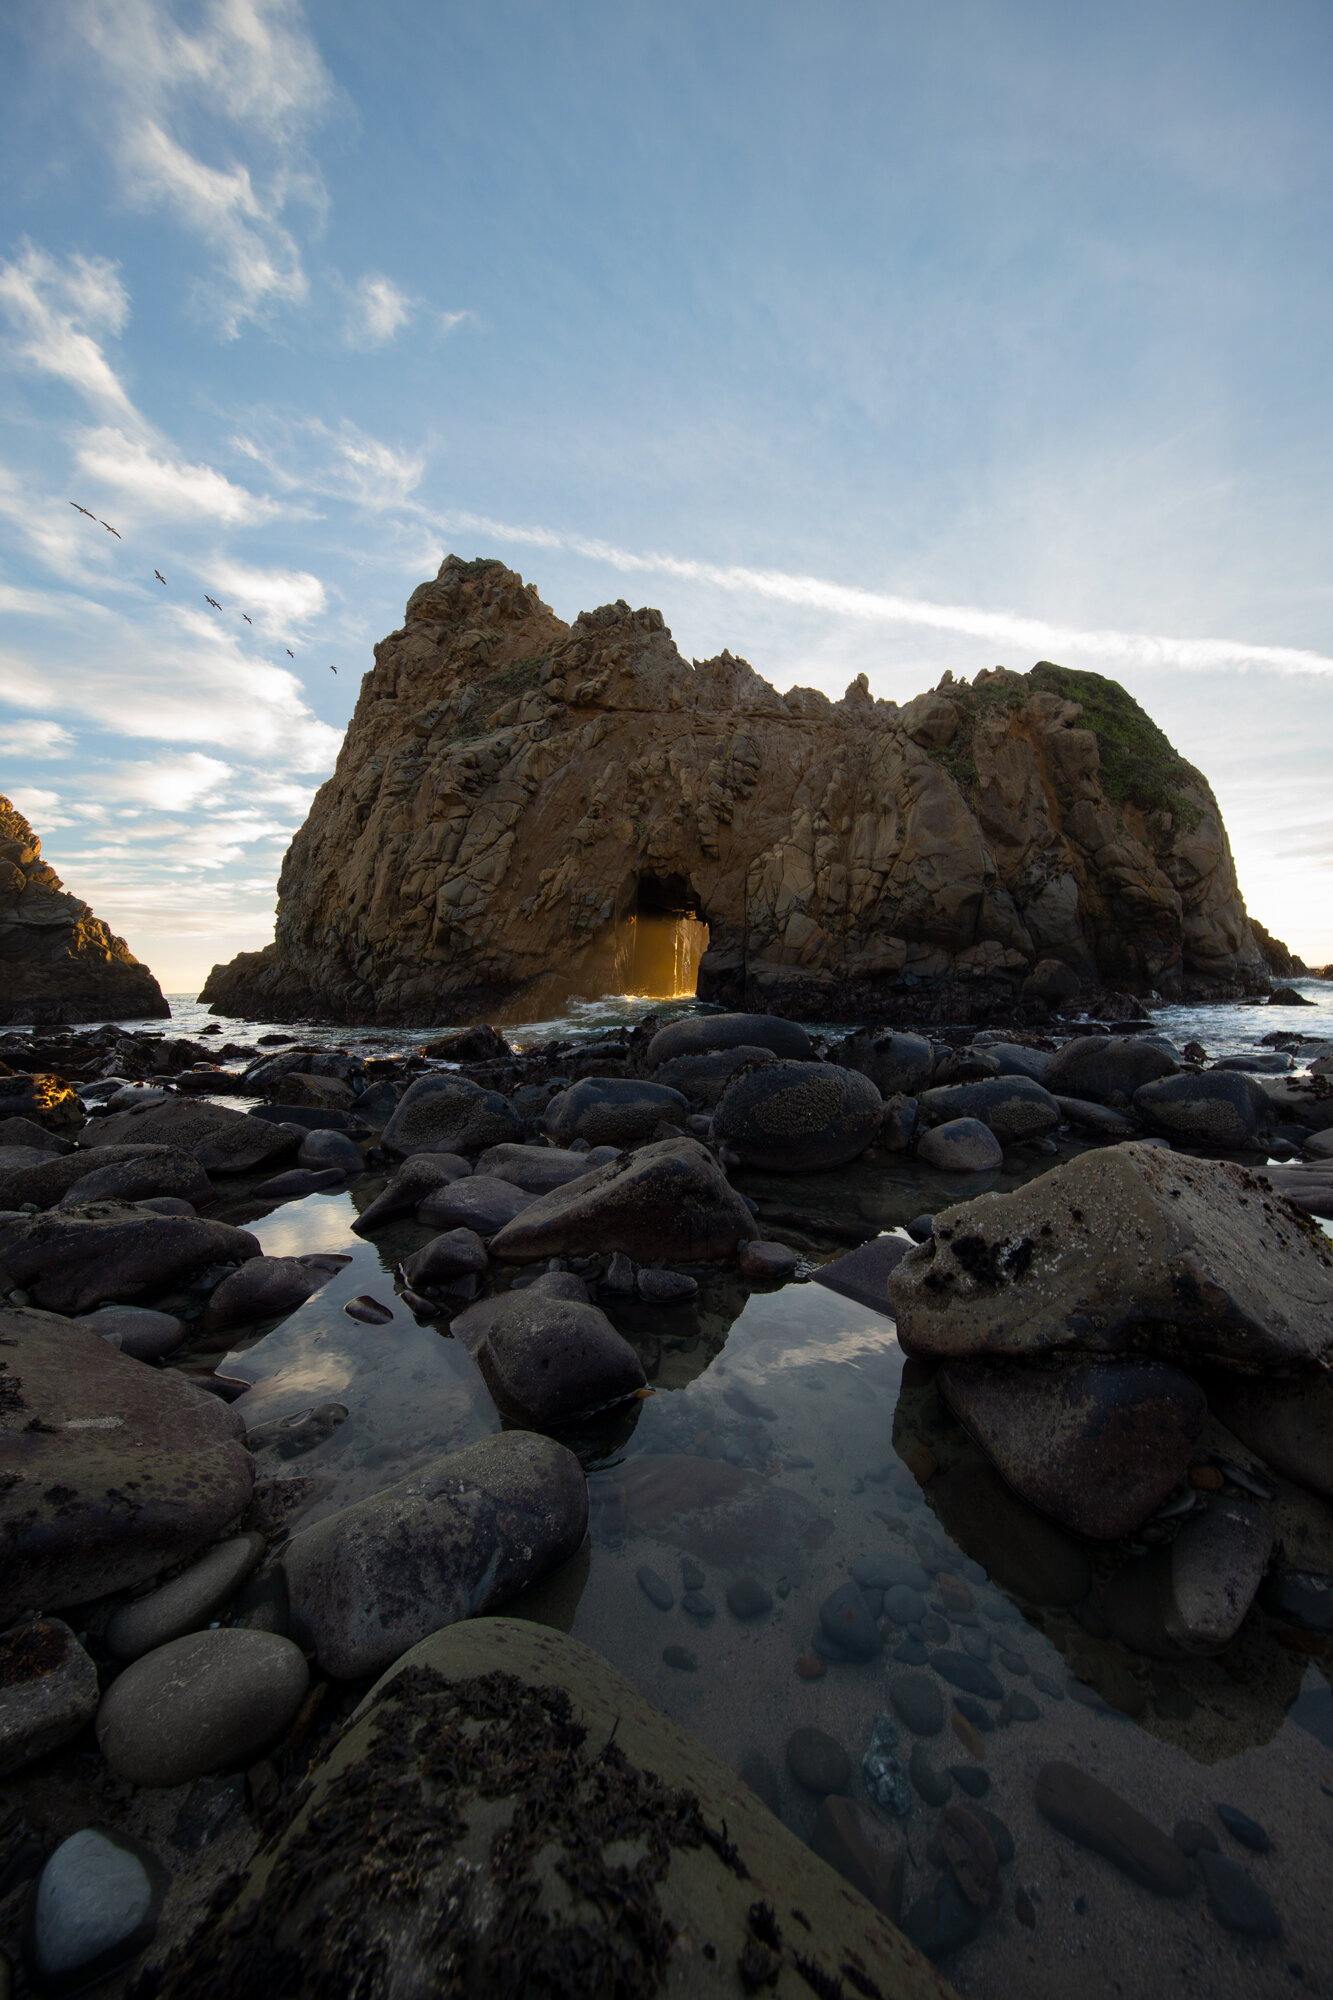
People often complain when they find out an image has been “Photoshopped”, because they claim it’s a misrepresentation of the scene. And in some cases, I would agree. However, it’s important to understand that even your camera interprets what it is seeing.
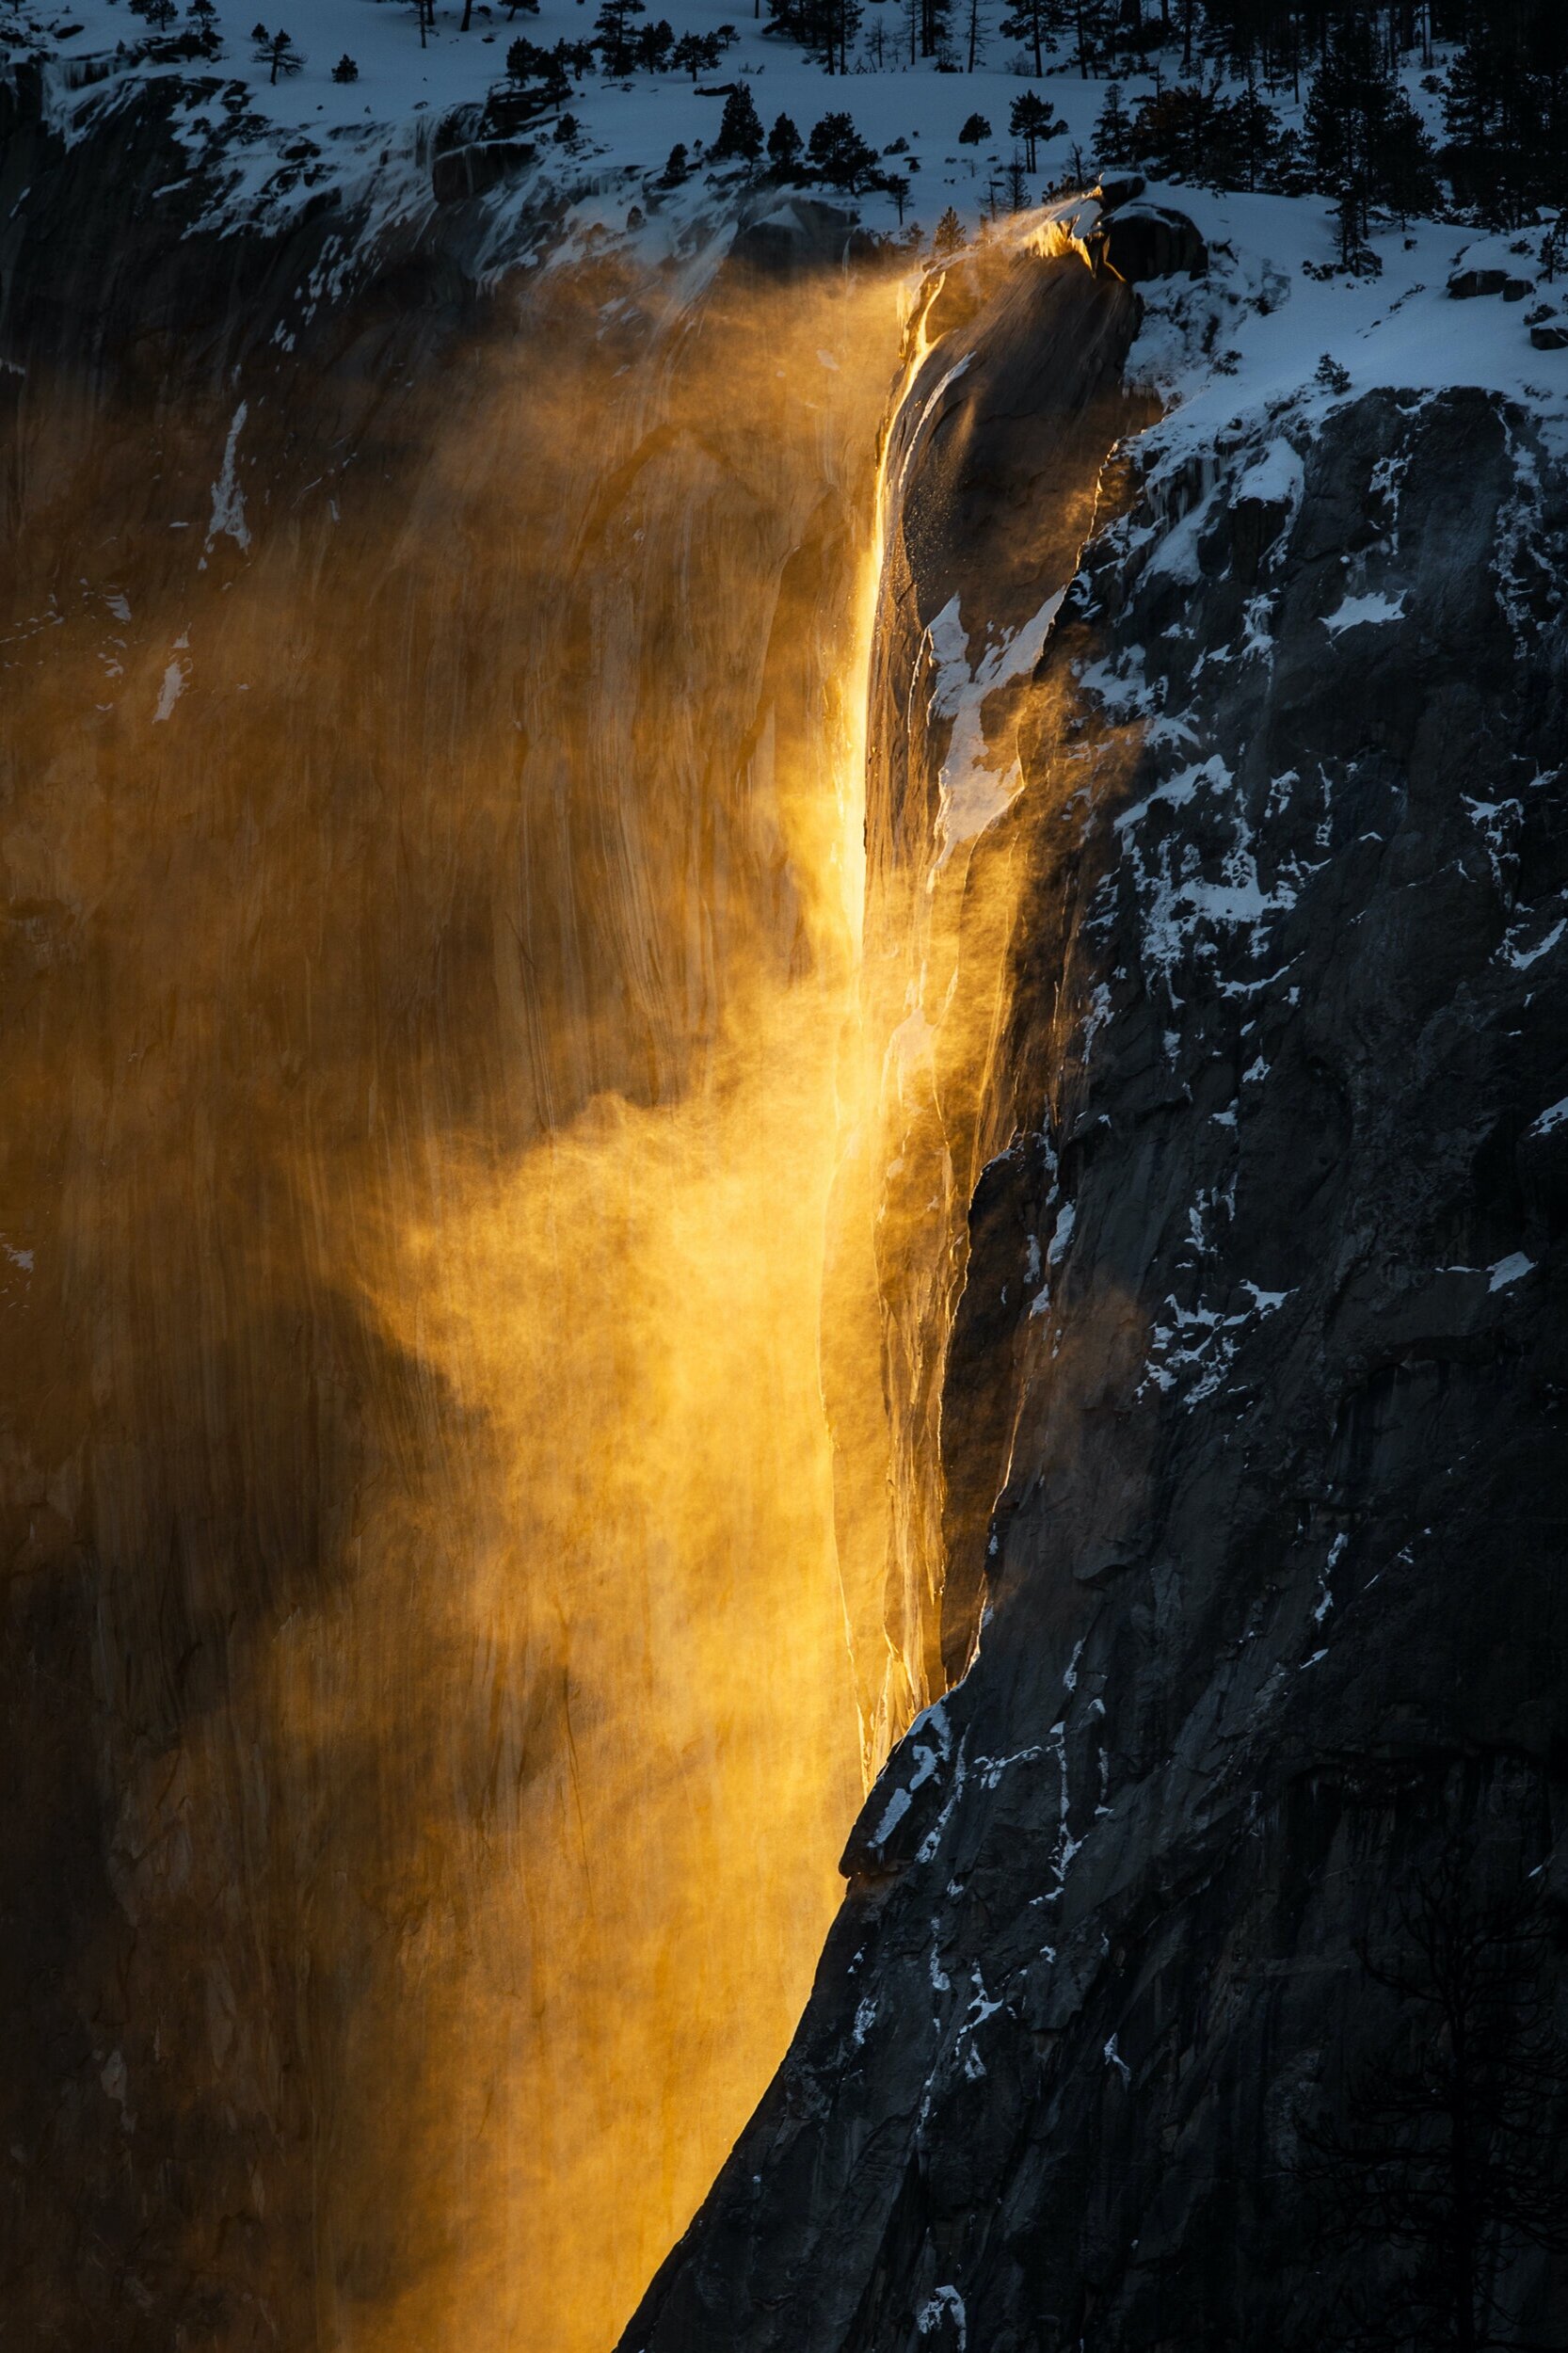
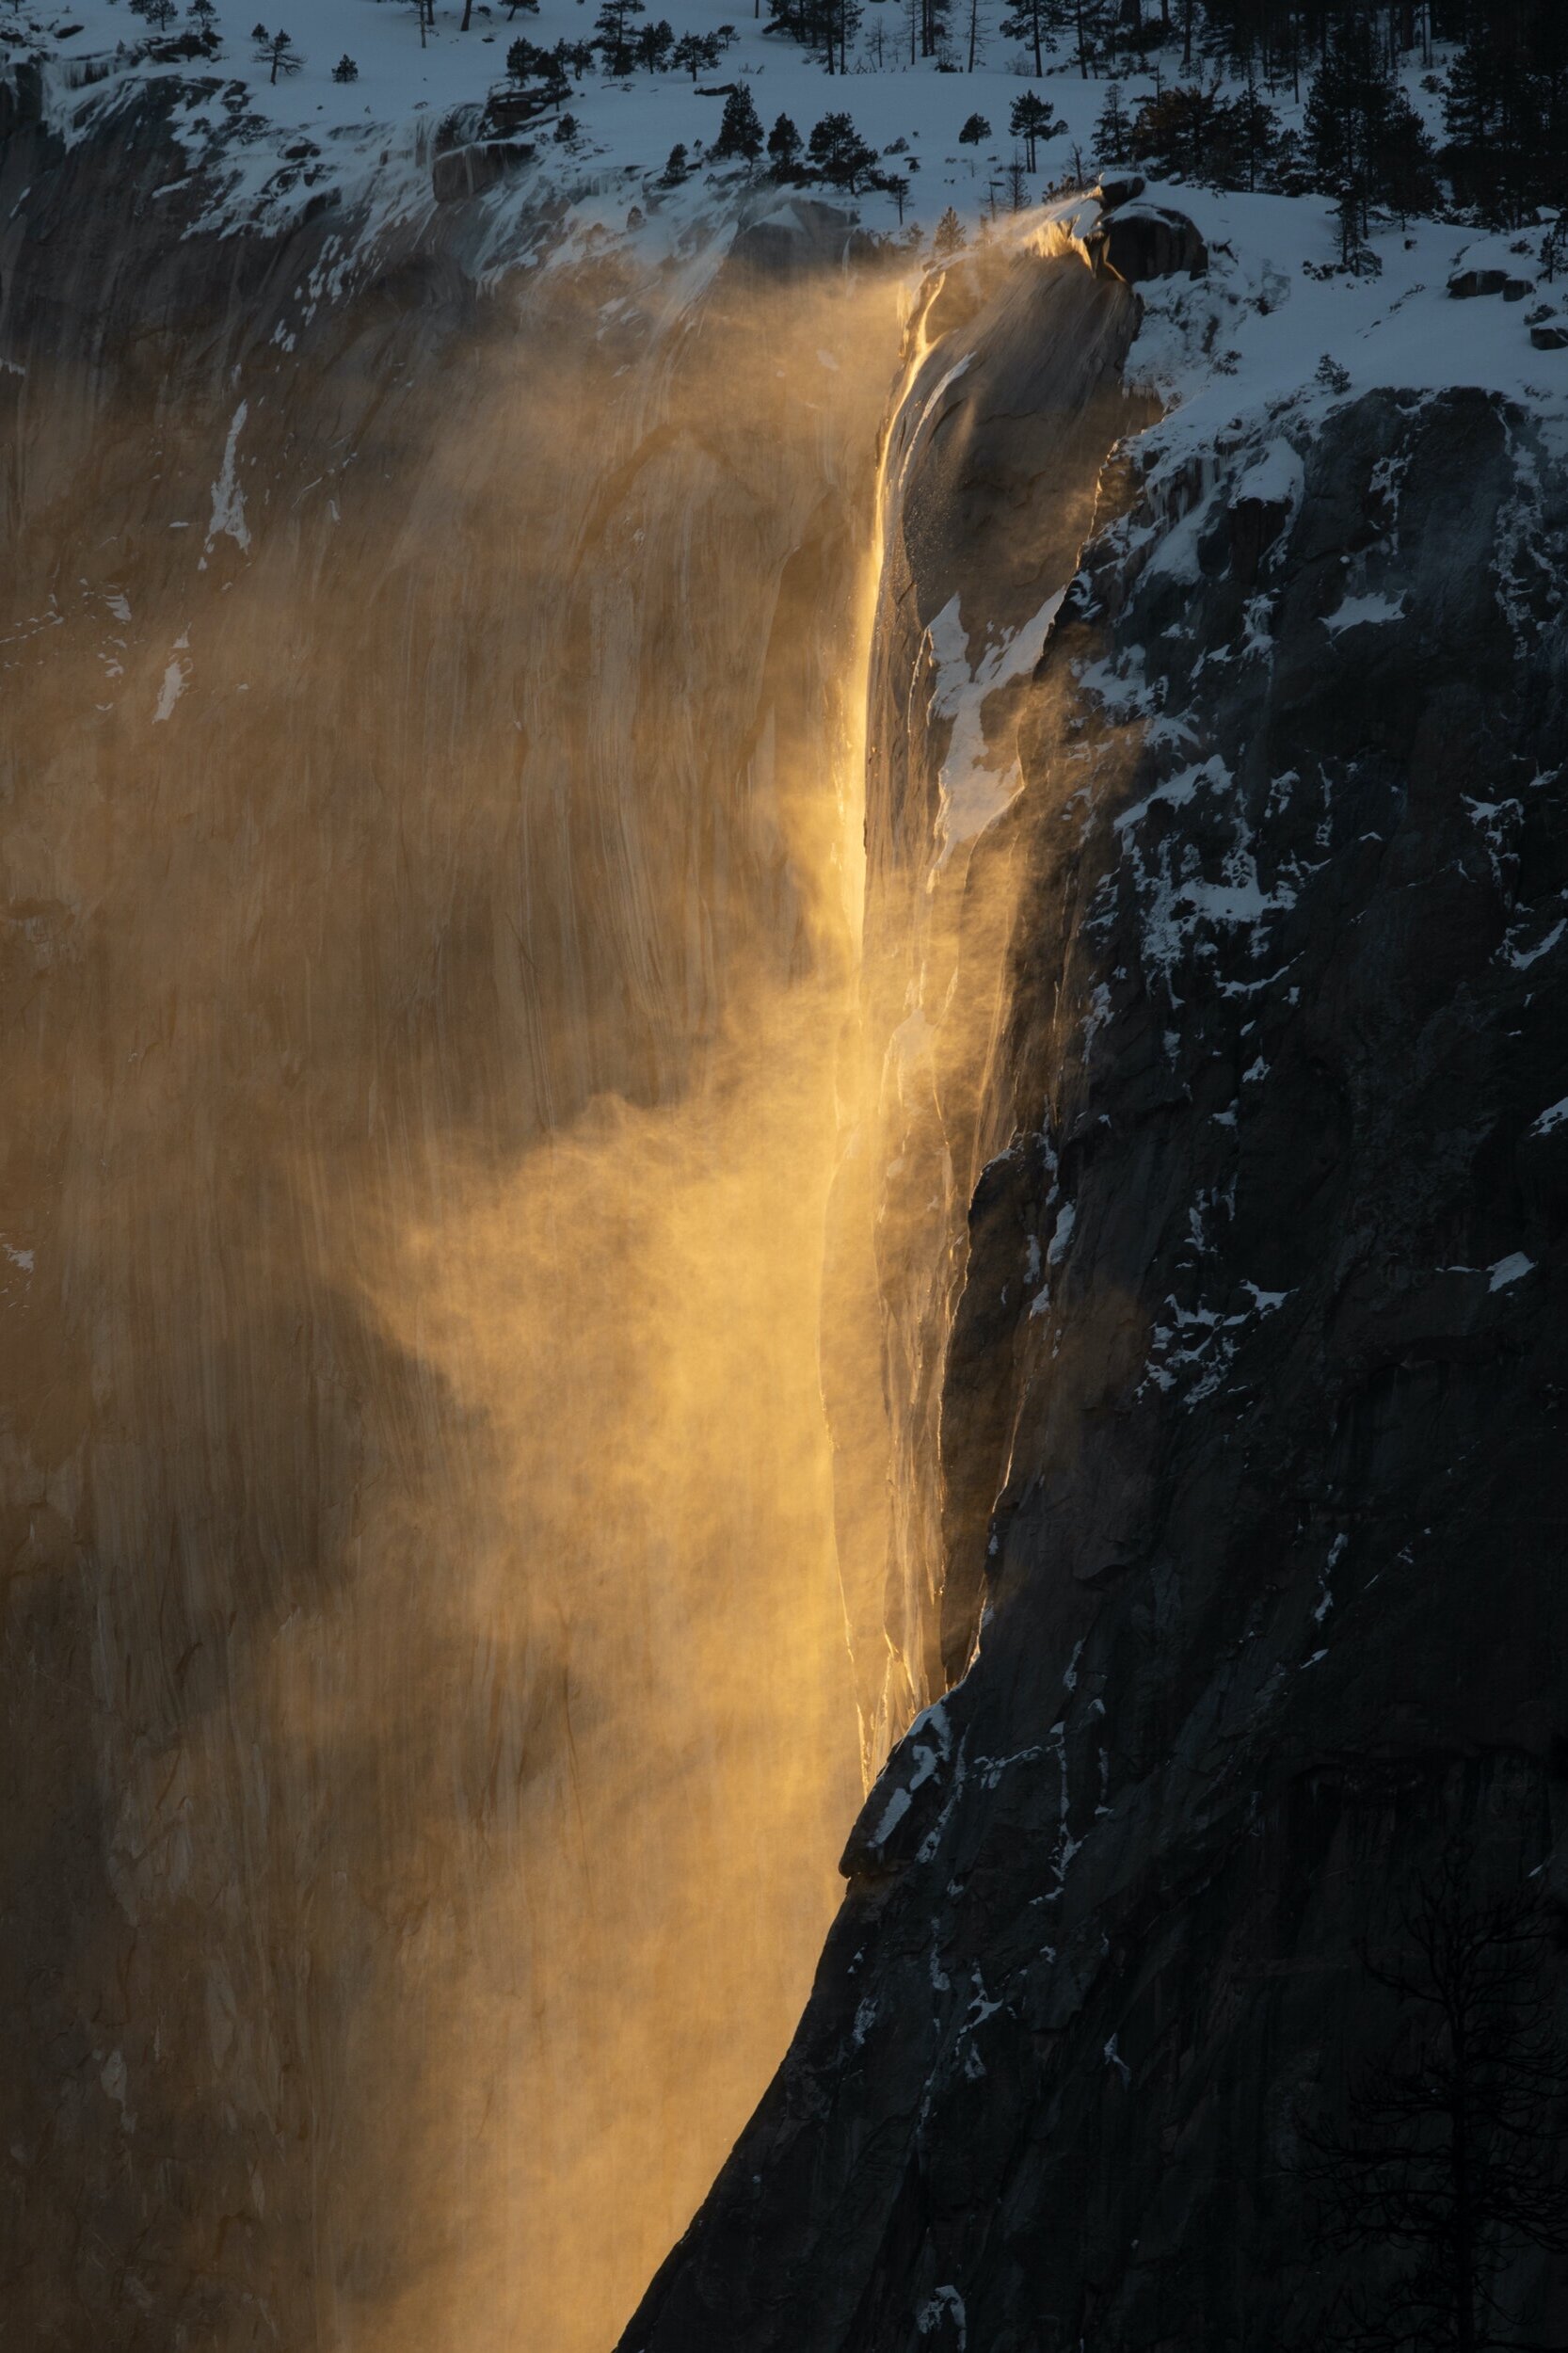
For example, if I wanted to capture a towering waterfall in it’s entirety, I would use an extremely wide-angle lens. This, however, creates distortion and in it’s own way, has manipulated what people would call “real” into something different. Rocks and trees on the outside of the frame are stretched while the middle of the scene is condensed.
To me, honest representation is subjective…to a point. Cameras and lenses are only tools to help us attempt to capture our interpretation of the beautiful world around us. Photoshop is just another tool to help us communicate it. Here are some examples where the original raw photo(s) did not accurately reflect what I perceived in the field. Different photoshop techniques were used to adjust for distortion and perspective including liquify, lens correction, Camera Raw’s distortion slider as well as some puzzle-piecing between shots.
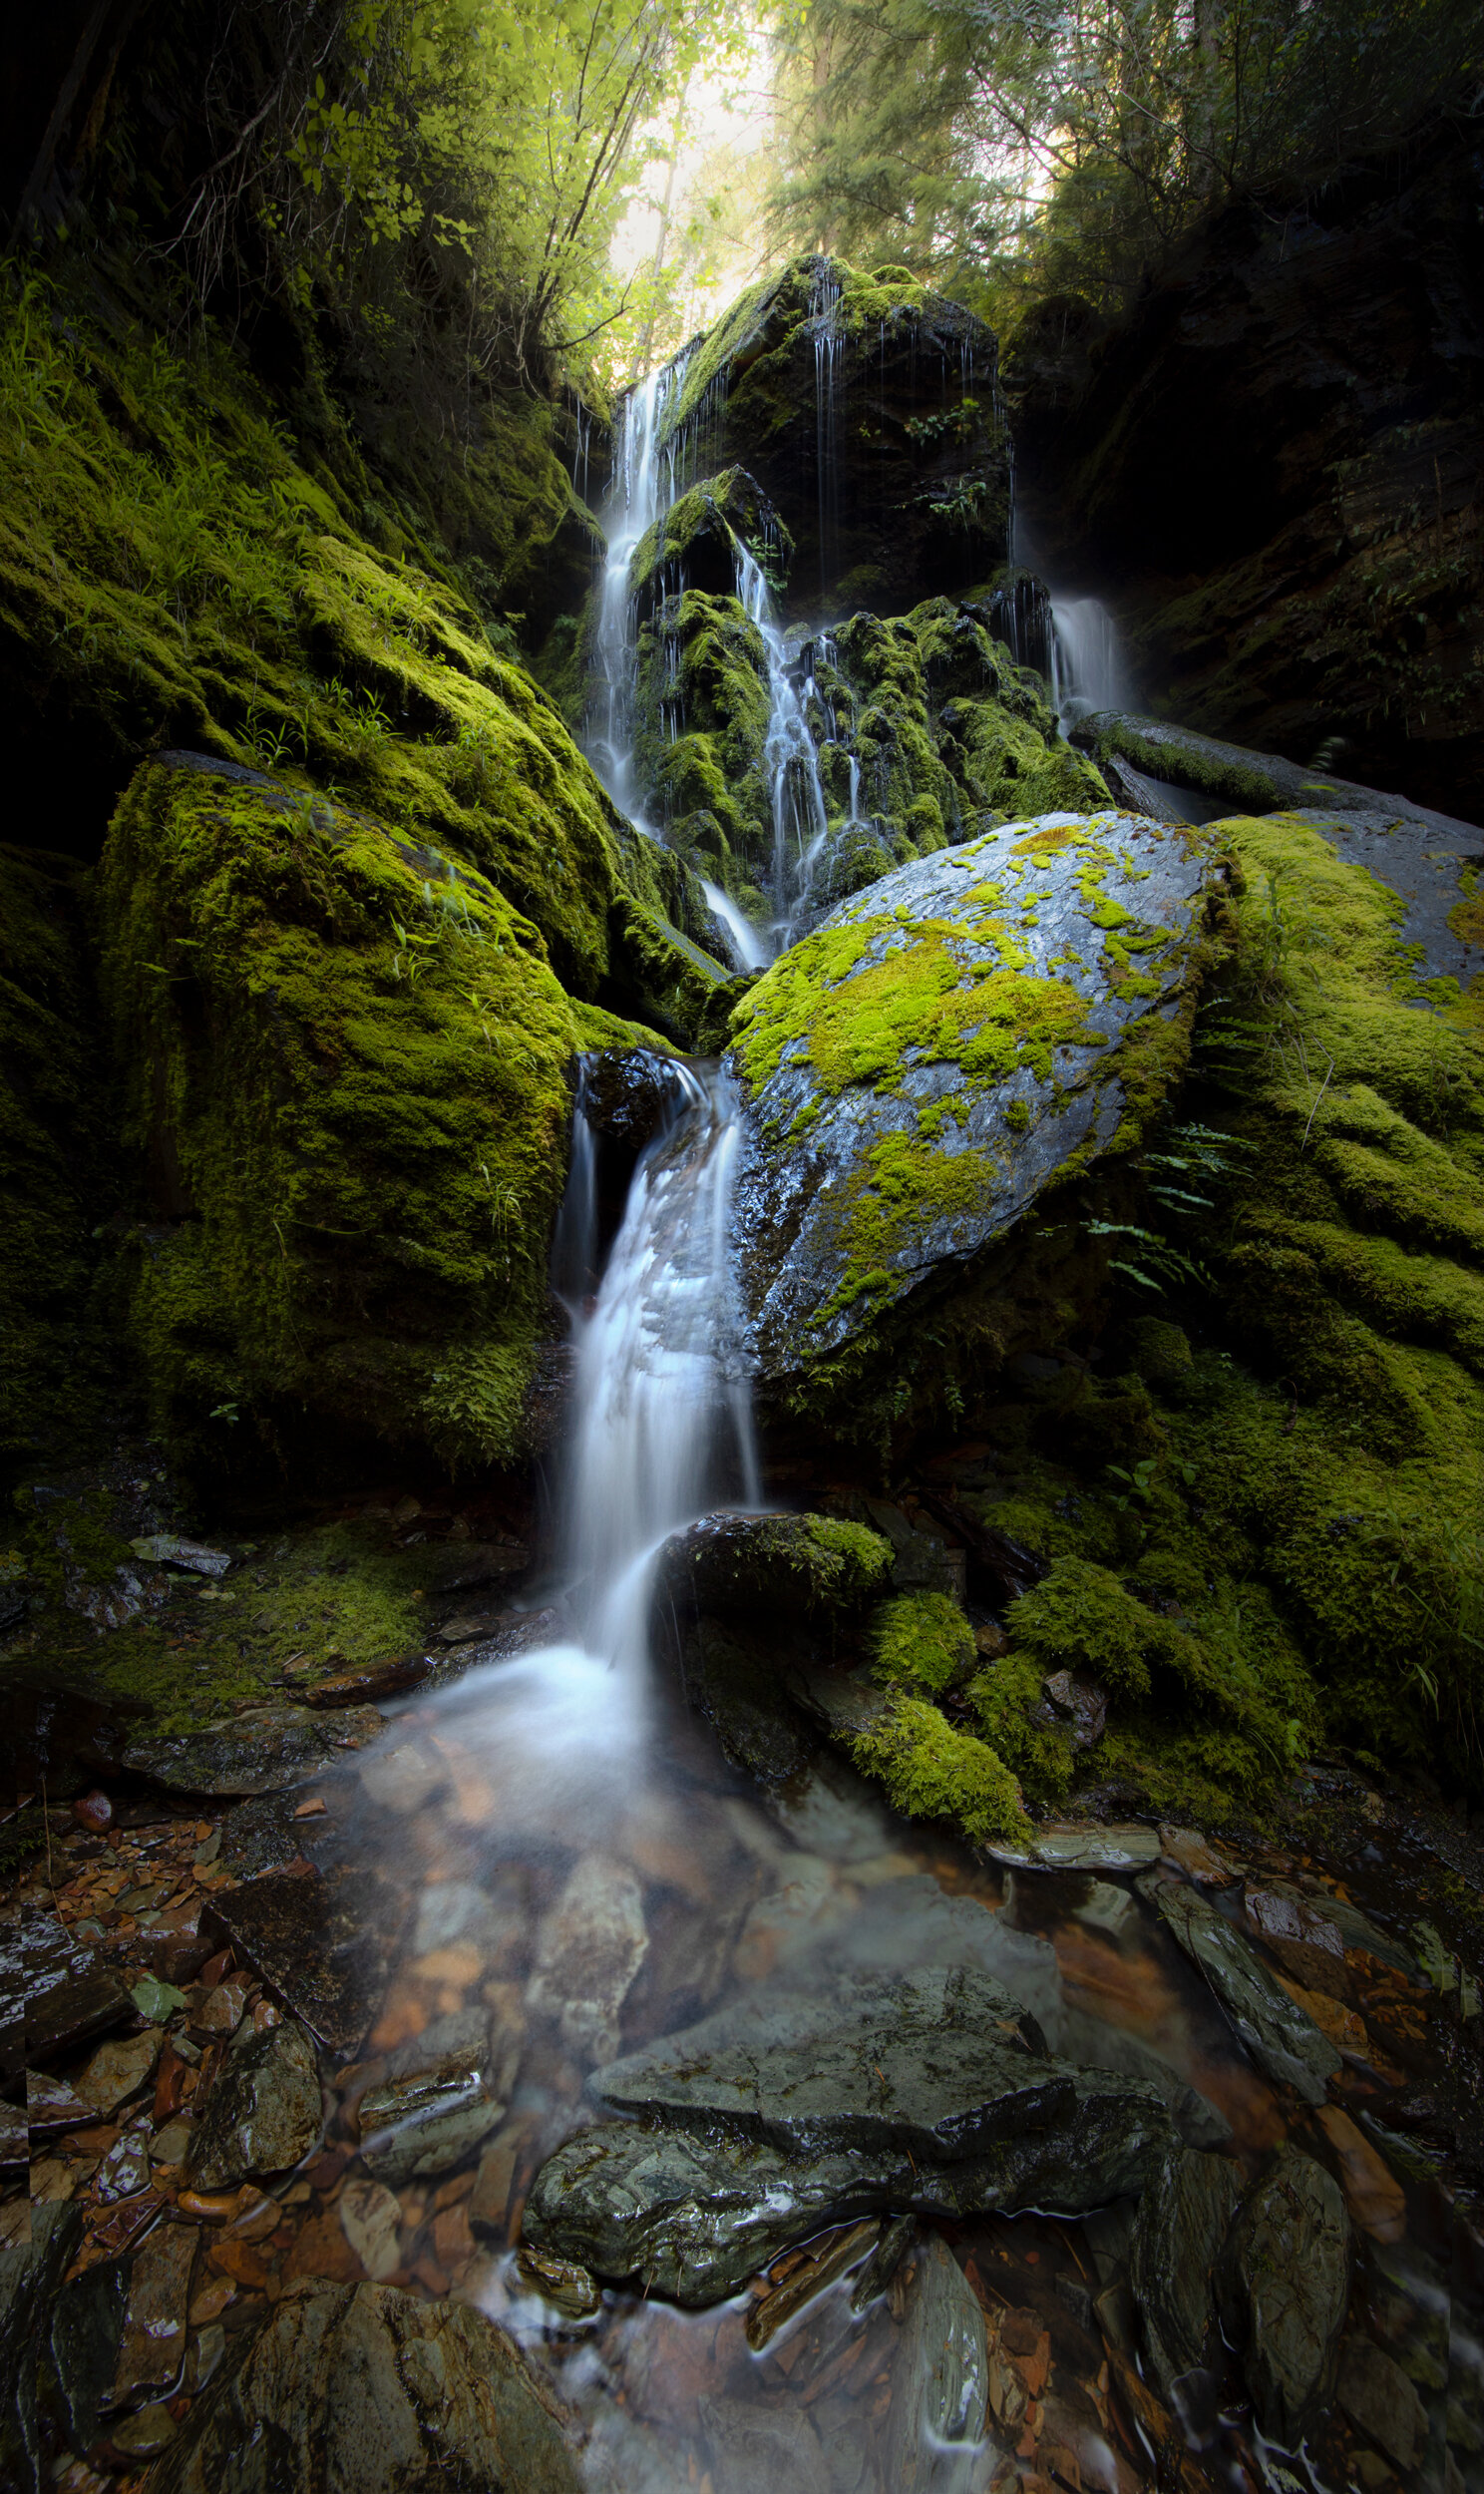
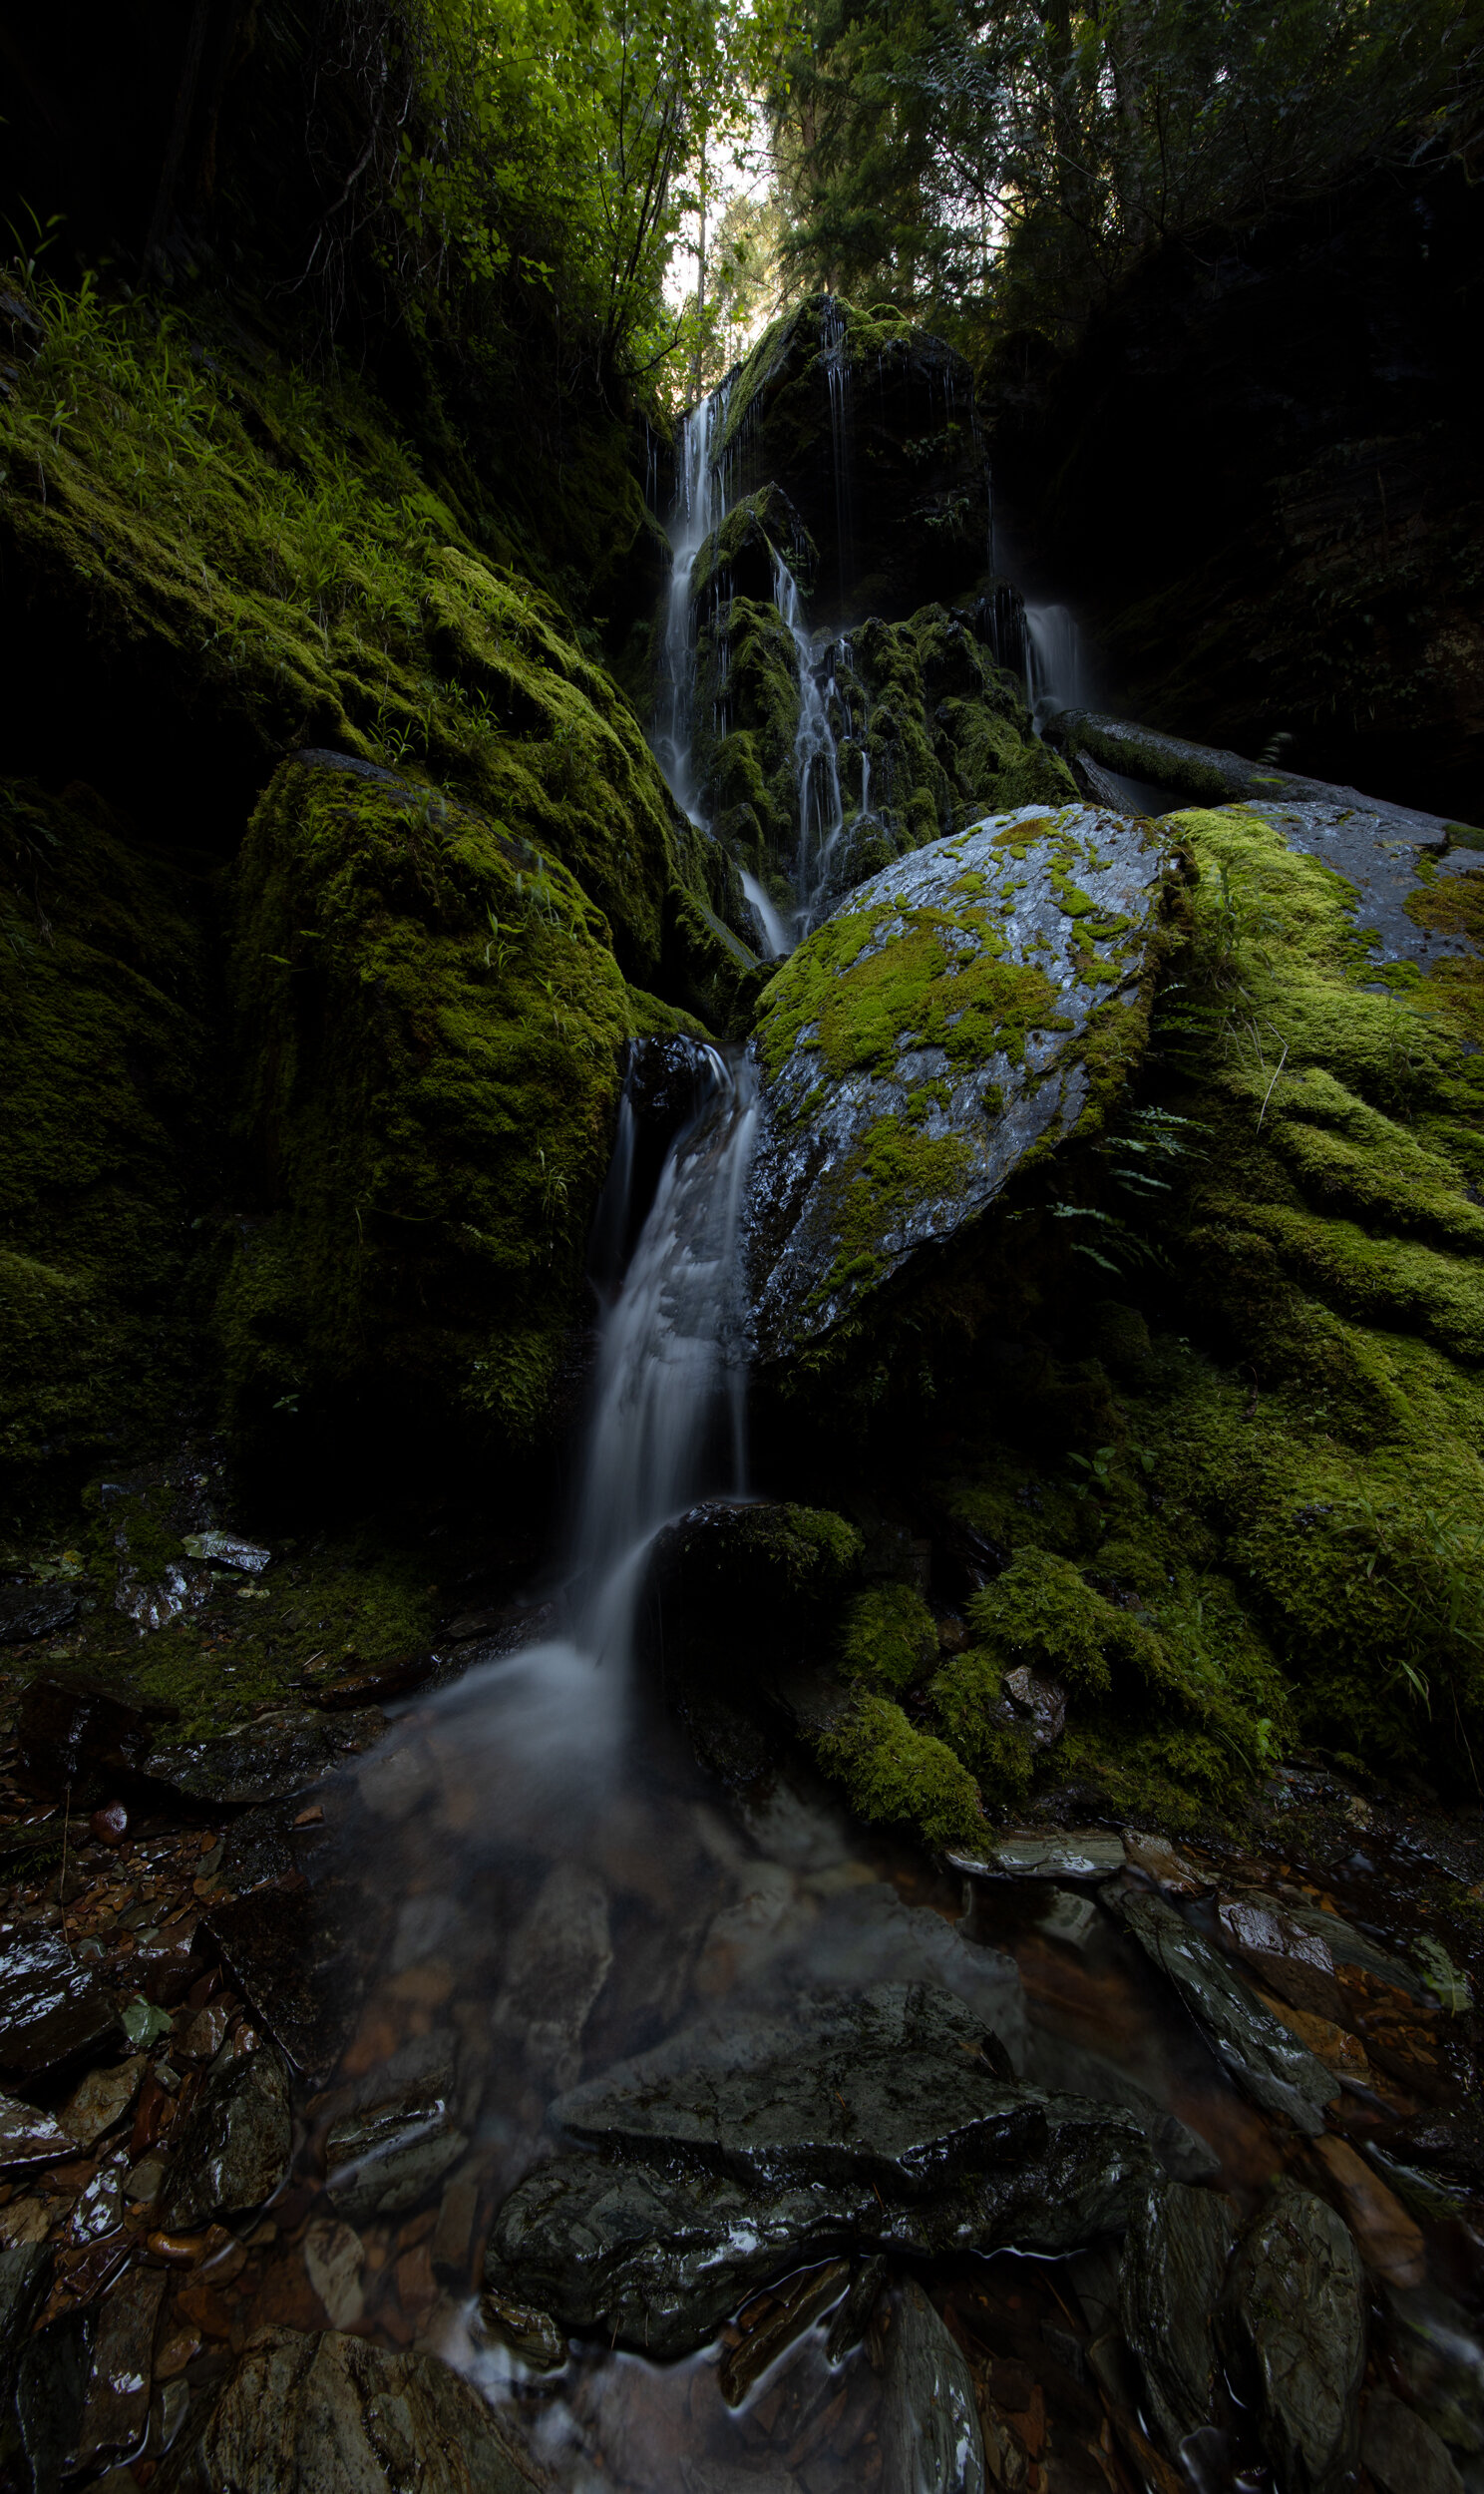
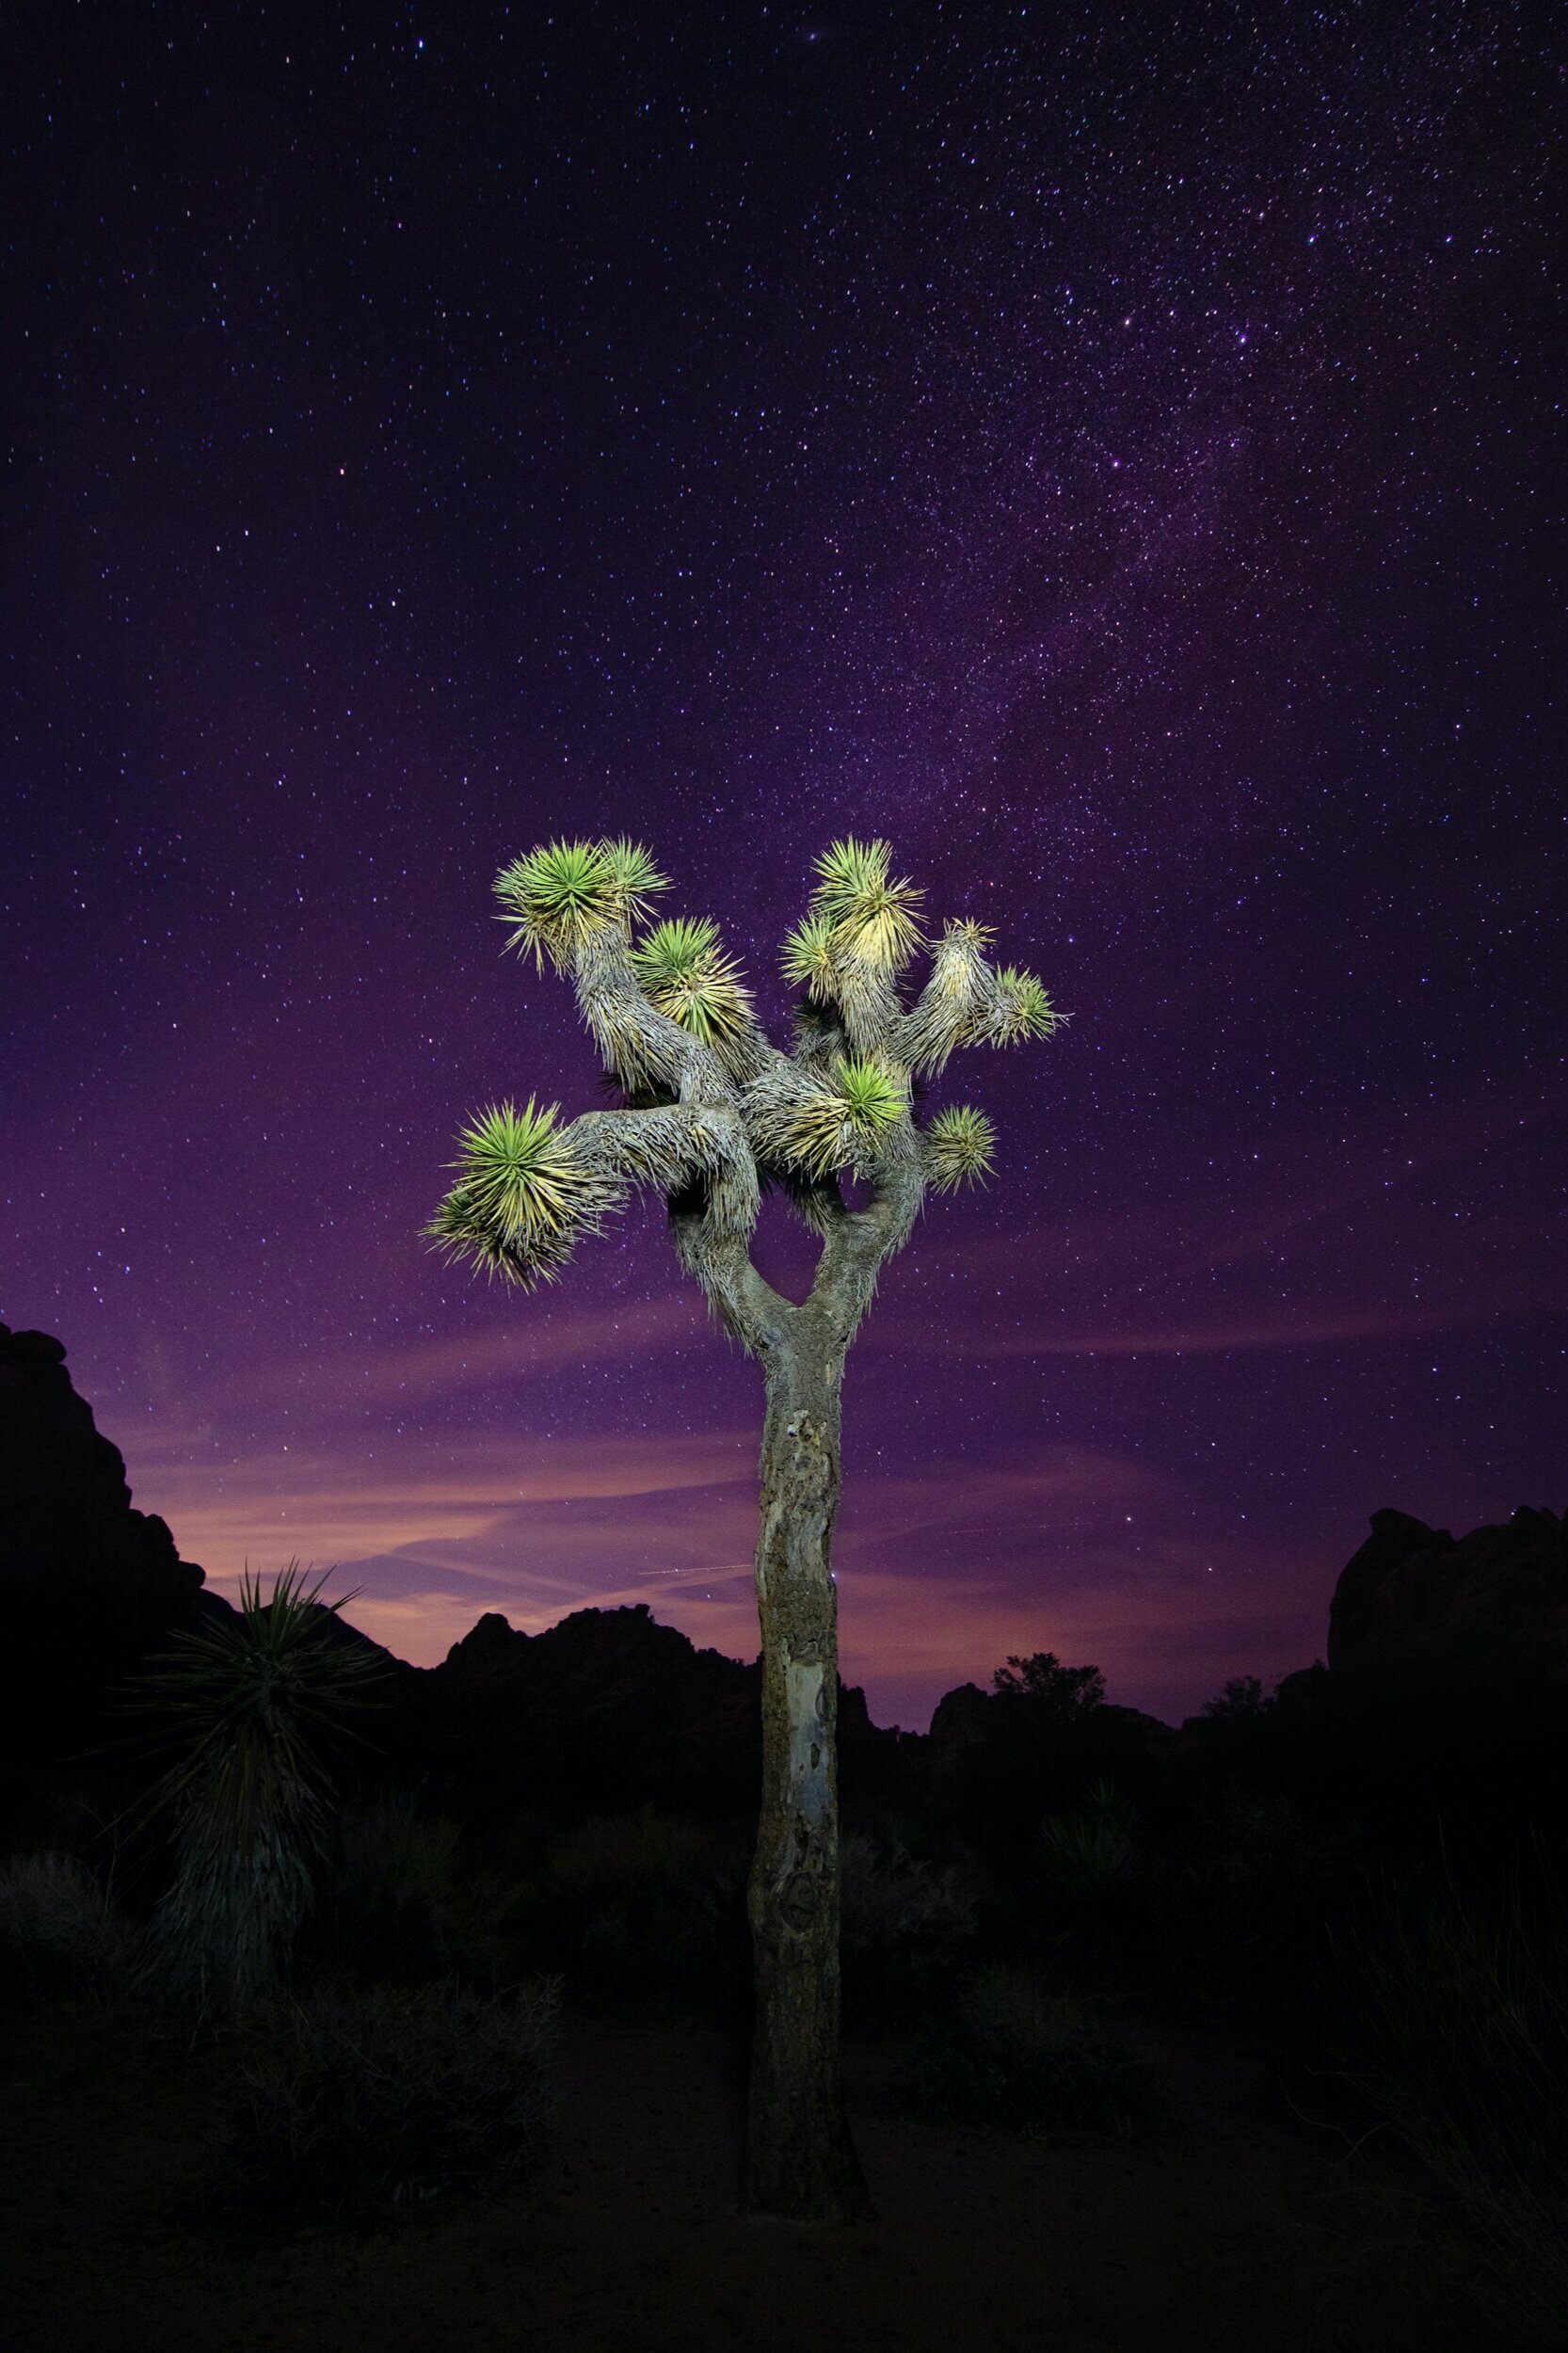
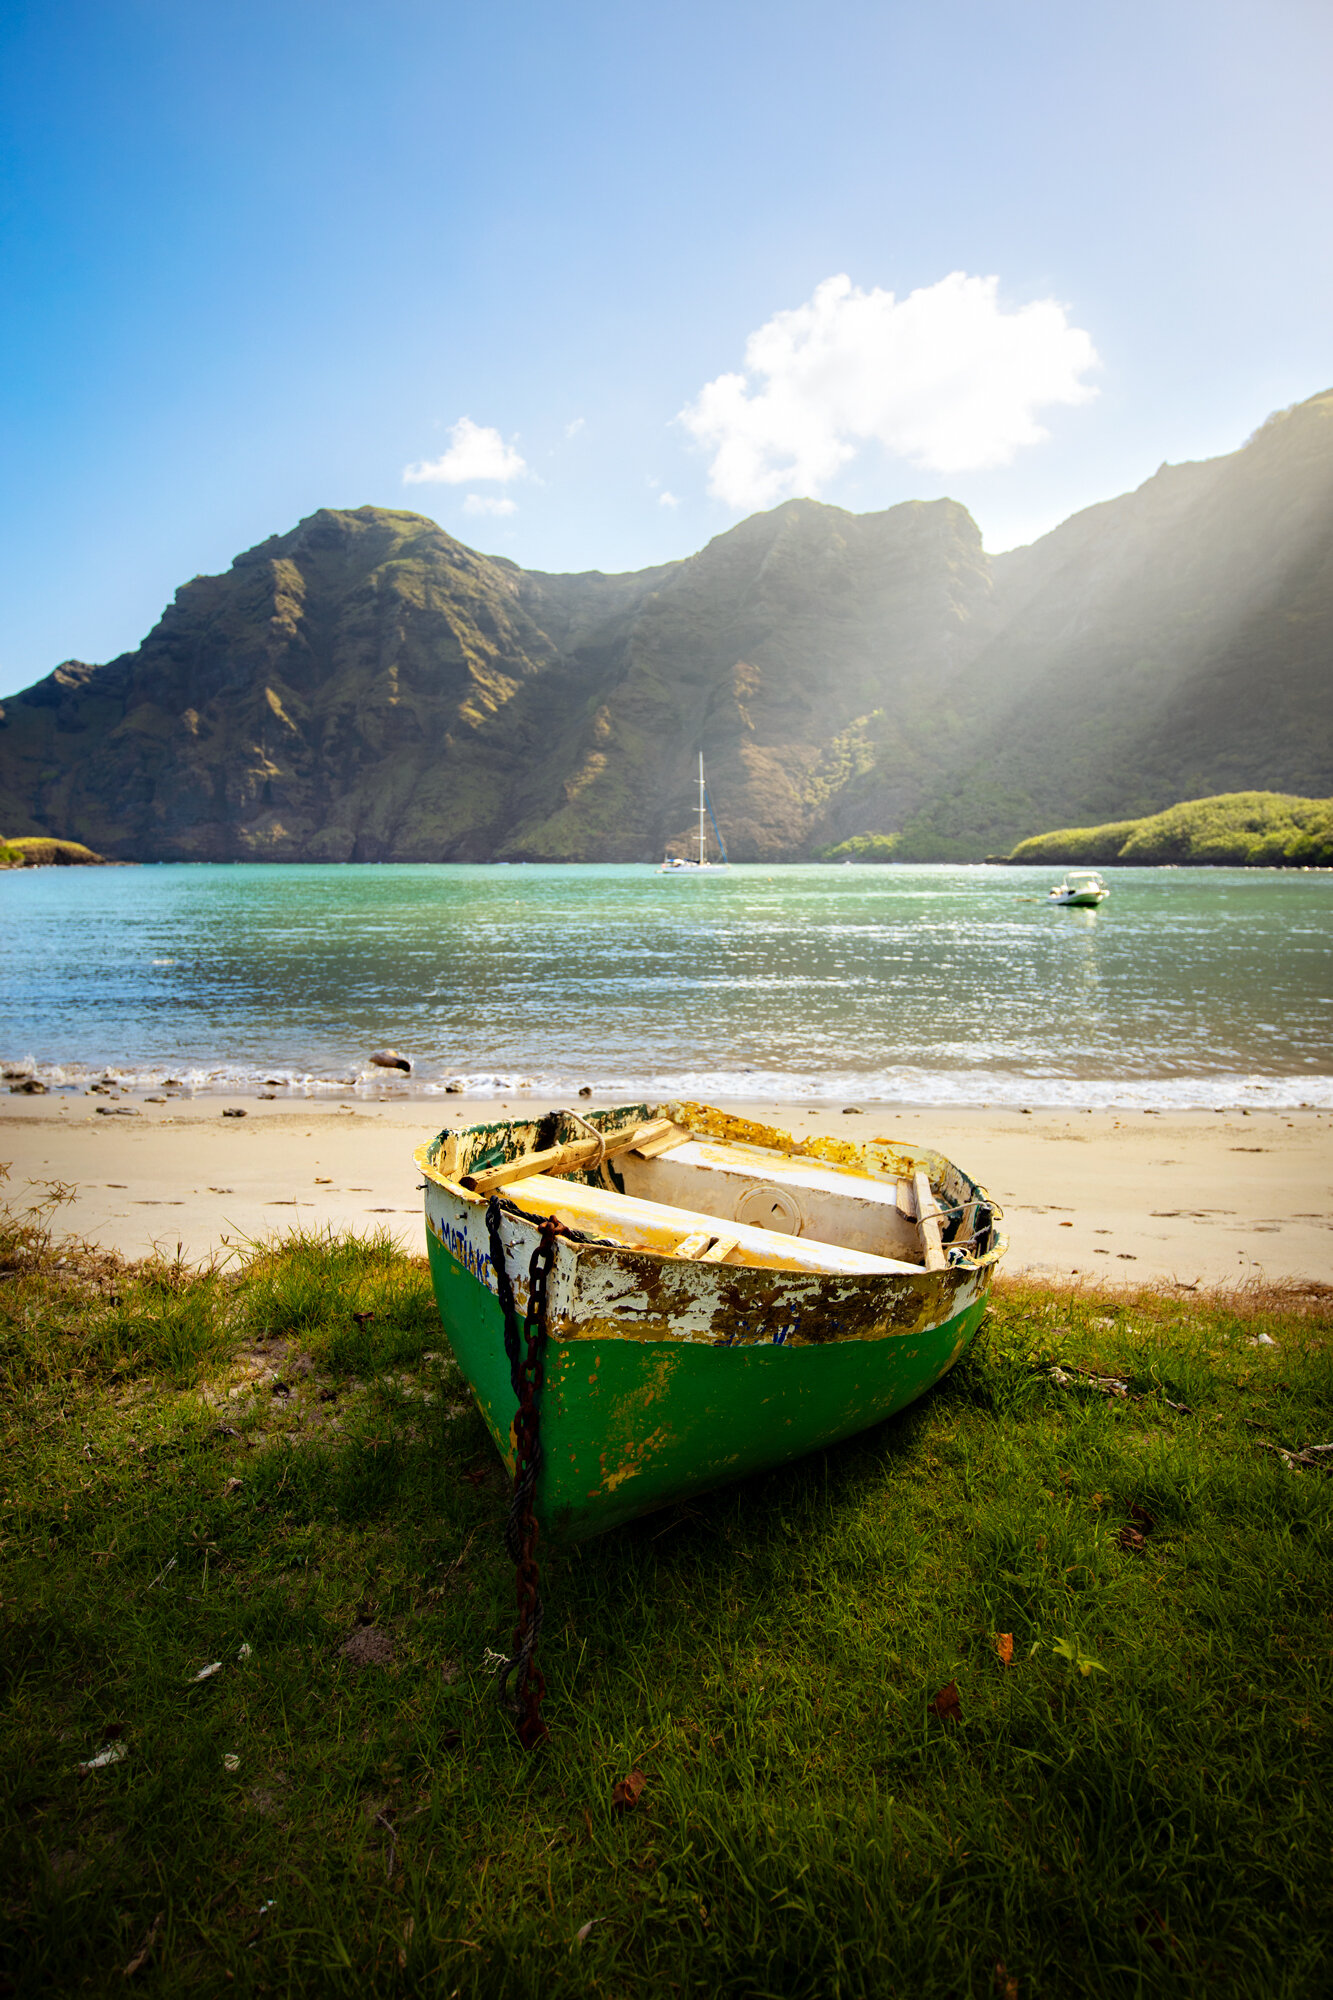
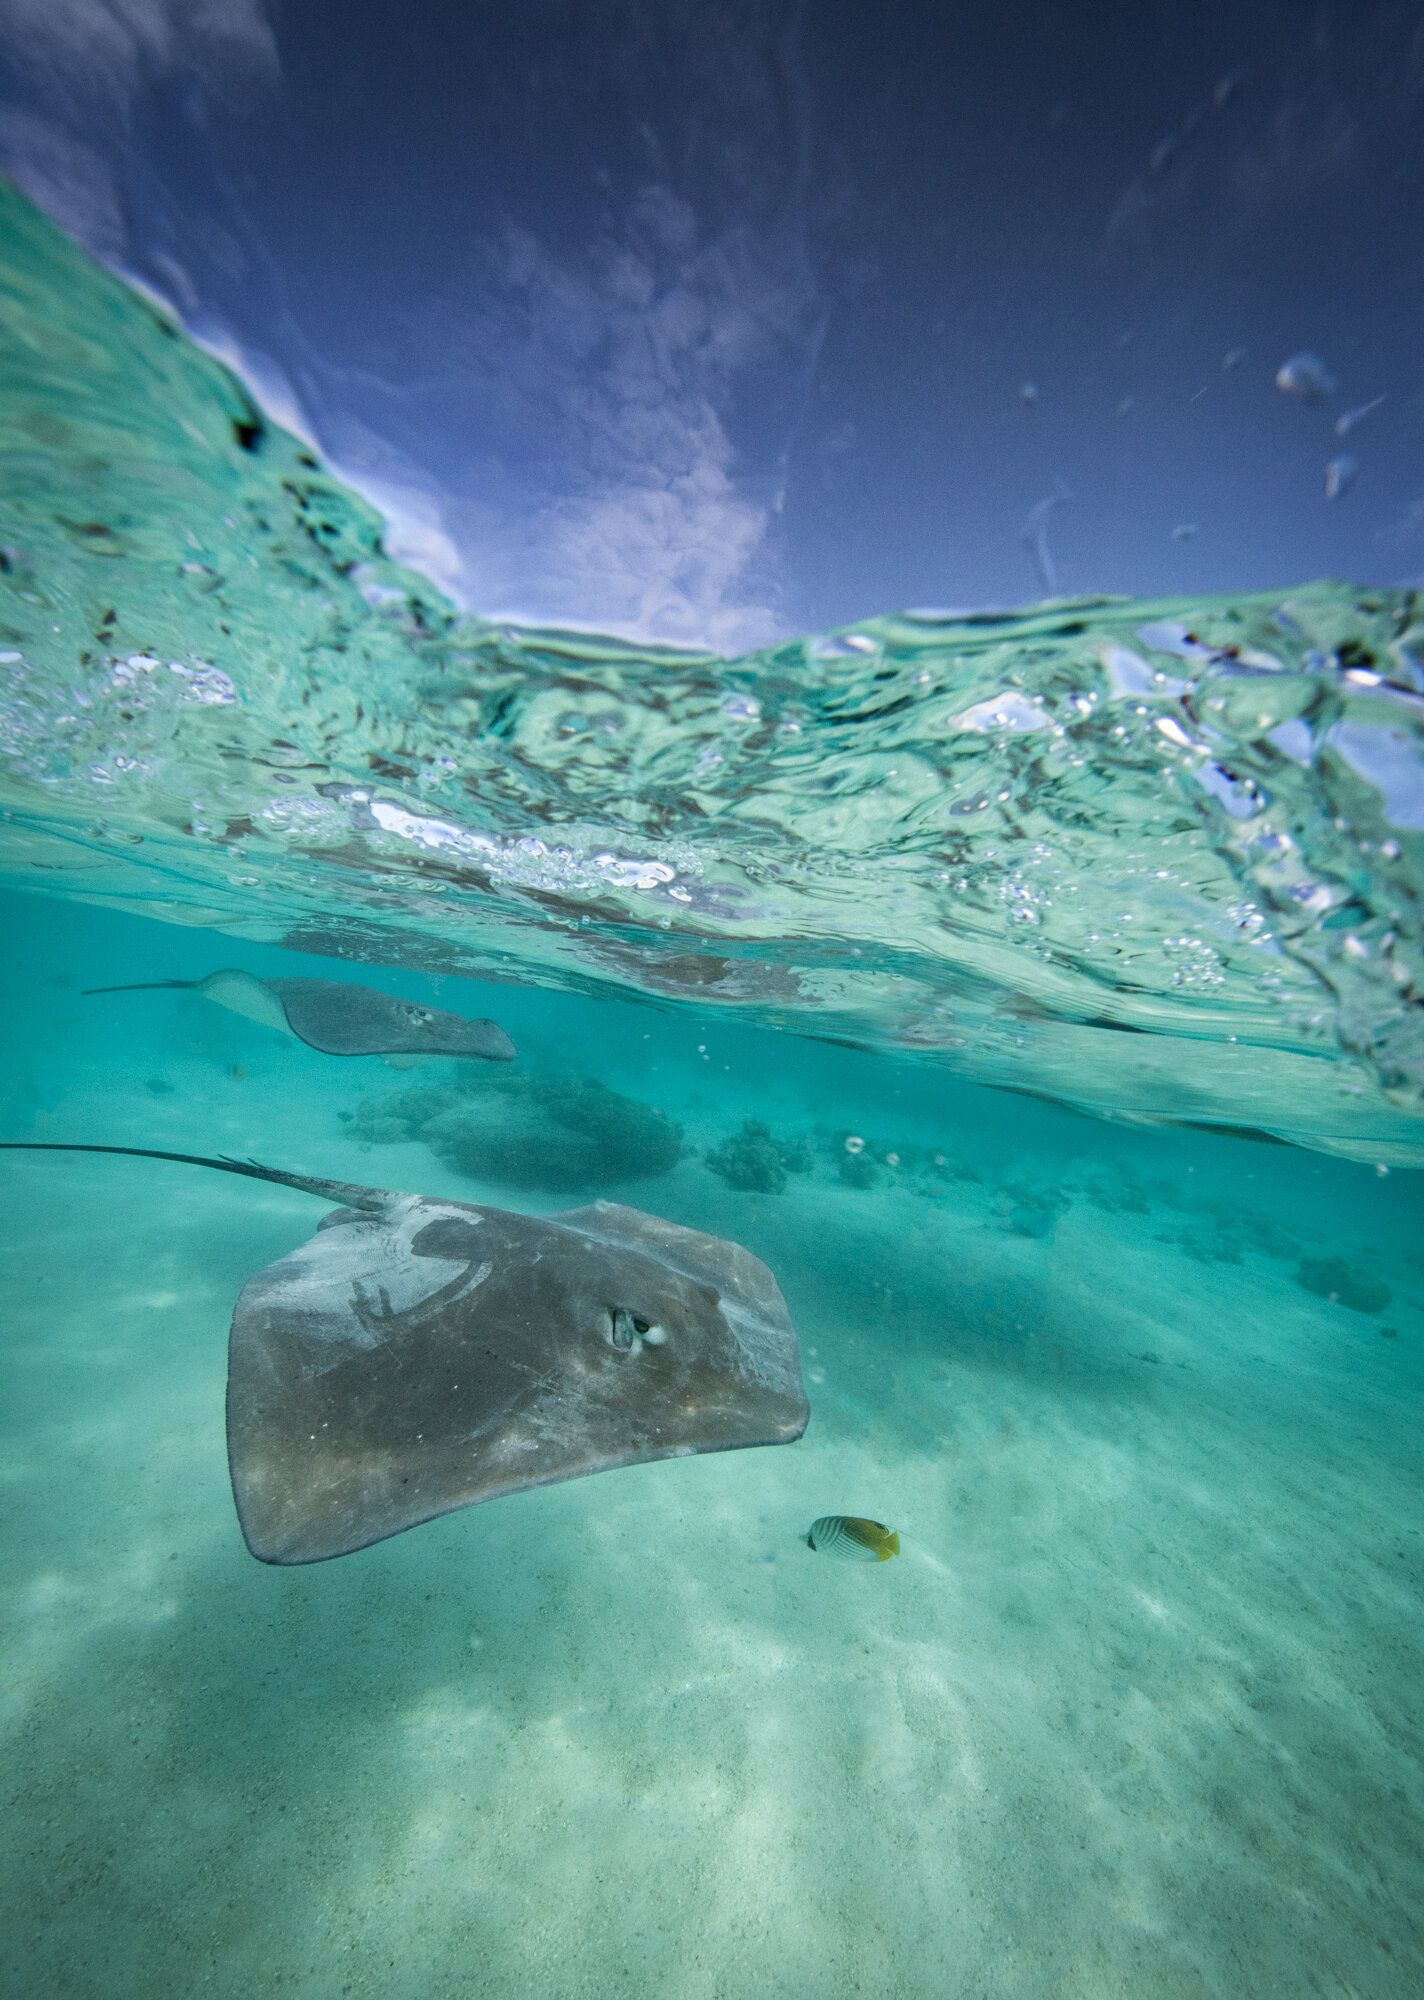
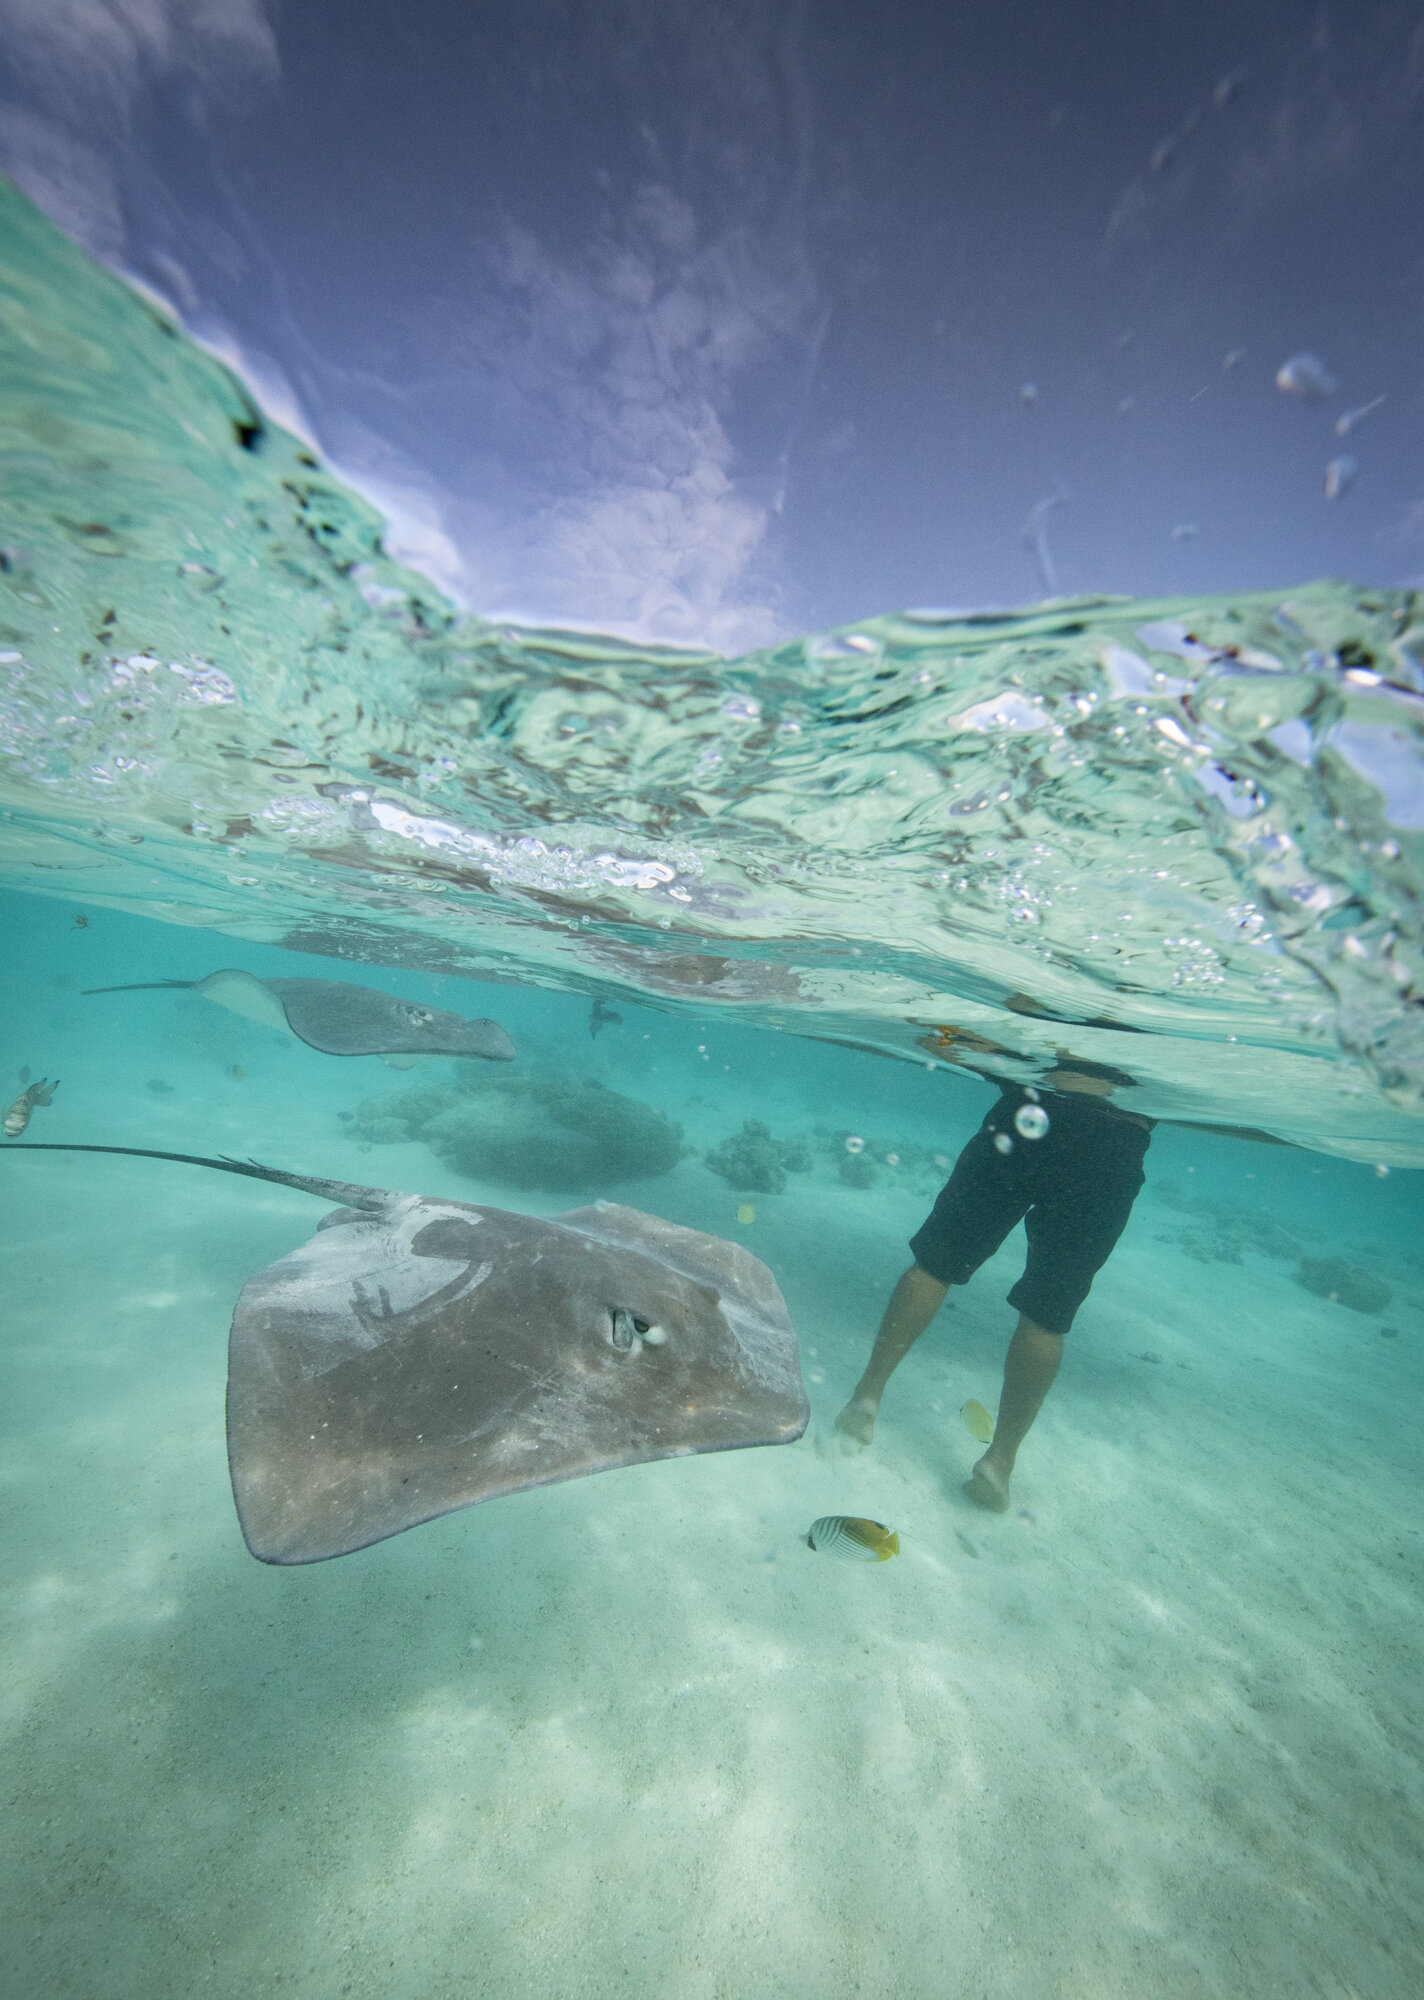
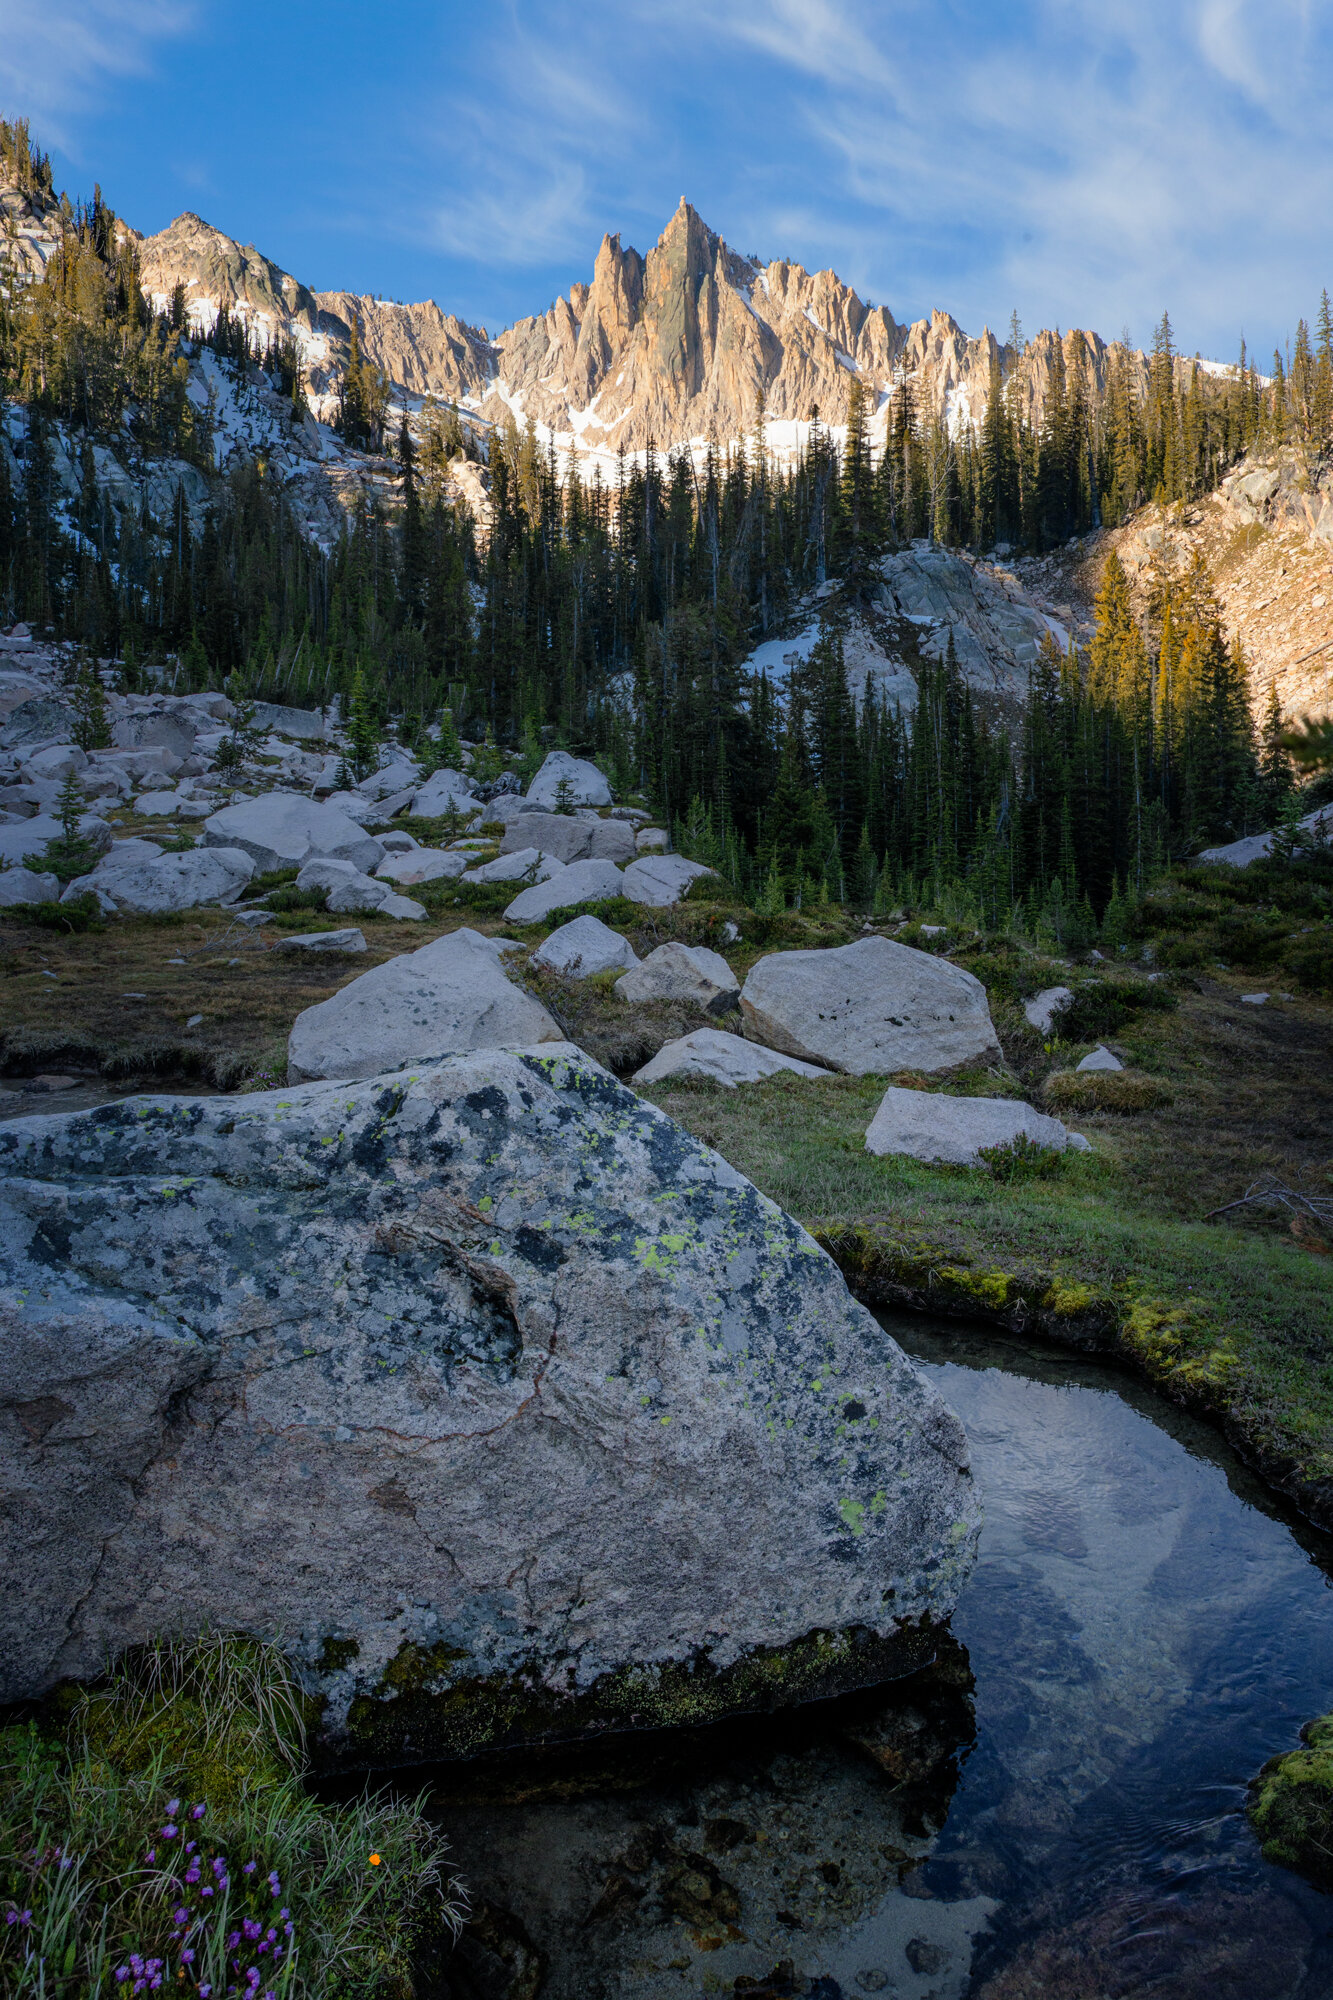
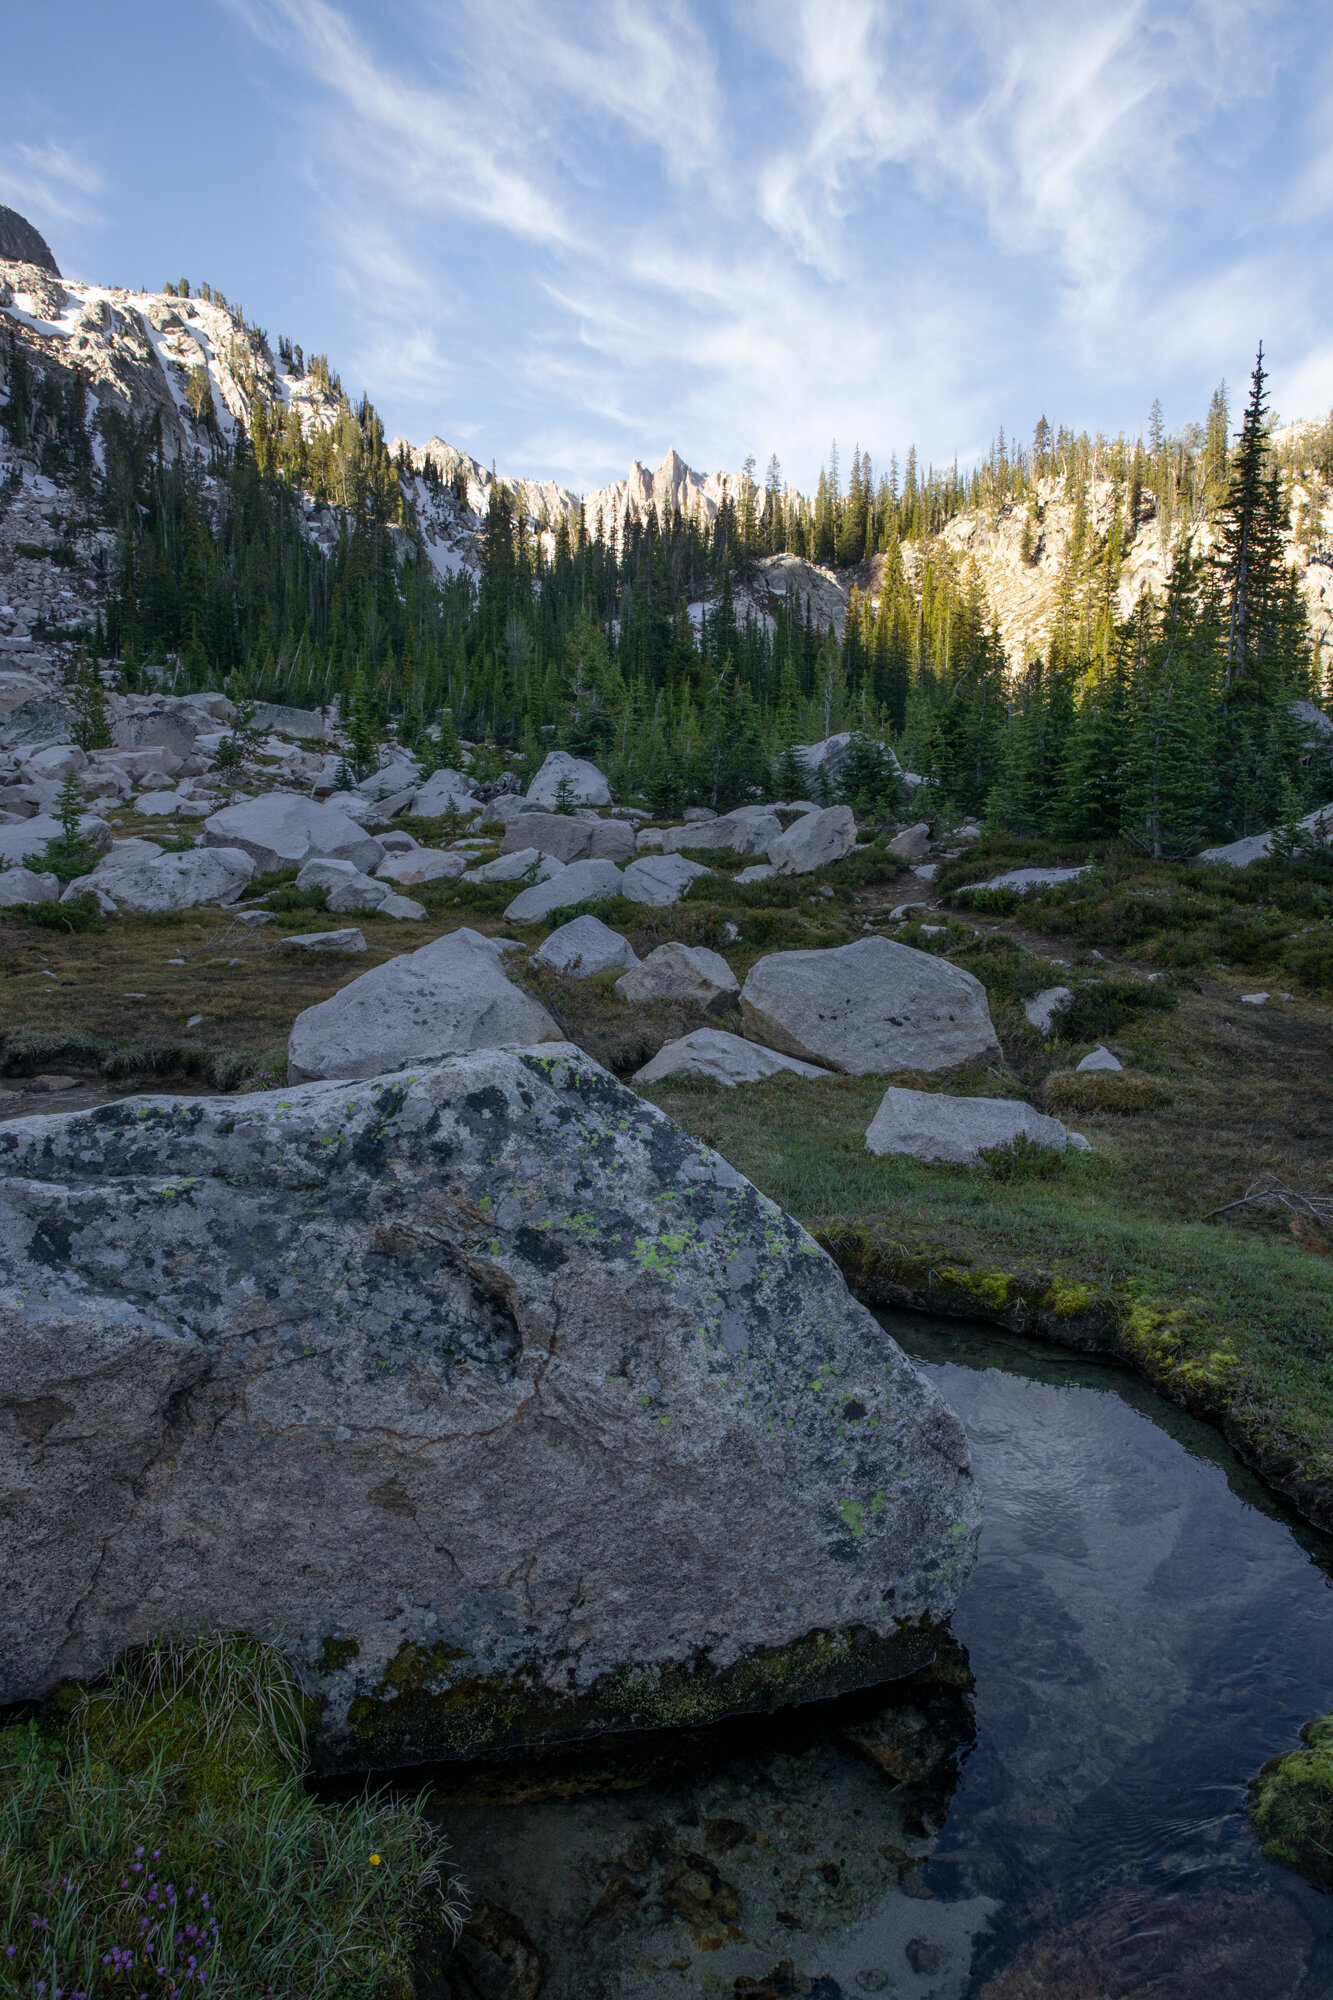
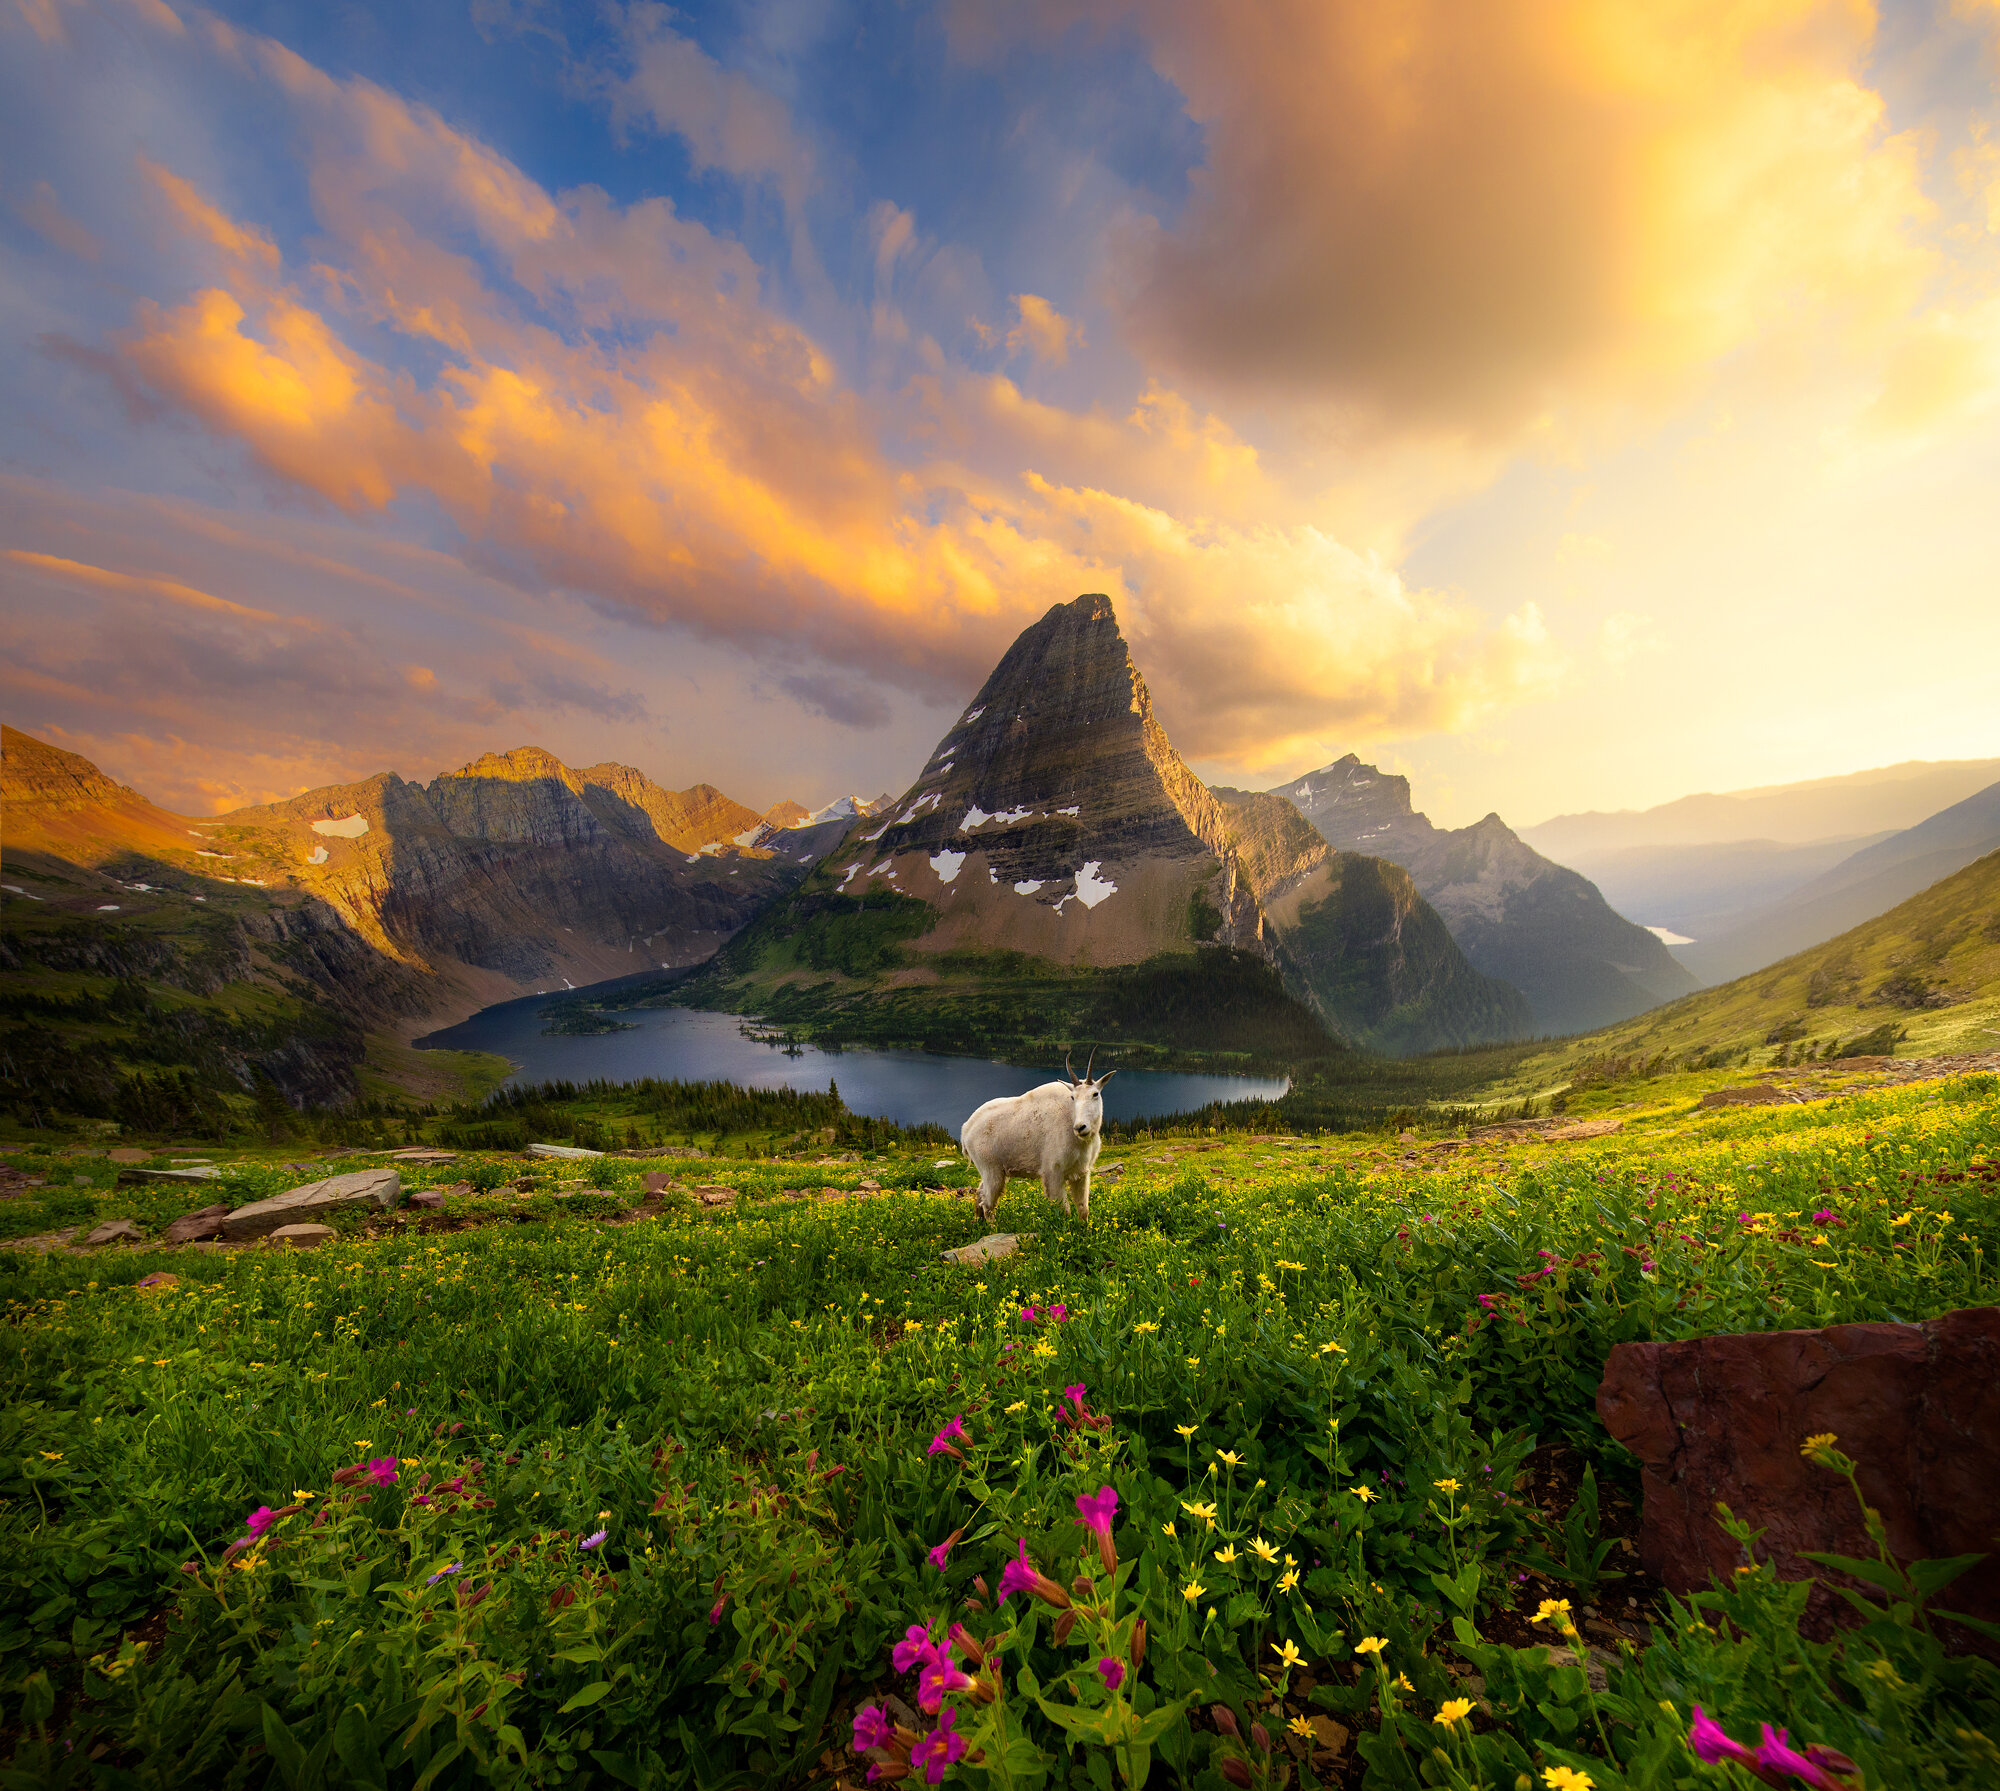
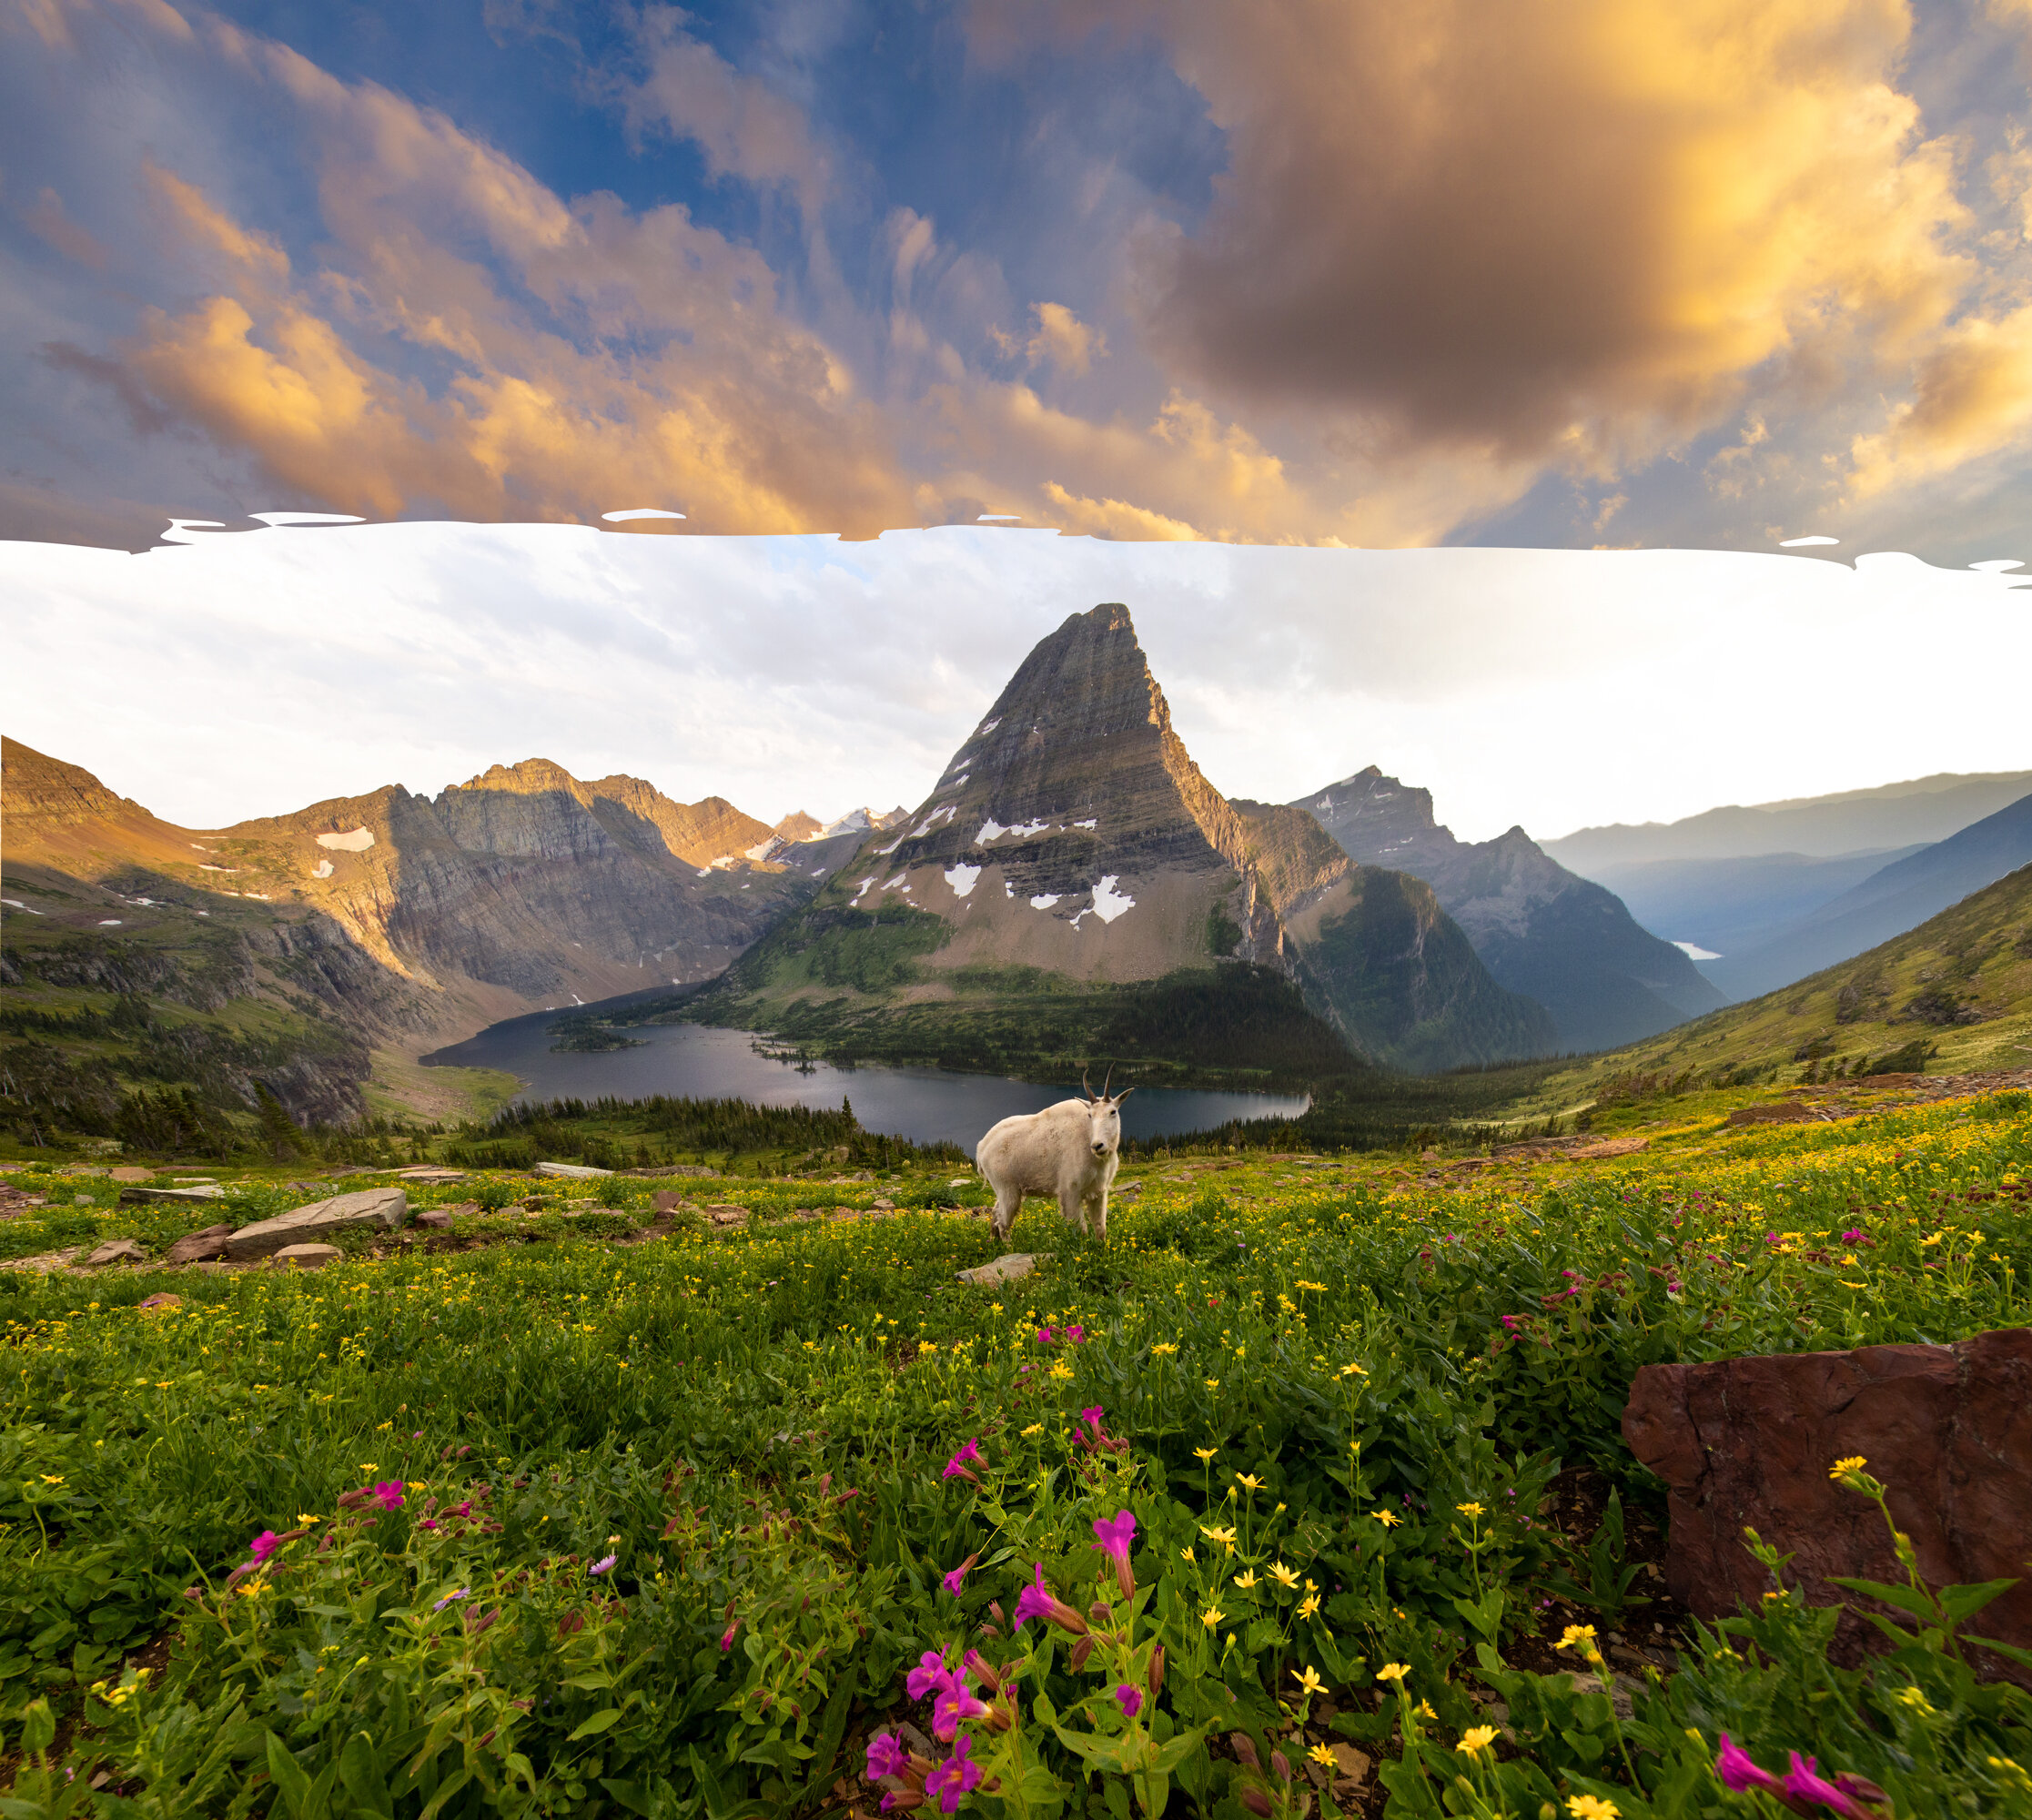
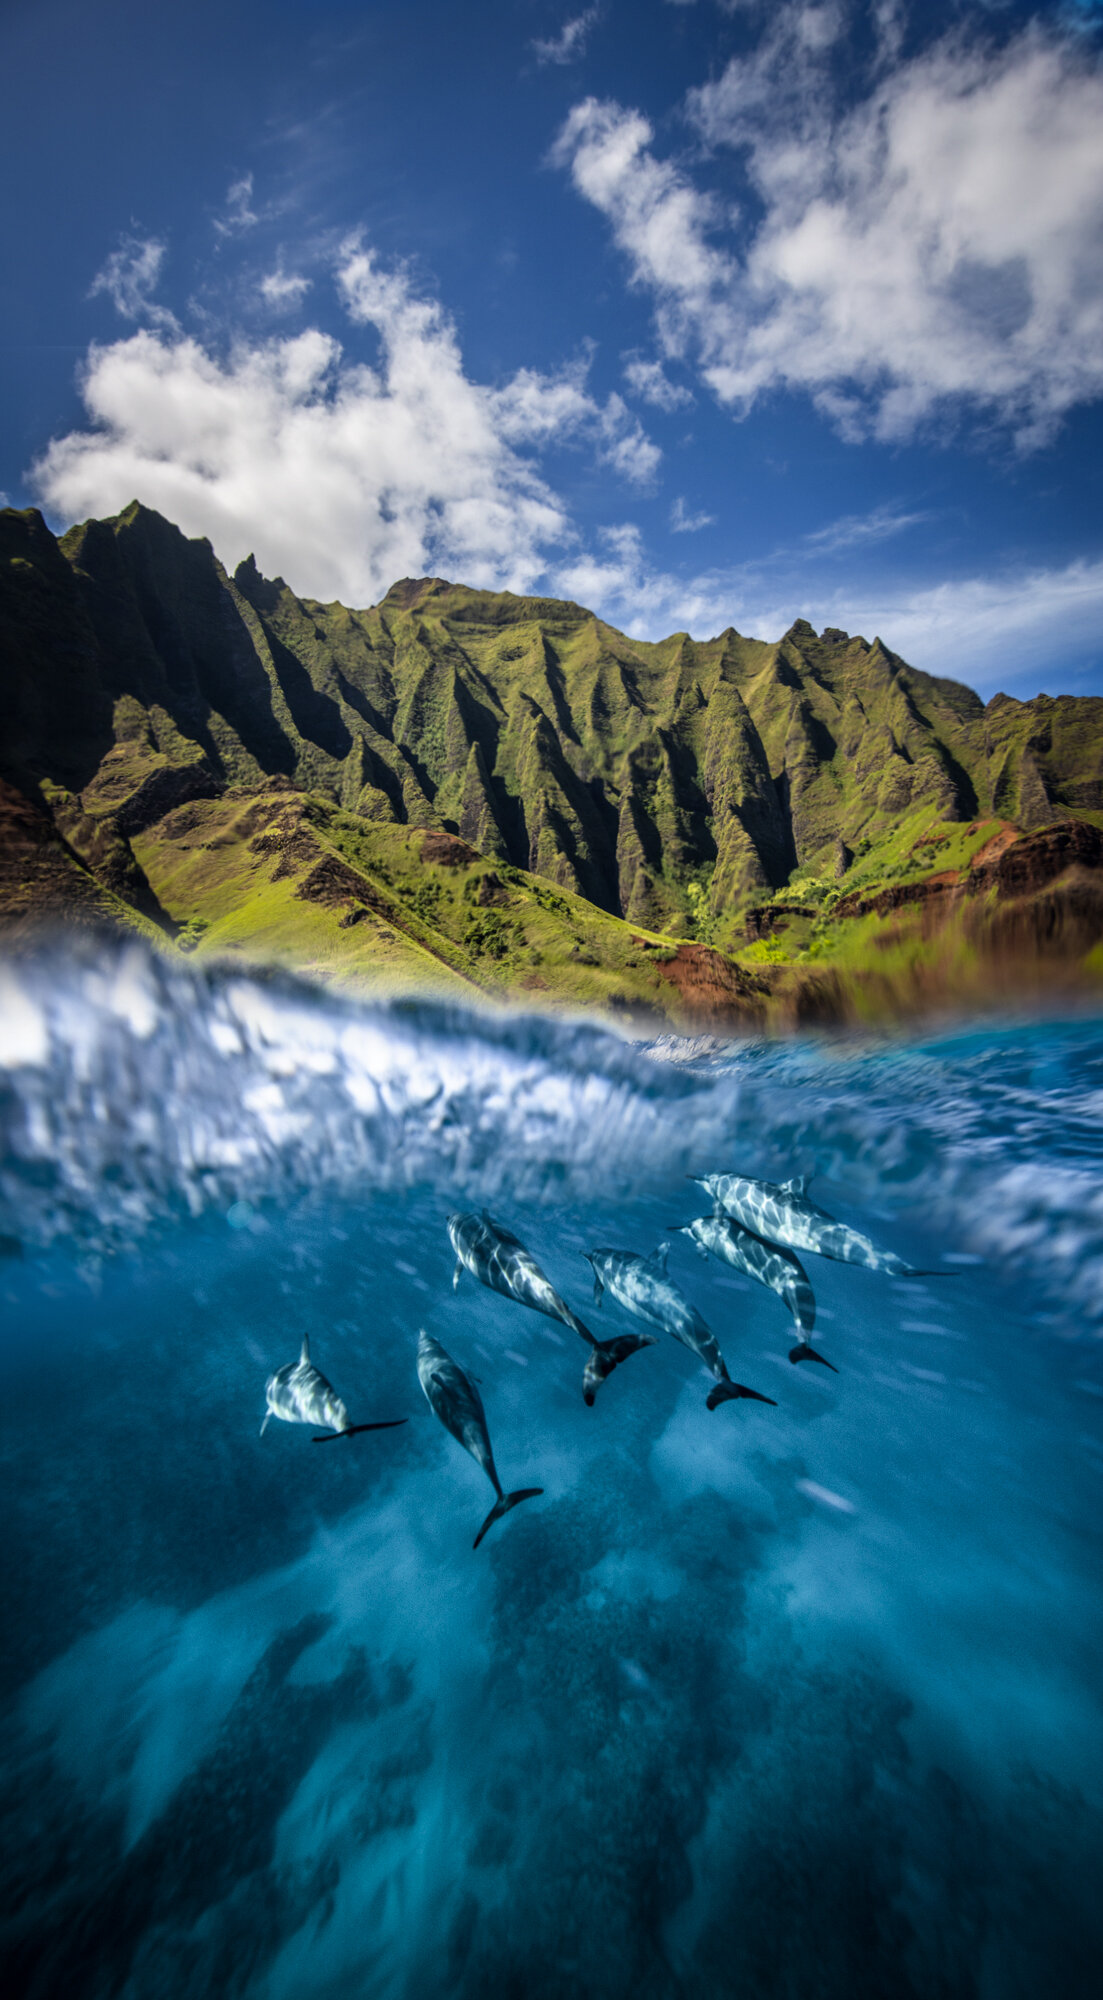
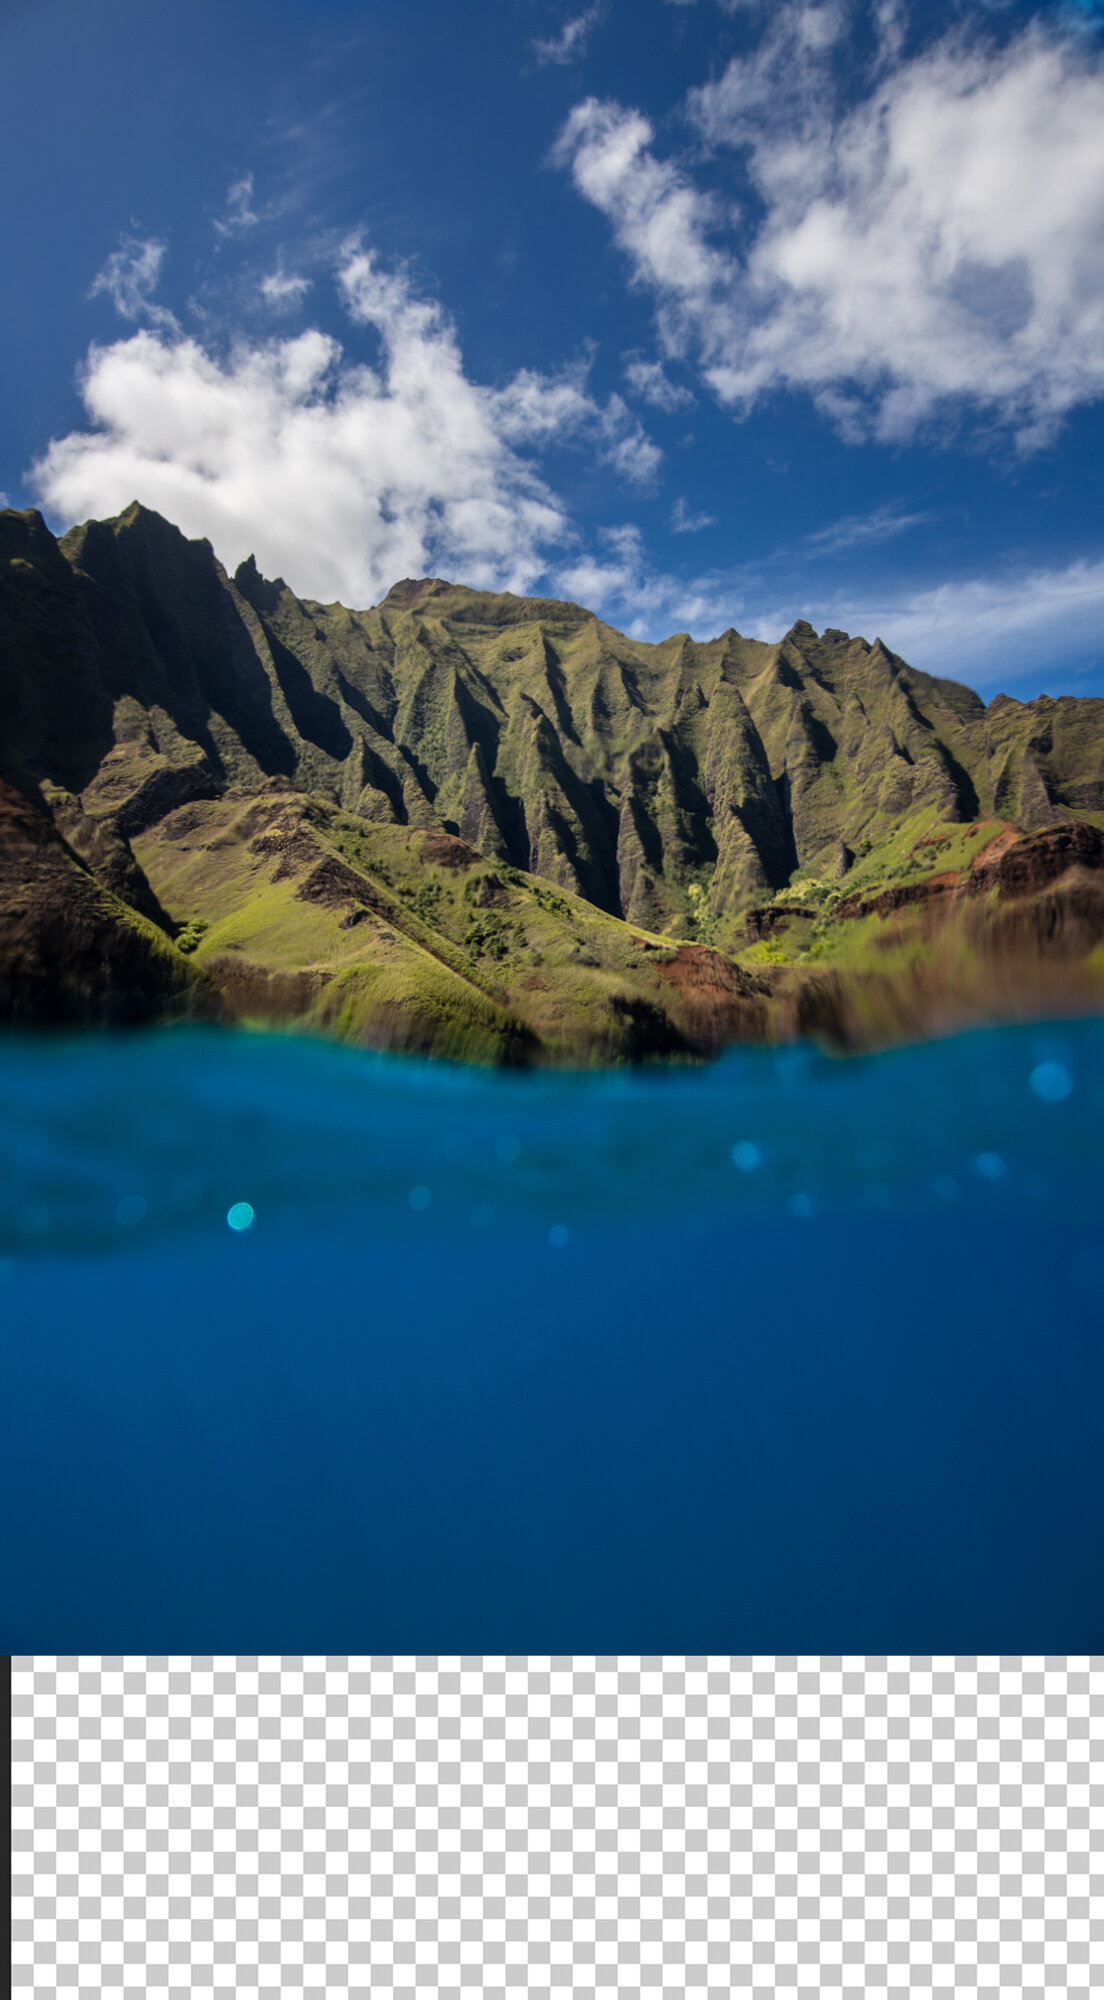
Double Exposures / Composition Blending
This technique can be less intrusive than distortion/perspective adjustments, but it can very well be more intrusive, the main reason being that two images are often used. Composition blending involves combining multiple photos of a scene to create a single image. The most obvious benefit to this technique is the ability to properly expose both dark and light parts of the scene. Another use case is combining two photos that were taken at different times to compensate for sunset colors or wildlife.
You can take this technique even further. Say you want to capture a mountain scene with some foliage in the foreground. You use a wide angle lens to capture details up close to the camera, but doing so shrinks your background considerably. Another photo is taken at a different focal length to pull the mountains forward and the two images are stitched together in Photoshop to create a better representation of your scene.
There is an art to composition blending. It’s much harder to combine an extreme telephoto shot with a wide angle and make the scene look natural. Here are a few examples where two photos were used to achieve a satisfying final image.

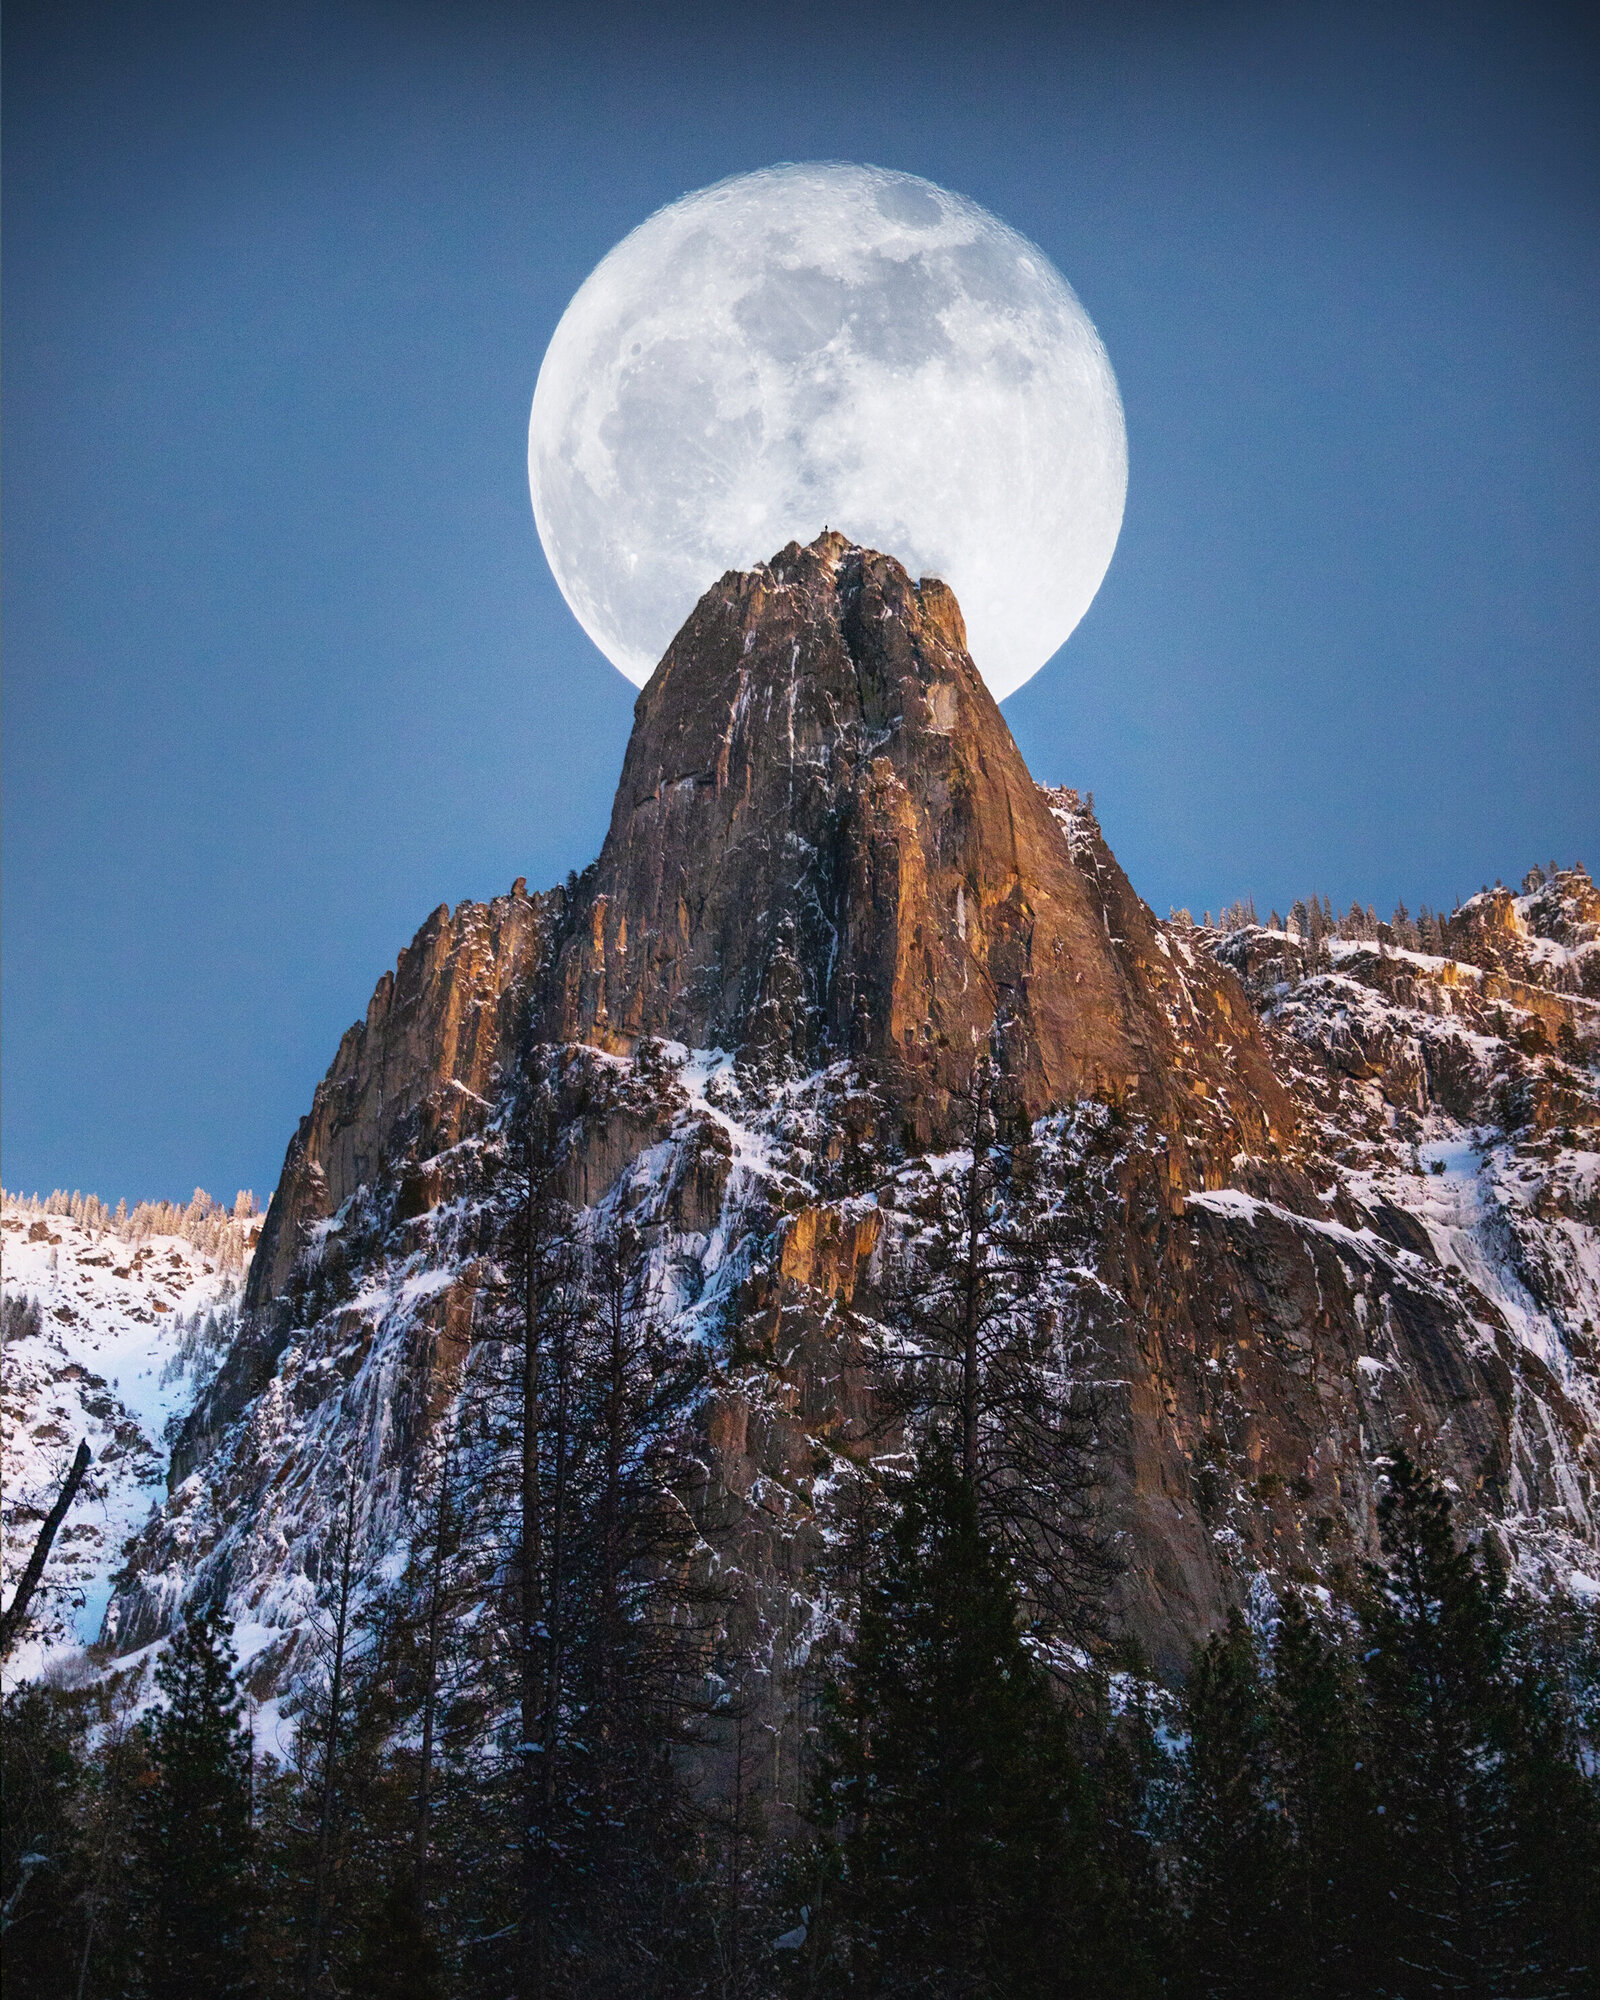
Digital Art / Manipulation
This is the “wild west” of editing. Anything goes and your creativity is free to run wild! Copy and paste blood moons, dolphins, whatever goes! Some people frown upon editing photos to this extent, however, I say do what makes you happy! Just be honest with your audience, don’t claim they were taken in one shot. Professionals will know the difference and you’ll only be hurting your reputation.
I hope you found some value in this article and learned something new! If you’re interested in learning any of the mentioned techniques, send me an email! My prices for one on one sessions are super affordable!
Thanks for reading!